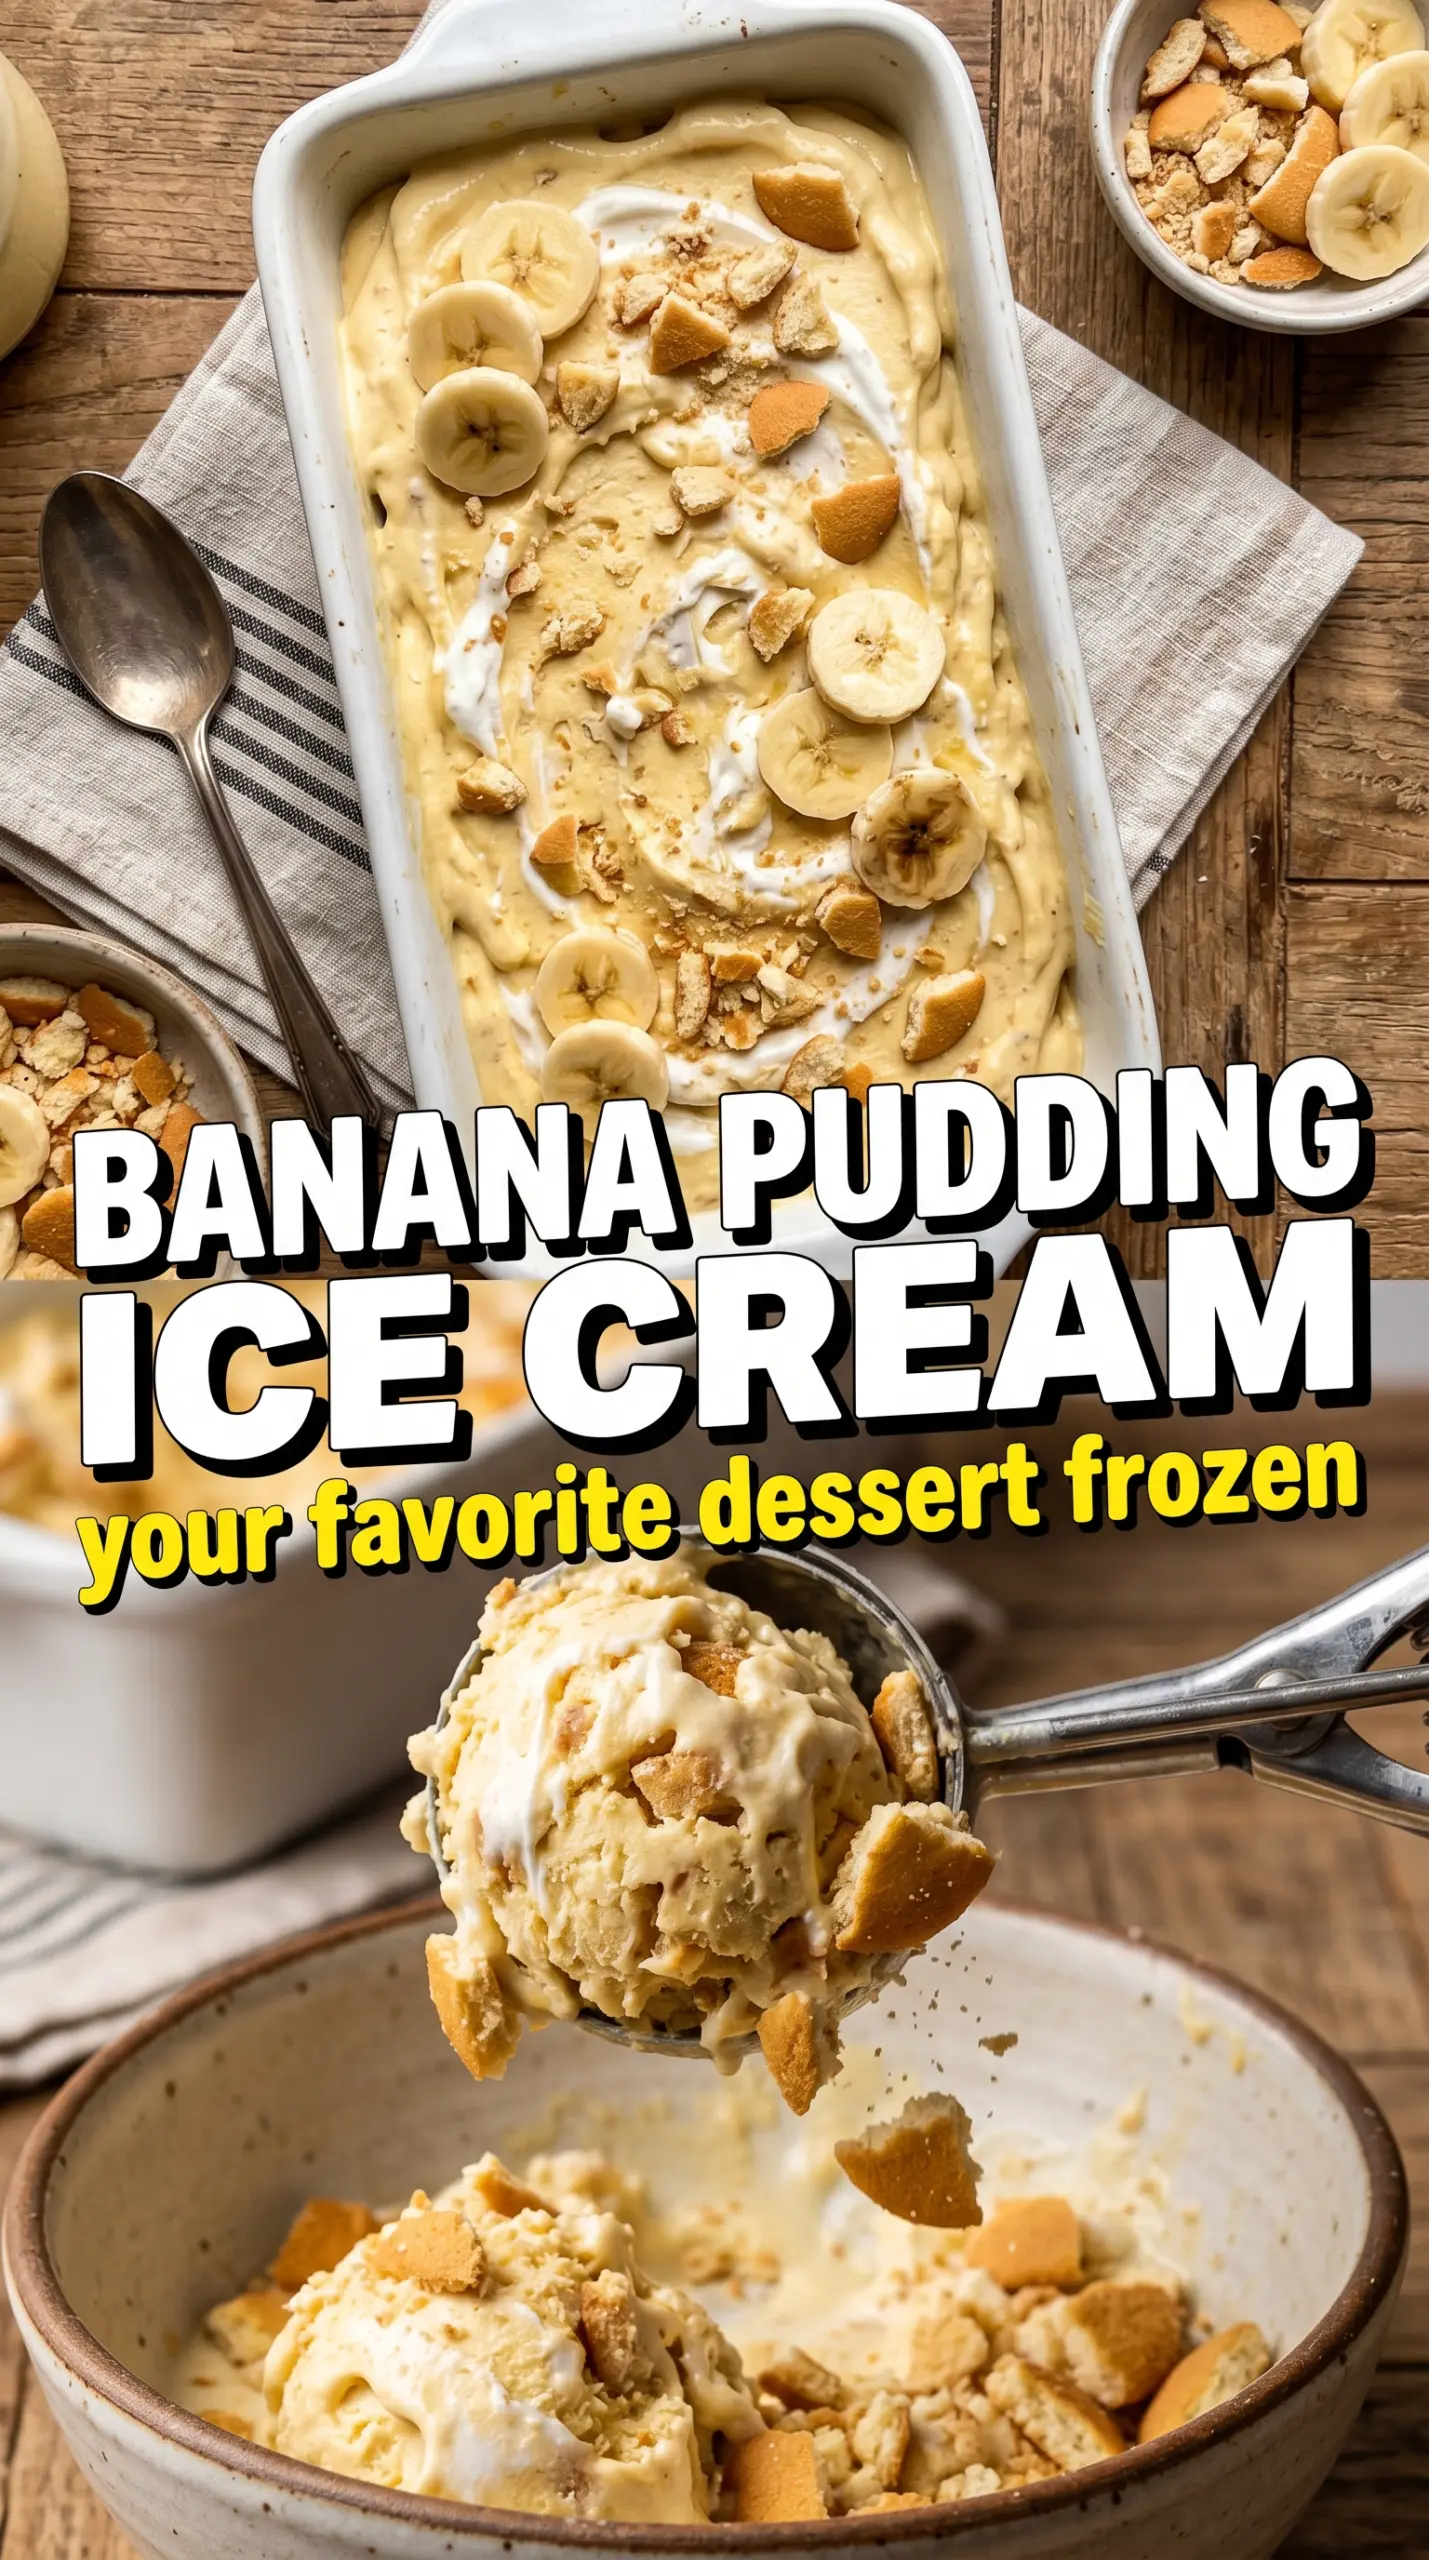
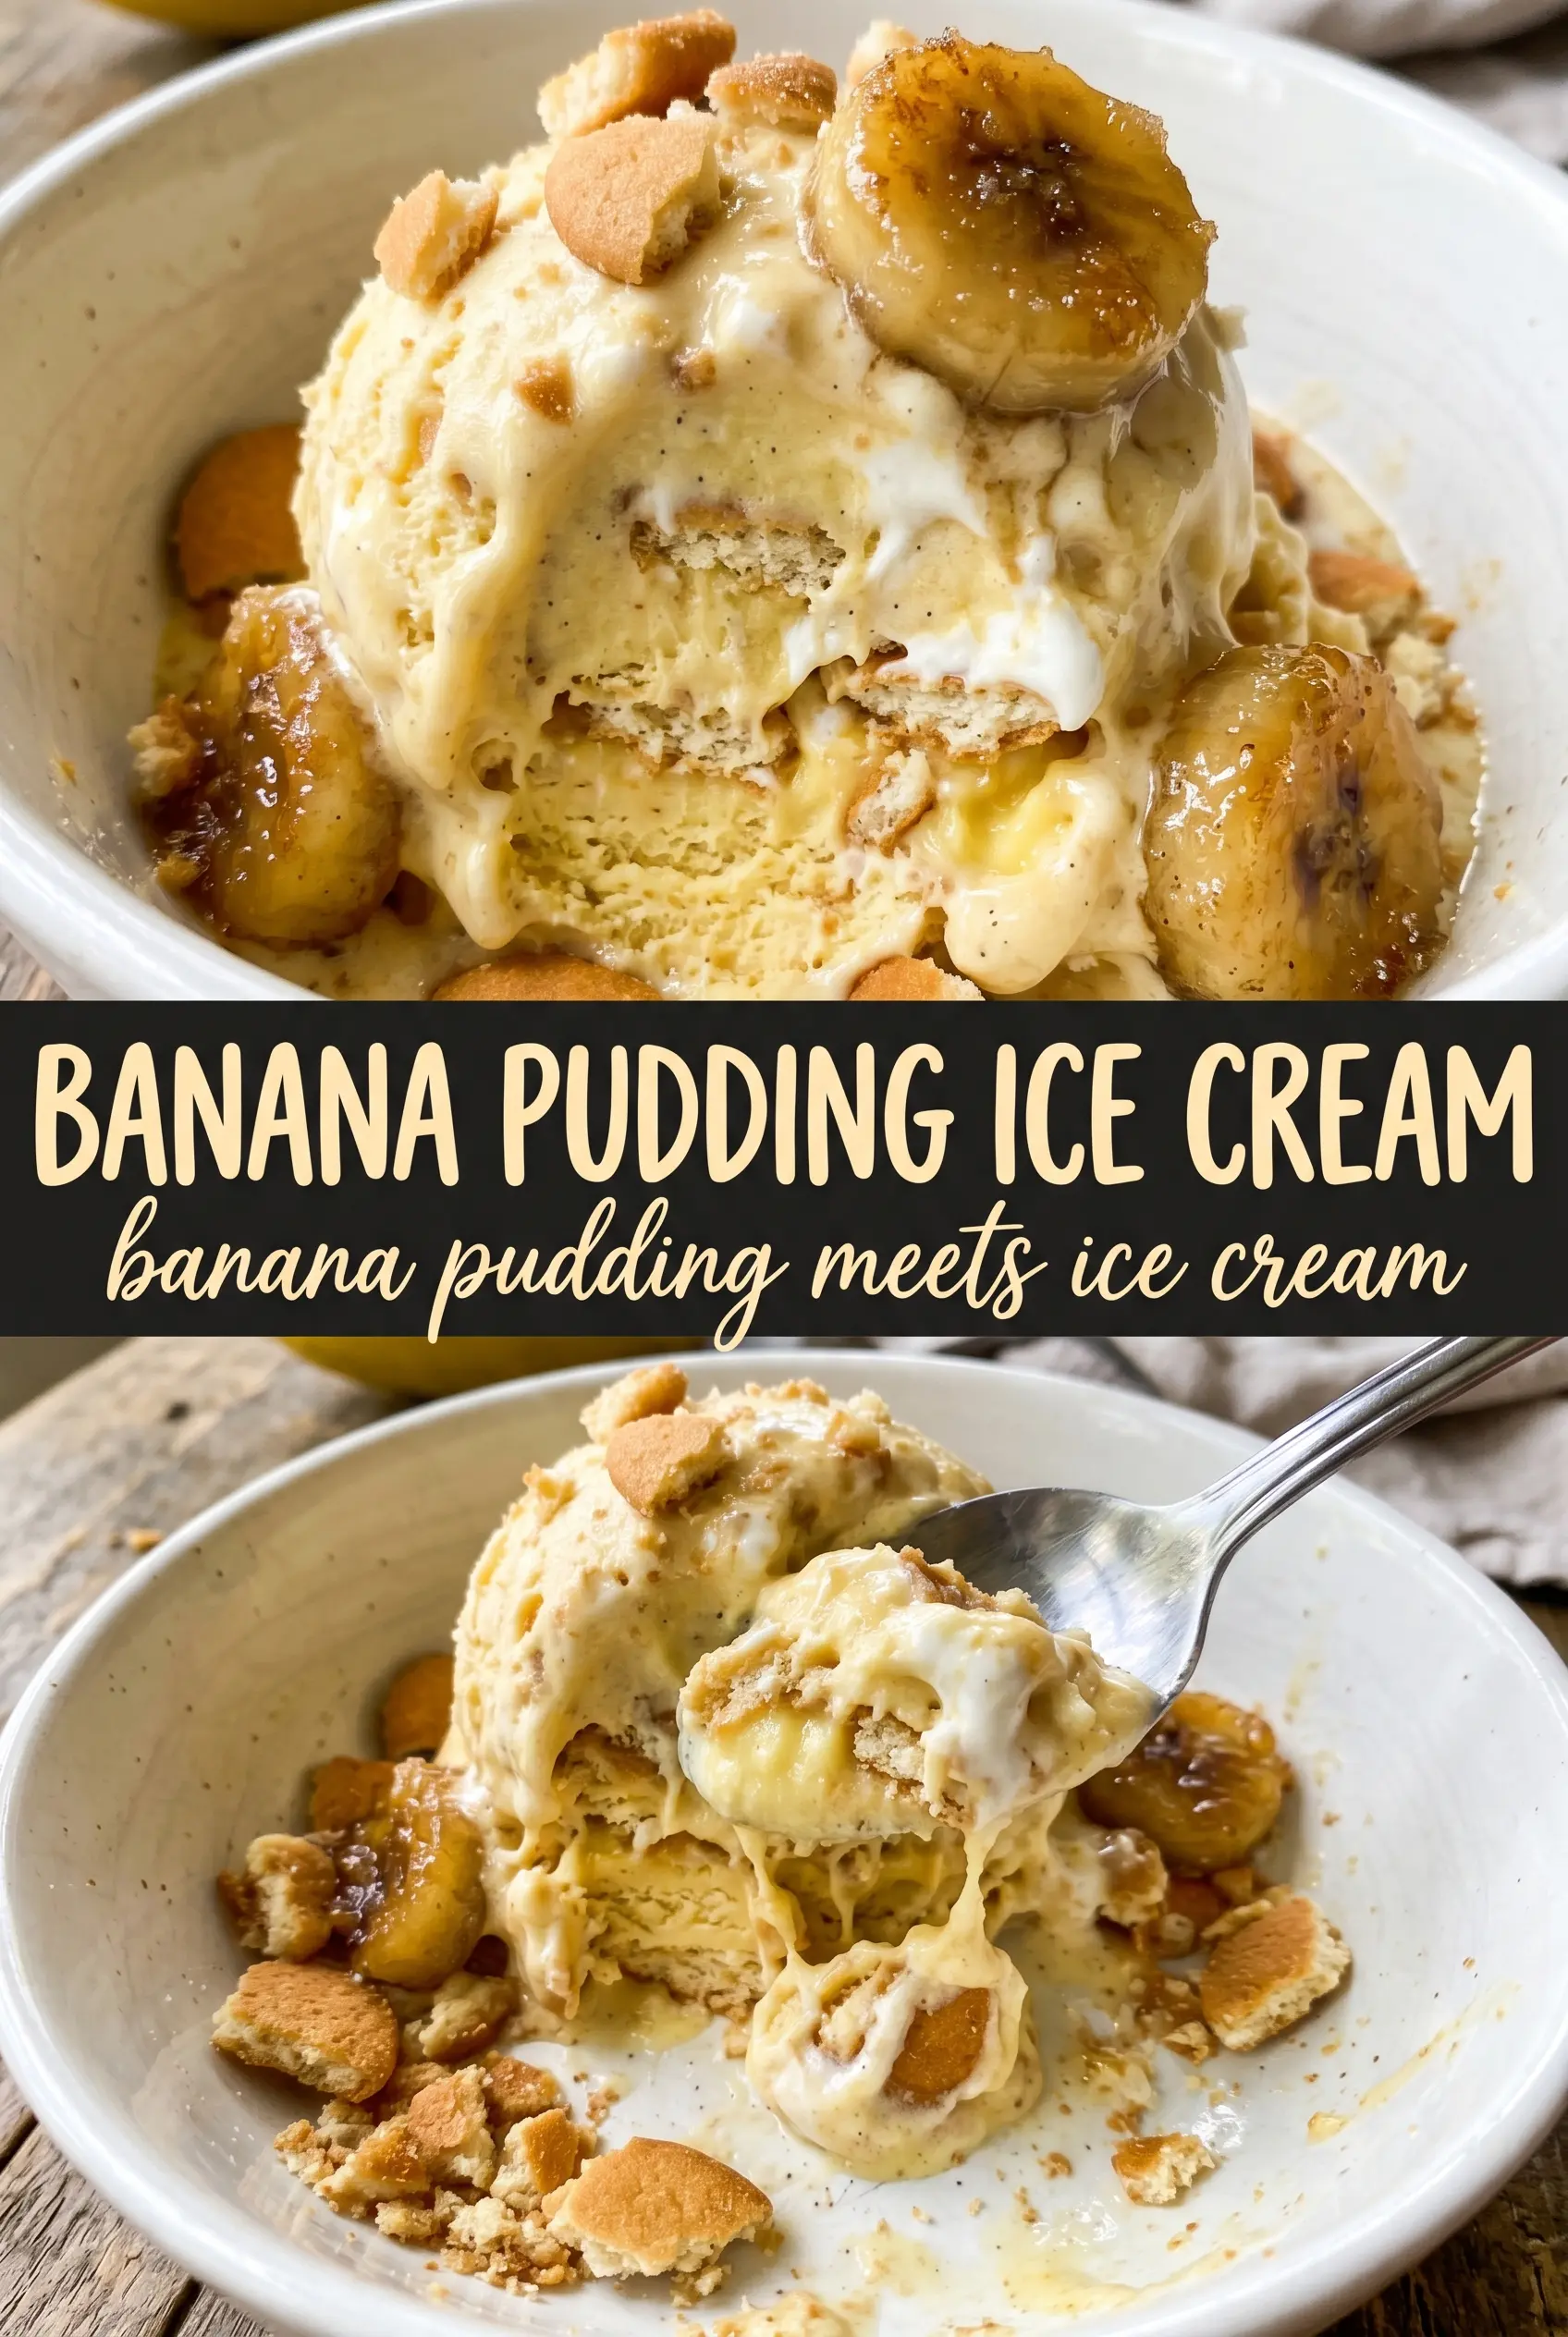
Creamy banana pudding ice cream tastes like a bowl of frozen banana pudding with the best parts left in: soft vanilla custard, real banana flavor, and those buttery Nilla wafer bits that turn slightly tender in the churn. The bananas don’t just sit on top of the dairy here. They get blended smooth and folded into a cooked custard, which gives the ice cream a fuller banana taste than recipes that rely on extract alone.
The custard base matters. Egg yolks give this ice cream its body, but the temperature has to stay controlled so the yolks thicken without scrambling. The banana puree goes in after the custard is cooked and strained, which keeps the flavor fresh and keeps the mixture smooth. Crushing the wafers rather than pulverizing them leaves pockets of texture, and the frozen banana slices hold their shape just long enough to show up in the scoop.
Below you’ll find the exact cue for when the custard is ready, plus the small trick that keeps the wafers from disappearing into the base. If you’ve ever wanted banana pudding in spoonable, freezer-cold form, this version gets there without shortcuts that dull the flavor.
The custard turned out silky and the banana flavor stayed bright after freezing. I loved that the Nilla wafer pieces kept a little crunch instead of disappearing, and my kids asked for seconds before I’d even put the lid back on the container.
Save this banana pudding ice cream for the days when you want frozen custard, real banana flavor, and Nilla wafer crunch in one scoop.
The Custard Has to Cook Low Enough to Stay Silky
Banana pudding ice cream can go grainy fast if the custard is rushed. Once the hot dairy hits the yolks, the pan needs to stay on medium-low heat and the spoon needs to keep moving until the mixture reaches 175F and lightly coats the back of the spoon. If the heat is too high, the yolks tighten into tiny bits instead of turning the base thick and smooth.
Straining the custard is not extra work here. It catches any cooked egg flecks and gives you a cleaner texture before the banana puree goes in. The puree should be stirred in after cooking, not boiled with the custard, so the banana stays fresh-tasting instead of turning muted and overly sweet.
- Egg yolks — These build the custard body and give the ice cream its rich, scoopable texture. There isn’t a real substitute if you want the same pudding-like result.
- Heavy cream and whole milk — The cream gives plushness, while the milk keeps the base from tasting flat and overly heavy. You can swap in half-and-half in a pinch, but the finished ice cream will be a little less rich and a little icier.
- Very ripe bananas — Use bananas with plenty of brown spotting so the puree tastes sweet and fully developed. Underripe bananas make the ice cream taste dusty and bland, even after churning.
- Nilla wafers — Crushed wafers bring the banana pudding part of the flavor home. Roughly crush them by hand so you still get soft cookie pieces instead of sandy crumbs.
- Frozen banana slices — These add little bursts of banana throughout the churn, but they need to be frozen first so they don’t vanish into the base. Slice them before freezing so they fold in easily at the end.
What Each Ingredient Is Actually Doing in This Frozen Dessert
- Base ingredient (cream, milk, or non-dairy) — This provides the foundation and richness. Quality matters.
- Sweetener (sugar, honey, or other) — This sweetens and prevents ice crystals. The ratio is critical.
- Flavor element (vanilla, fruit, or other) — This defines the ice cream personality. Use quality ingredients.
- Stabilizers (egg yolks, cornstarch, or gelatin) — These prevent melting and large ice crystals. Optional but helpful.
- Churning (if using ice cream maker) — This incorporates air and prevents ice crystals. Critical for smooth texture.
- Freezing temperature and time — Proper freezing prevents rock-hard texture. Store at 0°F or below.
- Mix-ins (chocolate, cookies, or fruit) — These add texture and prevent monotone flavor. Add near end of churning.
- No-churn method (if using whipped cream or condensed milk) — This creates creamy texture without ice cream maker. Freezing time is longer.
Building the Banana Base Without Losing the Vanilla Pudding Feel
Blend the bananas first
Blend the ripe bananas until completely smooth before you start the custard. A few lumps in the puree turn into icy pockets later, and you want the banana to melt into the base like it belongs there. Set it aside while you heat the dairy so it doesn’t oxidize more than it has to.
Temper the yolks slowly
Whisk the egg yolks with the sugar, then drizzle in the hot cream and milk in a thin stream while whisking constantly. That gradual addition keeps the yolks from curdling the second they hit the heat. If you pour too fast, you’ll get scrambled specks before the custard even starts to thicken.
Cook just until it lightly coats the spoon
Return the mixture to the pan and cook over medium-low heat, stirring the whole time, until it reaches 175F. The custard should steam and thicken enough to leave a clear path on the spoon when you drag a finger across the coating. Pull it off the heat as soon as it hits temperature; going much farther is how the texture turns eggy and heavy.
Churn, then fold in the cookies
Cool the custard completely, then refrigerate it for four hours so it chills all the way through. Churn it only when it’s cold; a warm base takes longer to freeze and tends to turn soft and greasy. Fold in the crushed wafers and frozen banana slices during the last two minutes so the add-ins stay visible instead of sinking to the bottom.
How to Adapt This for Different Diets and Dessert Cravings
Gluten-Free Banana Pudding Ice Cream
Swap the Nilla wafers for a gluten-free vanilla cookie that crumbles cleanly and tastes buttery, not chalky. The texture will stay the same as long as you add the cookies at the end and don’t over-churn them into dust.
Dairy-Free Version
Use full-fat canned coconut milk in place of the cream and milk, then expect a coconut note in the finished ice cream. The custard won’t taste identical, but the banana and vanilla still come through clearly and the base churns up creamy if you chill it thoroughly first.
More Cookie, Less Fruit
If you want a stronger pudding vibe, increase the crushed wafers by another half cup and keep the banana slices at the amount listed. The extra cookies give you more of that classic banana pudding texture without turning the whole pint dense.
Storage and Reheating
- Refrigerator: The custard base can be refrigerated up to 2 days before churning. After freezing, the ice cream keeps its best texture for about 2 weeks, then the wafers start to soften more.
- Freezer: Freeze in a shallow airtight container for the smoothest set. Press parchment or plastic wrap directly on the surface if you want to reduce ice crystals.
- Reheating: This dessert doesn’t need reheating. Let it sit at room temperature for 5 to 10 minutes before scooping so the custard softens at the edges instead of cracking the scoop.
Answers to the Questions Worth Asking
Banana Pudding Ice Cream
Ingredients
Equipment
Method
- Blend the very ripe bananas until completely smooth, then set aside.
- Beat the egg yolks with the granulated sugar until the mixture looks slightly lighter and smooth.
- Heat the heavy cream and whole milk in a medium saucepan over medium-low heat until steaming, not boiling.
- Slowly whisk the steaming dairy into the beaten egg yolks and sugar to temper, keeping the mixture smooth.
- Cook over medium-low heat, stirring constantly, until the custard reaches 175°F, and keep scraping the bottom so it thickens evenly.
- Pour the custard through a fine-mesh strainer, then stir in the vanilla extract, salt, and the banana puree until fully combined.
- Cool the custard completely, then refrigerate for 4 hours.
- Churn the chilled custard in an ice cream maker, and fold in the crushed Nilla wafers and frozen banana slices during the last 2 minutes.
- Transfer to a container and freeze until scoopable.


