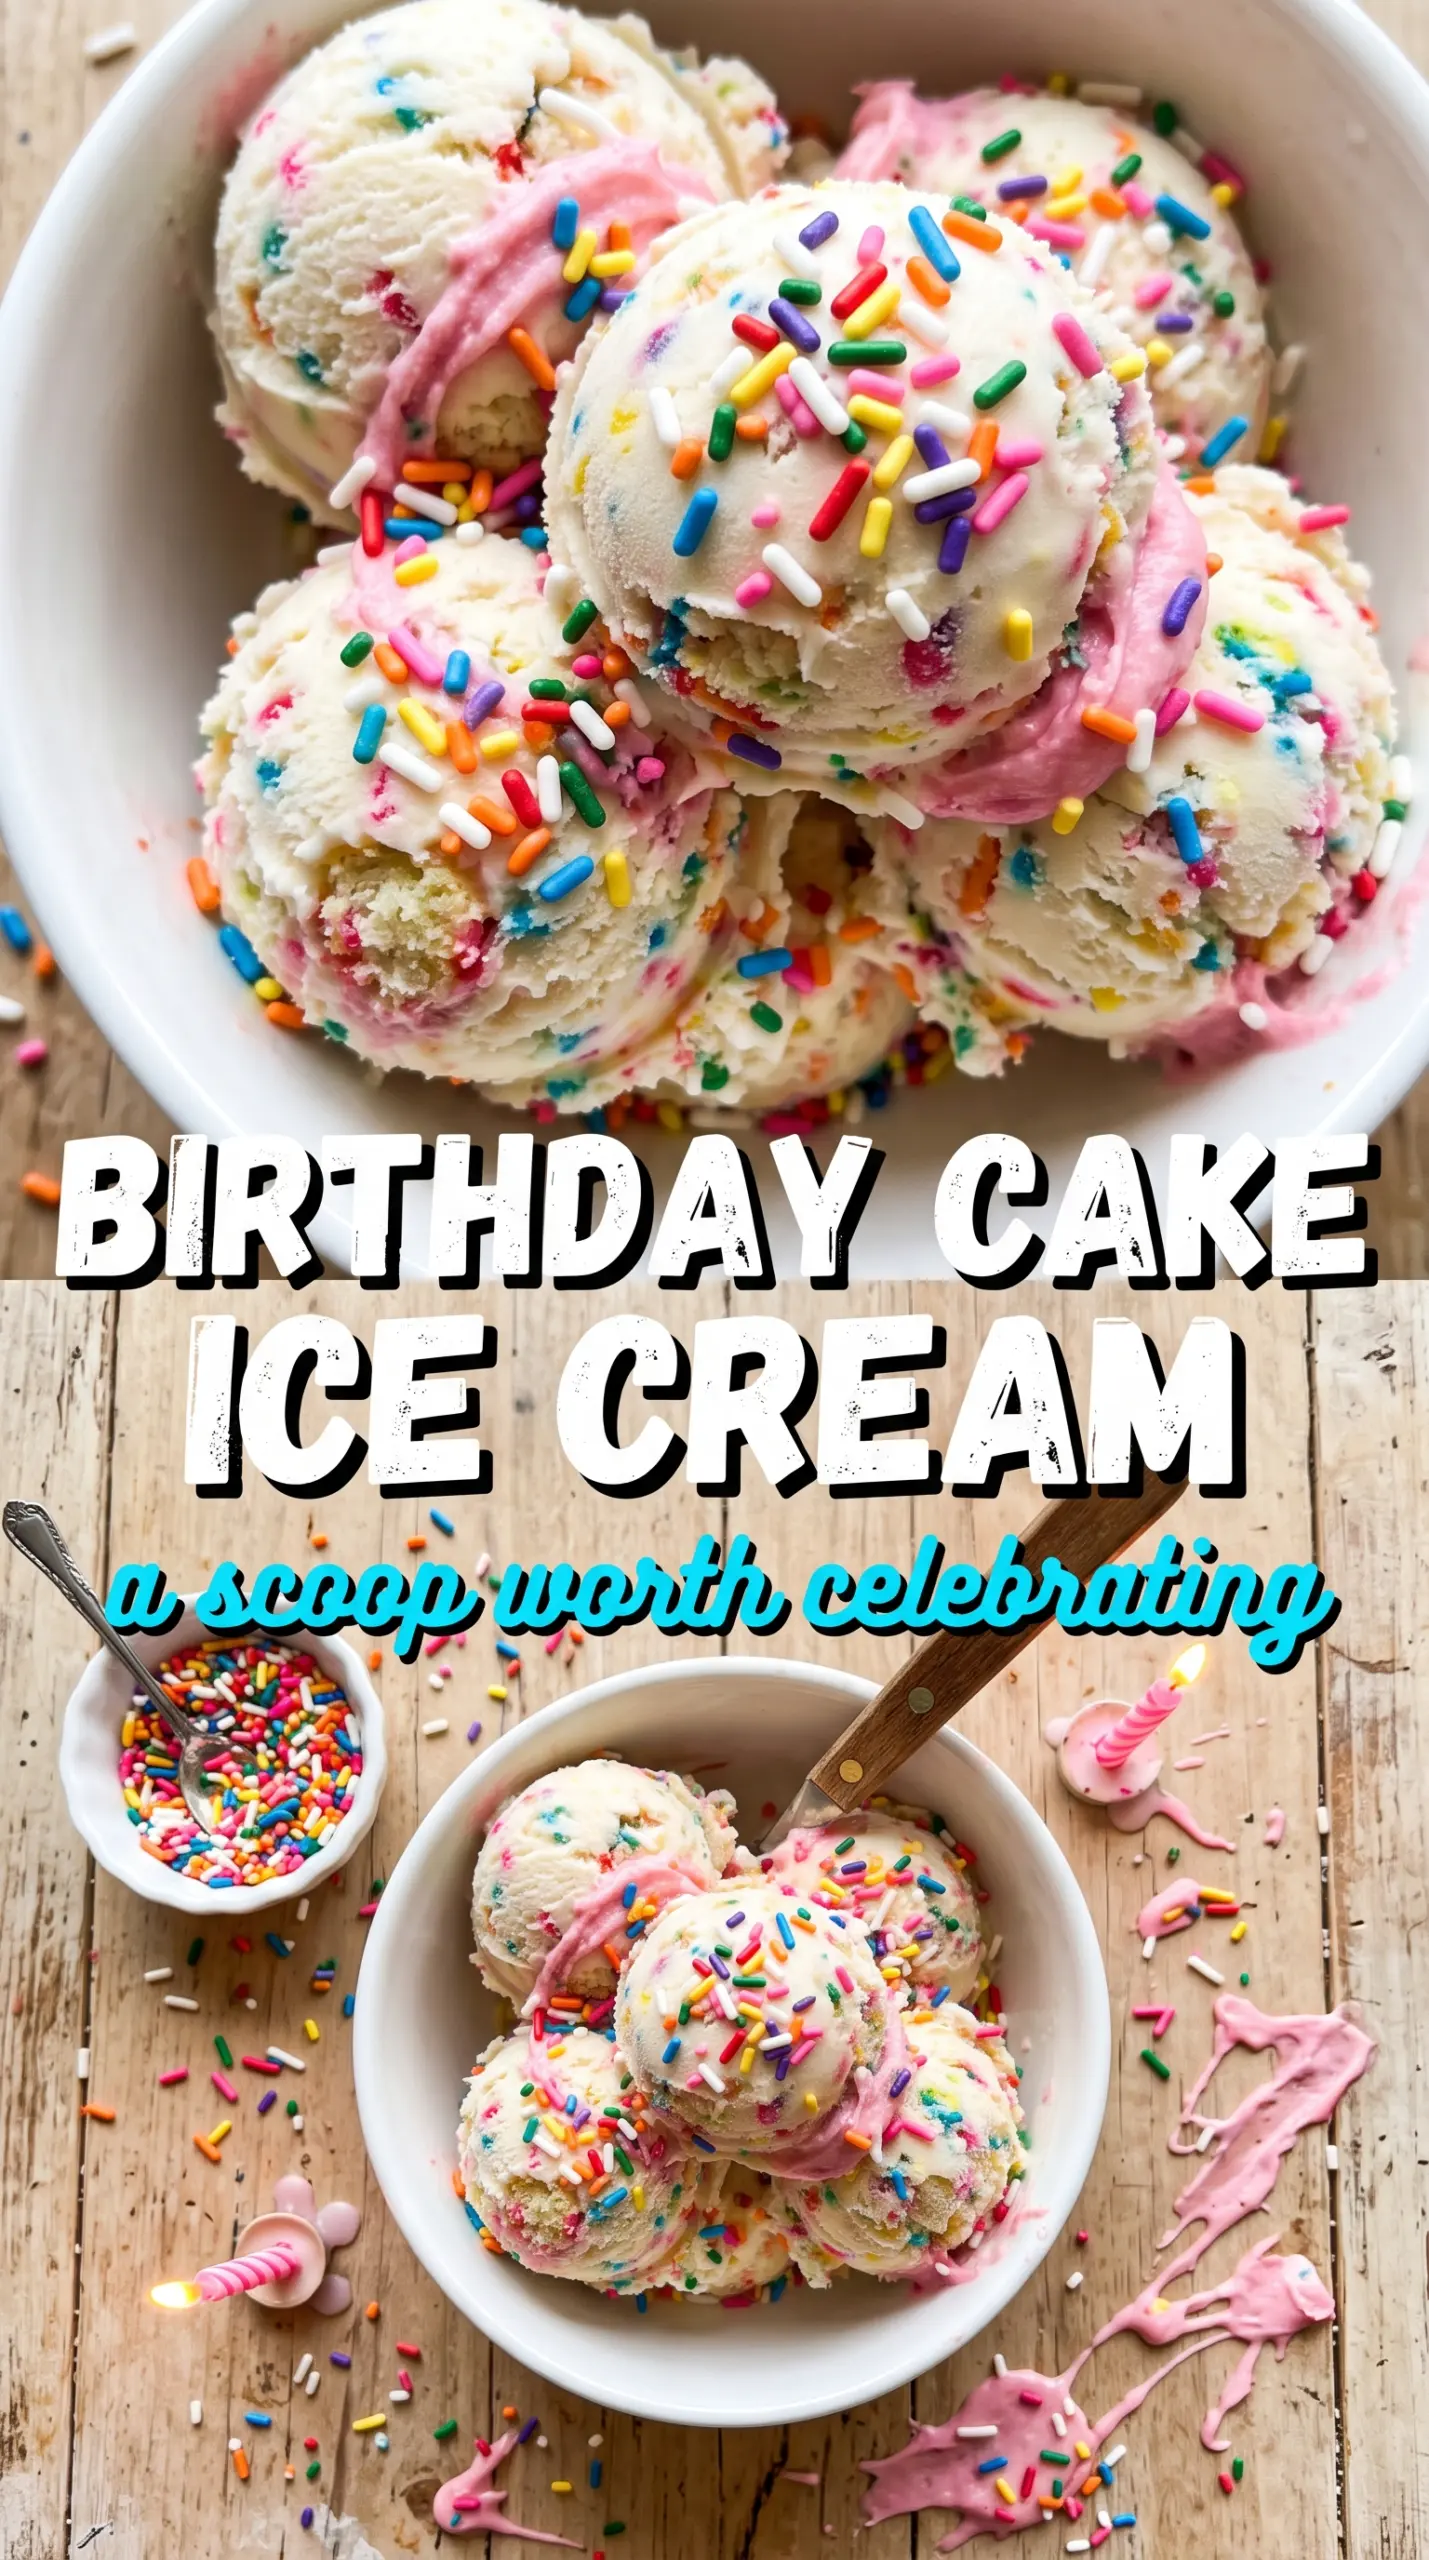
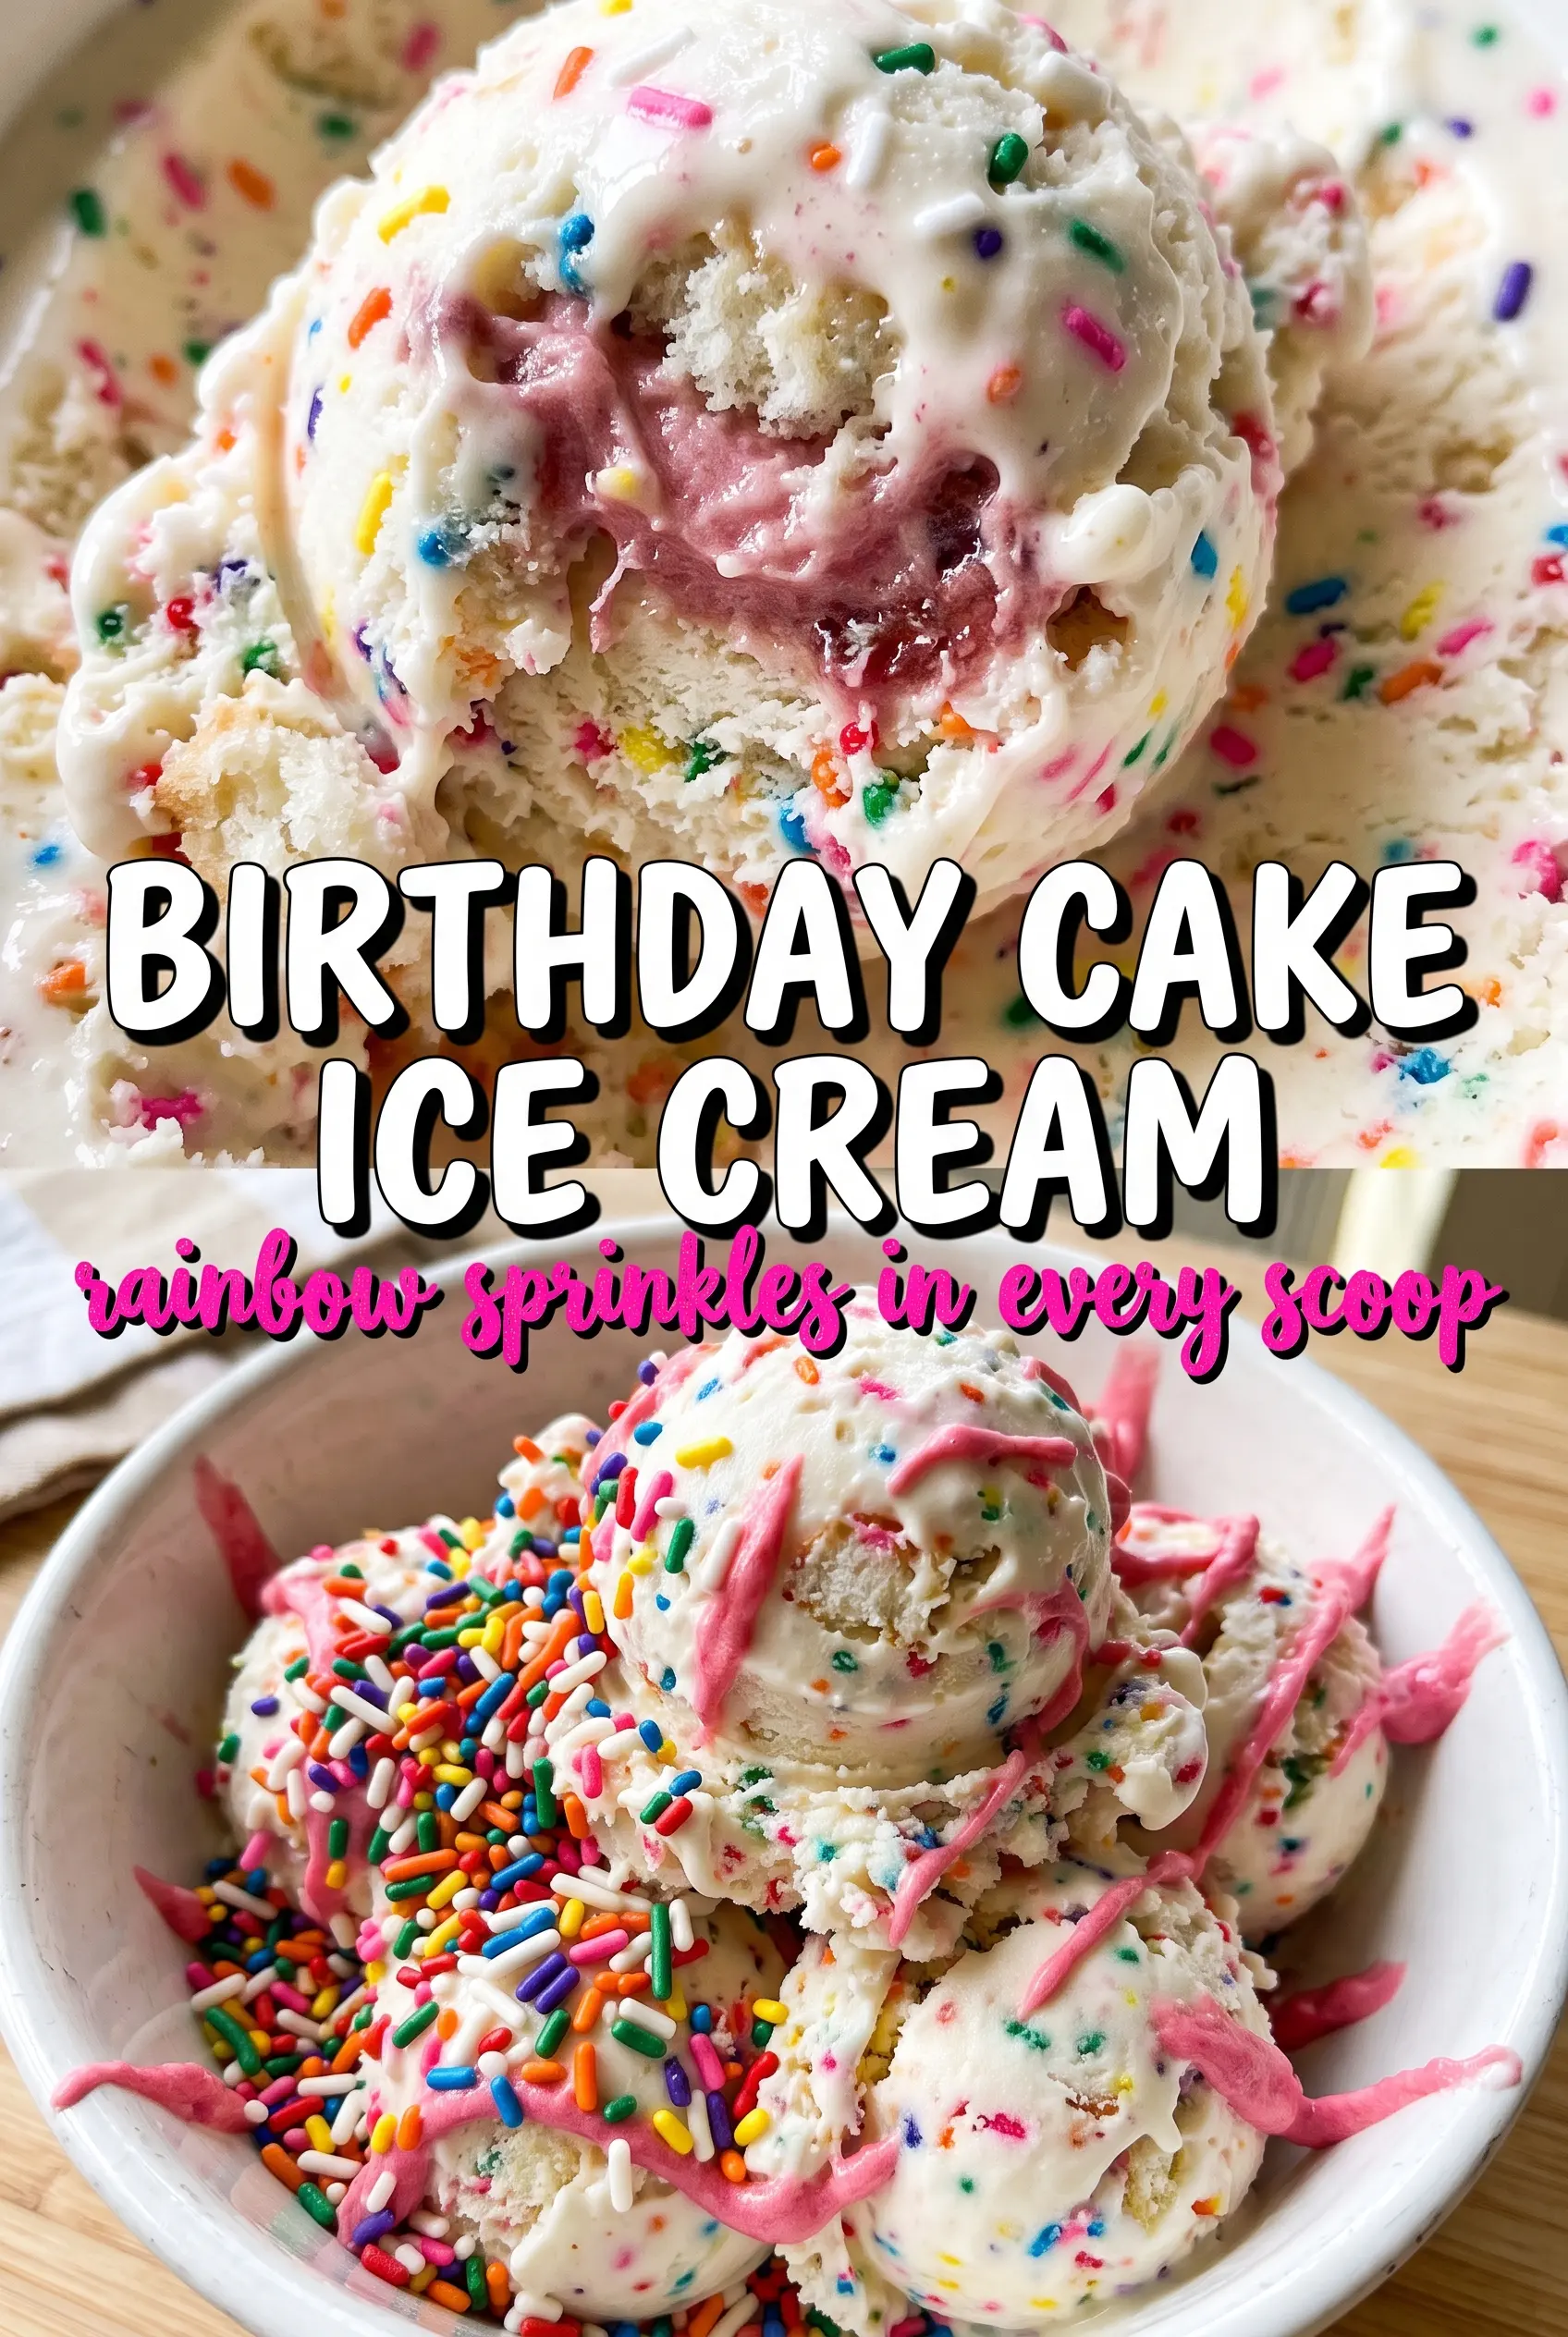
Creamy birthday cake homemade ice cream tastes like the inside of a funfetti layer cake turned into a cold, scoopable dessert. It’s rich without being heavy, with that pale vanilla-cake flavor that lands somewhere between frosting and cake batter, and the rainbow sprinkles keep every bite playful instead of one-note.
The trick is building a custard base, not just whisking dairy and sugar together. Egg yolks give this ice cream its smooth body, while butter extract does the heavy lifting for that bakery-style birthday cake flavor. Vanilla rounds it out, almond adds a little cake-shop depth, and the sprinkles go in at the very end so they stay colorful instead of bleeding through the whole batch.
Below, I’m walking through the part that matters most: how to cook the custard without scrambling the eggs, when to add the extracts so they don’t fade, and the best way to keep the sprinkles bright in the finished ice cream.
The custard came out silky and the almond extract gave it that real birthday cake flavor without tasting artificial. I folded the sprinkles in at the end and they stayed bright all the way through freezing.
Save this birthday cake homemade ice cream for the next time you want that funfetti cake flavor in a scoopable, no-cake-needed dessert.
The Custard Base Is What Keeps the Sprinkle Ice Cream Smooth
Ice cream with this much flavor needs a custard base if you want it creamy instead of icy. The egg yolks thicken the mixture enough to give it body after churning, which matters here because butter extract and sprinkles can make a simple base taste flat or thin. If your ice cream has ever frozen into a hard, icy block, the base was probably undercooked or too low in fat.
The other thing that makes a difference is temperature control. Add the hot dairy slowly to the yolks, then cook the custard gently until it reaches 175F. Push it much higher and you risk scrambled eggs; stop too early and it won’t thicken enough to stay silky once frozen.
What Each Flavoring Is Actually Doing Here
- Heavy cream — This is what gives the finished ice cream its lush, scoopable texture. Lower-fat dairy will work in a pinch, but the ice cream won’t taste as rich and it will freeze harder.
- Whole milk — The milk keeps the base from becoming too heavy. Don’t swap in skim milk here unless you want a thinner, icier result.
- Egg yolks — These make the custard smooth and stable. There isn’t a clean substitute that gives the same velvety finish, which is why this style of ice cream tastes more luxurious than a no-cook base.
- Butter extract — This is the shortcut to real birthday cake flavor. It tastes much closer to cake batter than just vanilla alone, and it’s the ingredient I’d keep if you’re only buying one specialty flavoring.
- Almond extract — Use it sparingly. Just a little gives the ice cream that classic bakery note you find in funfetti cakes, but too much makes it taste like marzipan.
- Rainbow sprinkles — Add them at the end of churning so they stay defined and festive. Jimmies work best because they hold their shape better than nonpareils, which can bleed color into the base.
How to Cook the Custard Without Scrambling It
Warming the Dairy First
Heat the cream and milk until steaming, not boiling. You want small wisps of steam and a hot pan, not a bubbling edge, because overheated dairy can seize the yolks when you combine them. Whisk the sugar into the yolks until the mixture looks pale and slightly thickened before you add the hot liquid.
Tempering the Eggs Slowly
Pour the hot dairy into the yolks in a thin stream while whisking constantly. That gradual addition raises the temperature gently and keeps the eggs from cooking in streaks. If you see little yellow bits in the bowl at this stage, stop and whisk harder before they turn into scrambled egg pieces in the saucepan.
Cooking to the Right Thickness
Return everything to the saucepan and stir constantly over medium-low heat until it reaches 175F. The custard should coat the back of a spoon and leave a clean line when you run your finger through it. Don’t chase a boil; once custards boil, they thicken too fast and usually turn grainy.
Finishing and Chilling Fully
Strain the custard, then stir in the butter extract, vanilla, almond extract, and salt. The straining step catches any tiny egg bits before they make the texture rough. Chill the base completely for at least 4 hours, because a cold base churns faster and freezes with a smoother, finer texture.
No-Almond Version
Skip the almond extract and add a little extra vanilla if you need a nut-free version or just want a softer, more straight-ahead vanilla cake flavor. You’ll lose a bit of that bakery-shop depth, but the ice cream will still taste like birthday cake, just less like the crumb and more like the frosting.
Dairy-Light Swap
You can replace part of the heavy cream with half-and-half, but don’t replace all of it. The base will churn, but the finished texture will be less rich and more likely to freeze firm. This is the swap to use only if you care more about cutting richness than about getting the creamiest scoop.
Extra-Sprinkle Birthday Party Style
Fold in a little extra sprinkle mix at the end and save another spoonful for the top when serving. Keep the add-in amount modest, though, because too many sprinkles can make the texture feel crunchy instead of creamy.
Storage and Reheating
- Refrigerator: Store the base before churning for up to 24 hours once it’s chilled. After churning, keep the ice cream in a tightly sealed container in the freezer instead of the fridge.
- Freezer: It freezes well for about 2 weeks with the best texture in the first few days. Press parchment or plastic wrap directly on the surface before sealing to reduce ice crystals.
- Reheating: Let it sit at room temperature for 5 to 10 minutes before scooping. If it’s frozen solid, don’t microwave the whole container; that melts the edges before the center softens.
Questions I Get Asked About This Recipe
Birthday Cake Homemade Ice Cream
Ingredients
Equipment
Method
- Heat the heavy cream and whole milk in a saucepan until steaming, then slowly whisk the hot dairy into the egg yolks and granulated sugar. Keep whisking to combine smoothly with no lumps.
- Return the mixture to the saucepan and cook to 175°F while stirring constantly. The custard should thicken slightly as it reaches temperature.
- Strain the custard, then stir in butter extract, vanilla extract, almond extract, and salt. Mix until fully smooth, then cool completely.
- Refrigerate the custard for 4 hours until thoroughly cold. Cover it to prevent a skin from forming.
- Churn in an ice cream maker until thick and softly frozen, then fold in rainbow sprinkles during the last 2 minutes. This keeps the sprinkles bright and evenly dispersed.
- Freeze the churned ice cream until firm, then scoop and serve with more sprinkles. Add extra sprinkles on top for a festive, confetti look.


