Blackened corn earns its place on the table fast: the outside turns dark and crackly, the kernels stay sweet and juicy, and every bite carries that smoky Cajun heat that keeps pulling you back in. The trick is getting a real crust, not just browned seasoning, so the corn tastes bold instead of dusty.
This version works because the butter acts like glue and the cast iron pan does the heavy lifting. The spice blend has enough paprika, thyme, and oregano to taste layered, while the cayenne and black pepper give it that sharp edge. If the pan isn’t hot enough, the spices just stain the corn; when it’s properly hot, they char into something deeper and much more interesting.
Below, I’ll walk you through the exact heat level and turning rhythm that keeps the seasoning from burning before the kernels cook. I’ve also included a few smart swaps for when you want to make it milder, dairy-free, or turn it into a bigger meal.
The seasoning crust got properly dark in the skillet, but the corn inside was still sweet and juicy. I served it with grilled chicken and my husband kept grabbing extra pieces before dinner was even on the table.
Save this blackened corn for the nights when you want smoky Cajun spice, sweet kernels, and a skillet-charred crust.
The Skillet Has to Be Smoking Hot Before the Corn Goes In
Blackened corn fails when the pan is only warm. At that temperature, the butter melts, the spices loosen, and everything slides around without ever forming that dark crust. You want the cast iron hot enough that the corn sizzles the second it touches down, because that instant sear is what locks the seasoning onto the kernels.
Turning every 2 to 3 minutes matters here. If you leave one side parked too long, the spices scorch in patches and go bitter before the kernels cook through. Rotate often enough that each side gets a chance to blacken, but don’t keep poking at it every few seconds or you’ll lose the crust before it sets.
- The corn should sound loud and active when it hits the pan.
- Dark speckles and charred edges are the goal, not a uniform tan color.
- If the butter starts pooling in the pan before the corn chars, the heat isn’t high enough.
- Pull the corn as soon as the kernels are tender and the crust looks deeply bronzed to nearly black in spots.
What Each Ingredient Is Actually Doing in This Dish
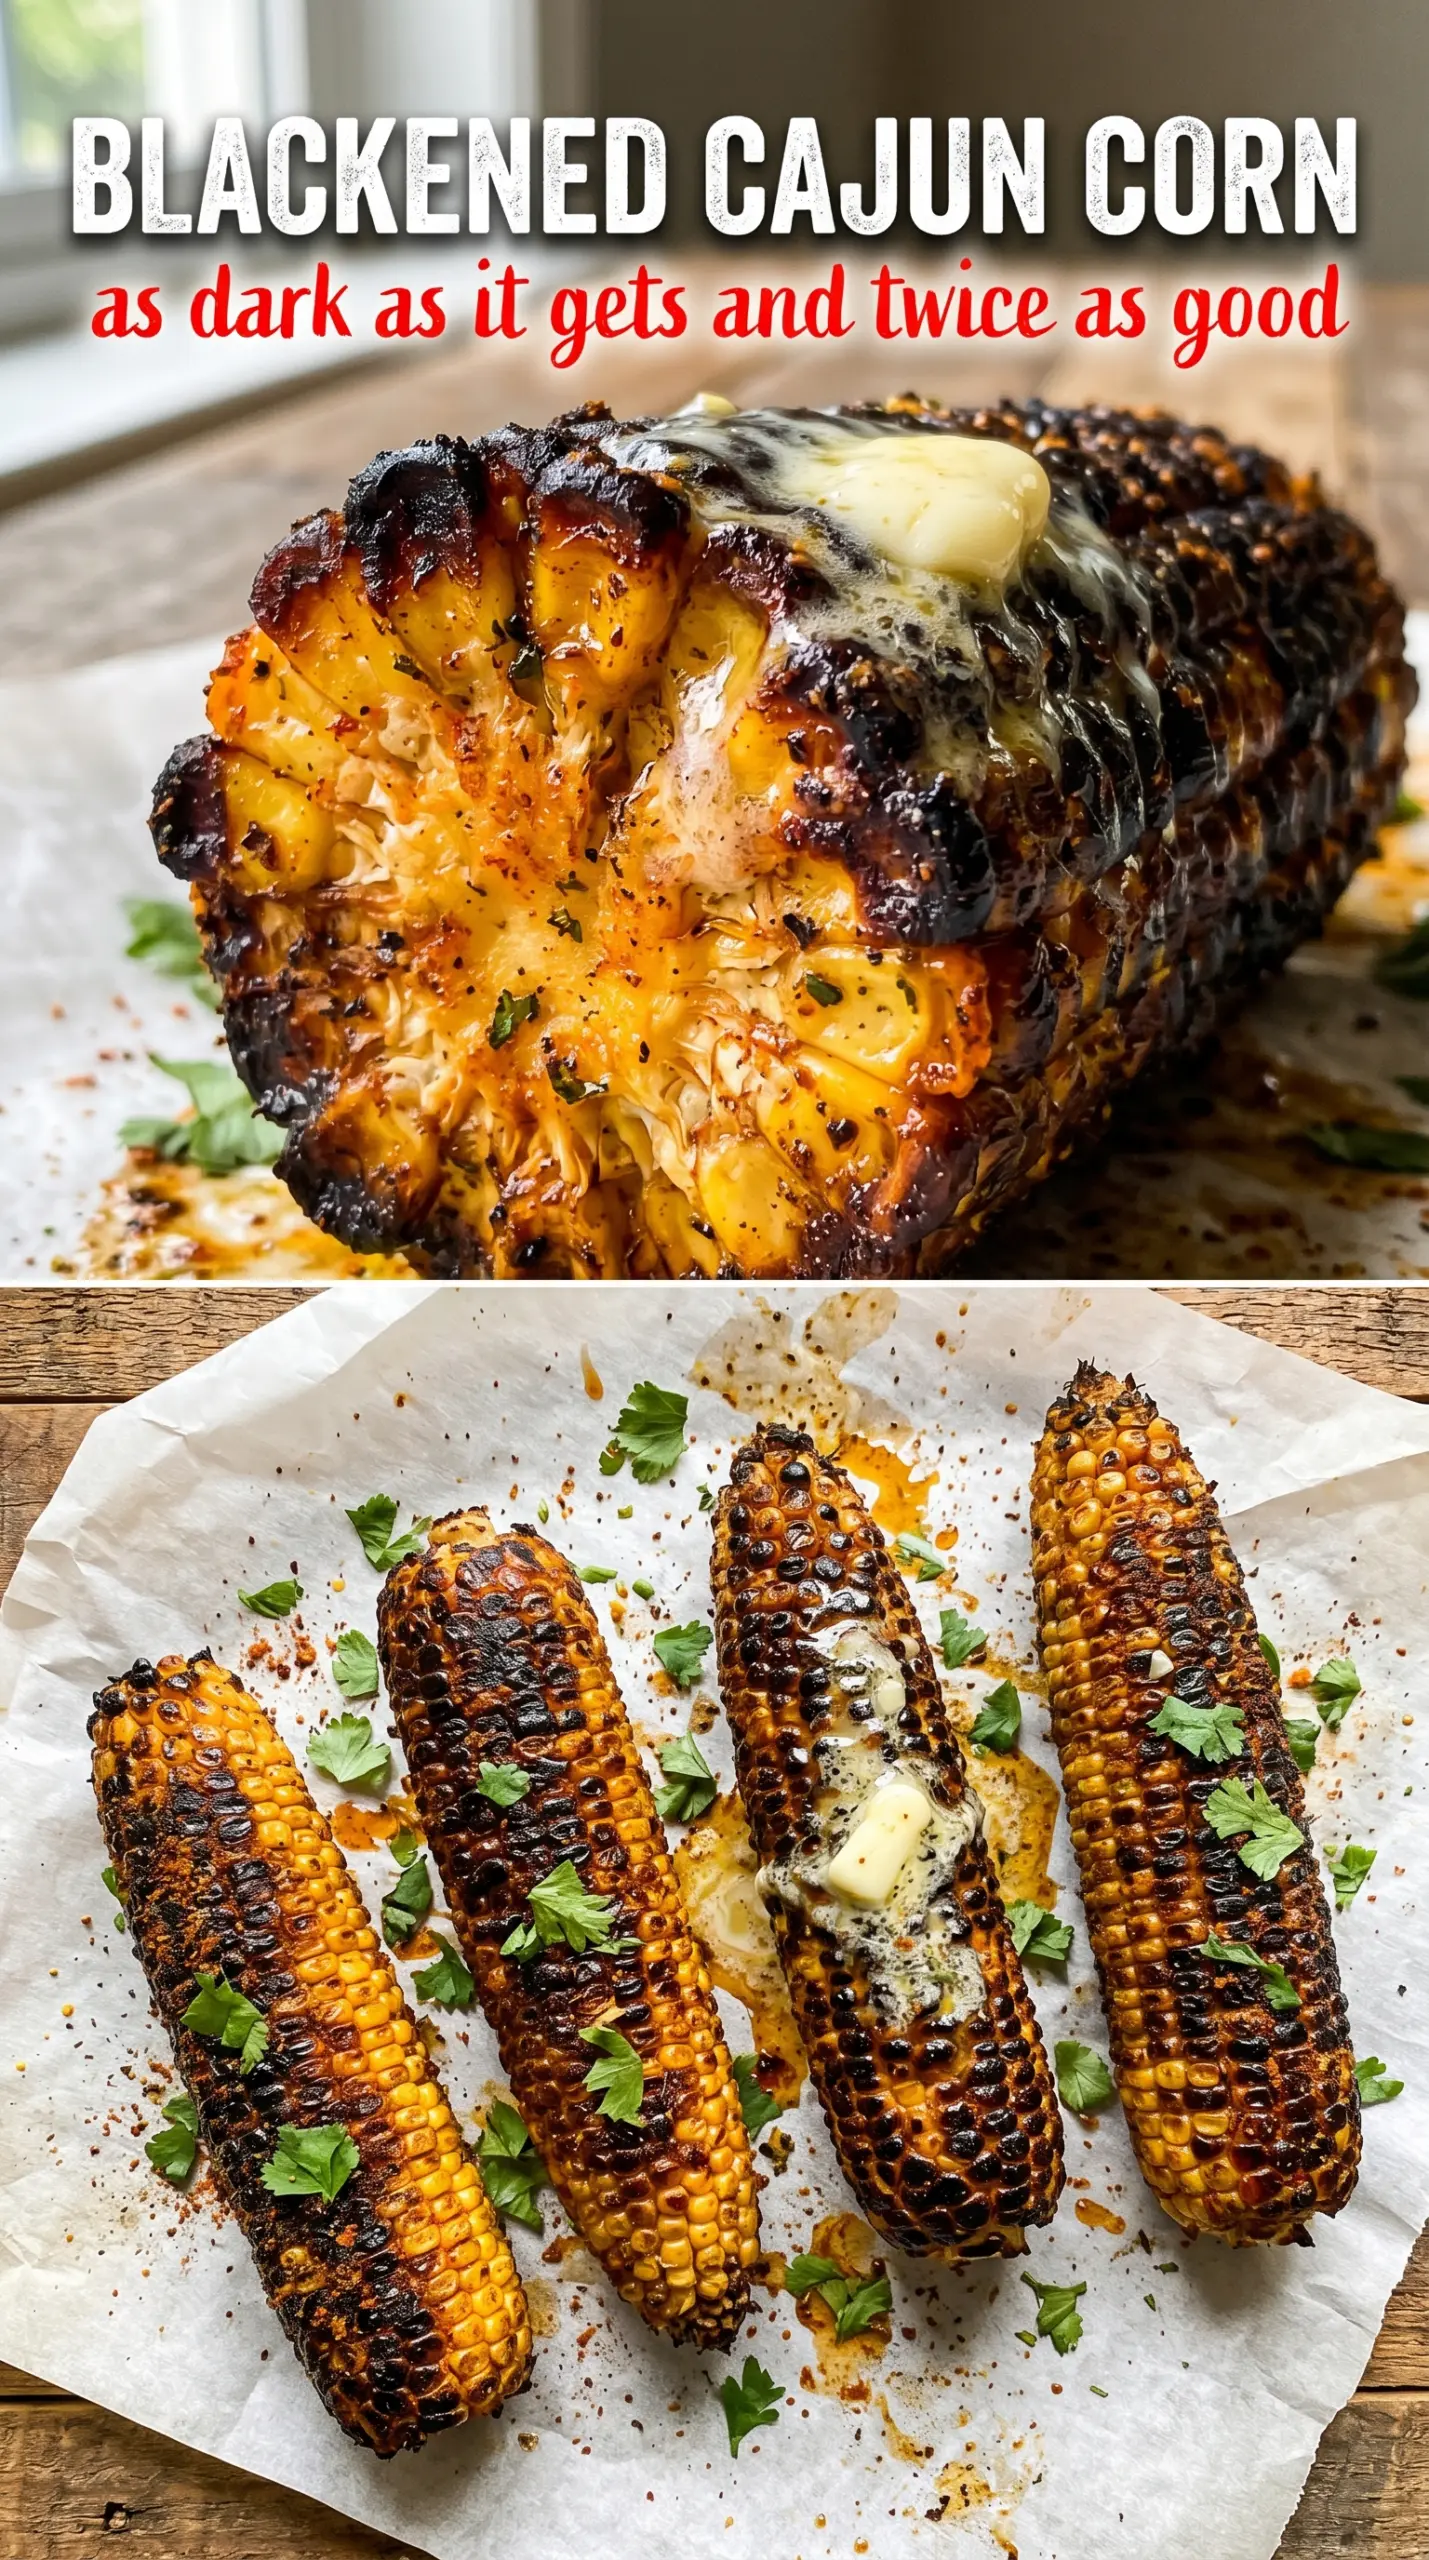
- Corn on the cob — Fresh ears matter more than almost anything else here because the sweetness of the kernels balances the spice. If you’re buying ahead, look for plump kernels and husks that feel snug, not dried out.
- Unsalted butter — This is what helps the seasoning cling and it also encourages browning. Olive oil will work in a pinch, but the crust won’t taste as rich and the spices won’t bake onto the corn quite the same way.
- Smoked paprika — This gives the corn that deep red color and a smoky base before the char even starts. Regular paprika won’t give the same depth, so keep the smoked version if you can.
- Cayenne and black pepper — These are where the heat lives. You can cut the cayenne in half for a milder side dish, but don’t skip the black pepper because it adds a sharper, more savory bite than cayenne alone.
- Thyme and oregano — These herbs make the seasoning taste like a real blackening blend instead of just spicy dust. Dried herbs work best here because fresh herbs would burn before the corn finishes cooking.
The Fastest Way to Get a Real Blackened Crust
Mix the seasoning first
Stir the smoked paprika, garlic powder, onion powder, thyme, oregano, cayenne, black pepper, and salt together before you touch the corn. A fully mixed blend coats more evenly, which matters because clumps of paprika will burn faster than the rest of the spice mix. You want an even, sandy-looking seasoning so every ear gets the same level of heat and char.
Butter and coat every ridge
Brush the melted butter over the corn from top to bottom, then press the ears firmly into the spice blend so the kernels pick up a heavy coat. Rolling alone leaves bare spots; pressing helps the seasoning settle into the grooves between kernels. If the butter starts dripping off before you season, the corn is too wet or the butter cooled too much.
Cook hot and turn with purpose
Set the corn in a smoking-hot cast iron skillet or grill pan and leave it alone long enough to develop a crust before turning. After 2 to 3 minutes, rotate it to a new side and keep going until the seasoning is deeply charred in spots and the kernels are tender. If the pan smokes but nothing darkens, the corn is crowded or the heat dropped too fast.
Finish with acid
Lemon wedges aren’t garnish here; they wake up the char and keep the spices from tasting flat. A squeeze at the table sharpens the butter and makes the smoky crust taste cleaner. Add parsley last for color and a fresh edge, not because the dish needs more green, but because it gives the plate a little lift after all that heat.
How to Adapt This for a Milder Side, a Dairy-Free Version, or the Grill
Make it milder without losing the blackened flavor
Cut the cayenne down to a pinch and keep the black pepper, smoked paprika, and herbs the same. You’ll lose some heat, but the corn will still taste boldly seasoned and smoky instead of flat or bland.
Use olive oil for a dairy-free version
Brush the corn with olive oil instead of butter and keep the pan very hot. The spice crust will still blacken, but it won’t have quite the same rich finish, so the lemon squeeze at the end becomes even more important.
Move it outside for a grill-kissed version
Place the seasoned corn directly on a hot grill and turn it every couple of minutes until the kernels are blistered and the spice rub has darkened. You’ll get a little less of that crusty skillet coating, but the smoke from the grill adds another layer that works beautifully with the Cajun spices.
Storage and Reheating
- Refrigerator: Store leftover corn in an airtight container for up to 3 days. The crust softens a bit, but the flavor holds up well.
- Freezer: It doesn’t freeze well on the cob. The kernels lose their juicy texture after thawing, so this is best made fresh.
- Reheating: Reheat in a hot skillet or under the broiler just until warmed through. Don’t microwave it if you want to keep any trace of the blackened crust; it turns the seasoning soft and muted.
Answers to the Questions Worth Asking
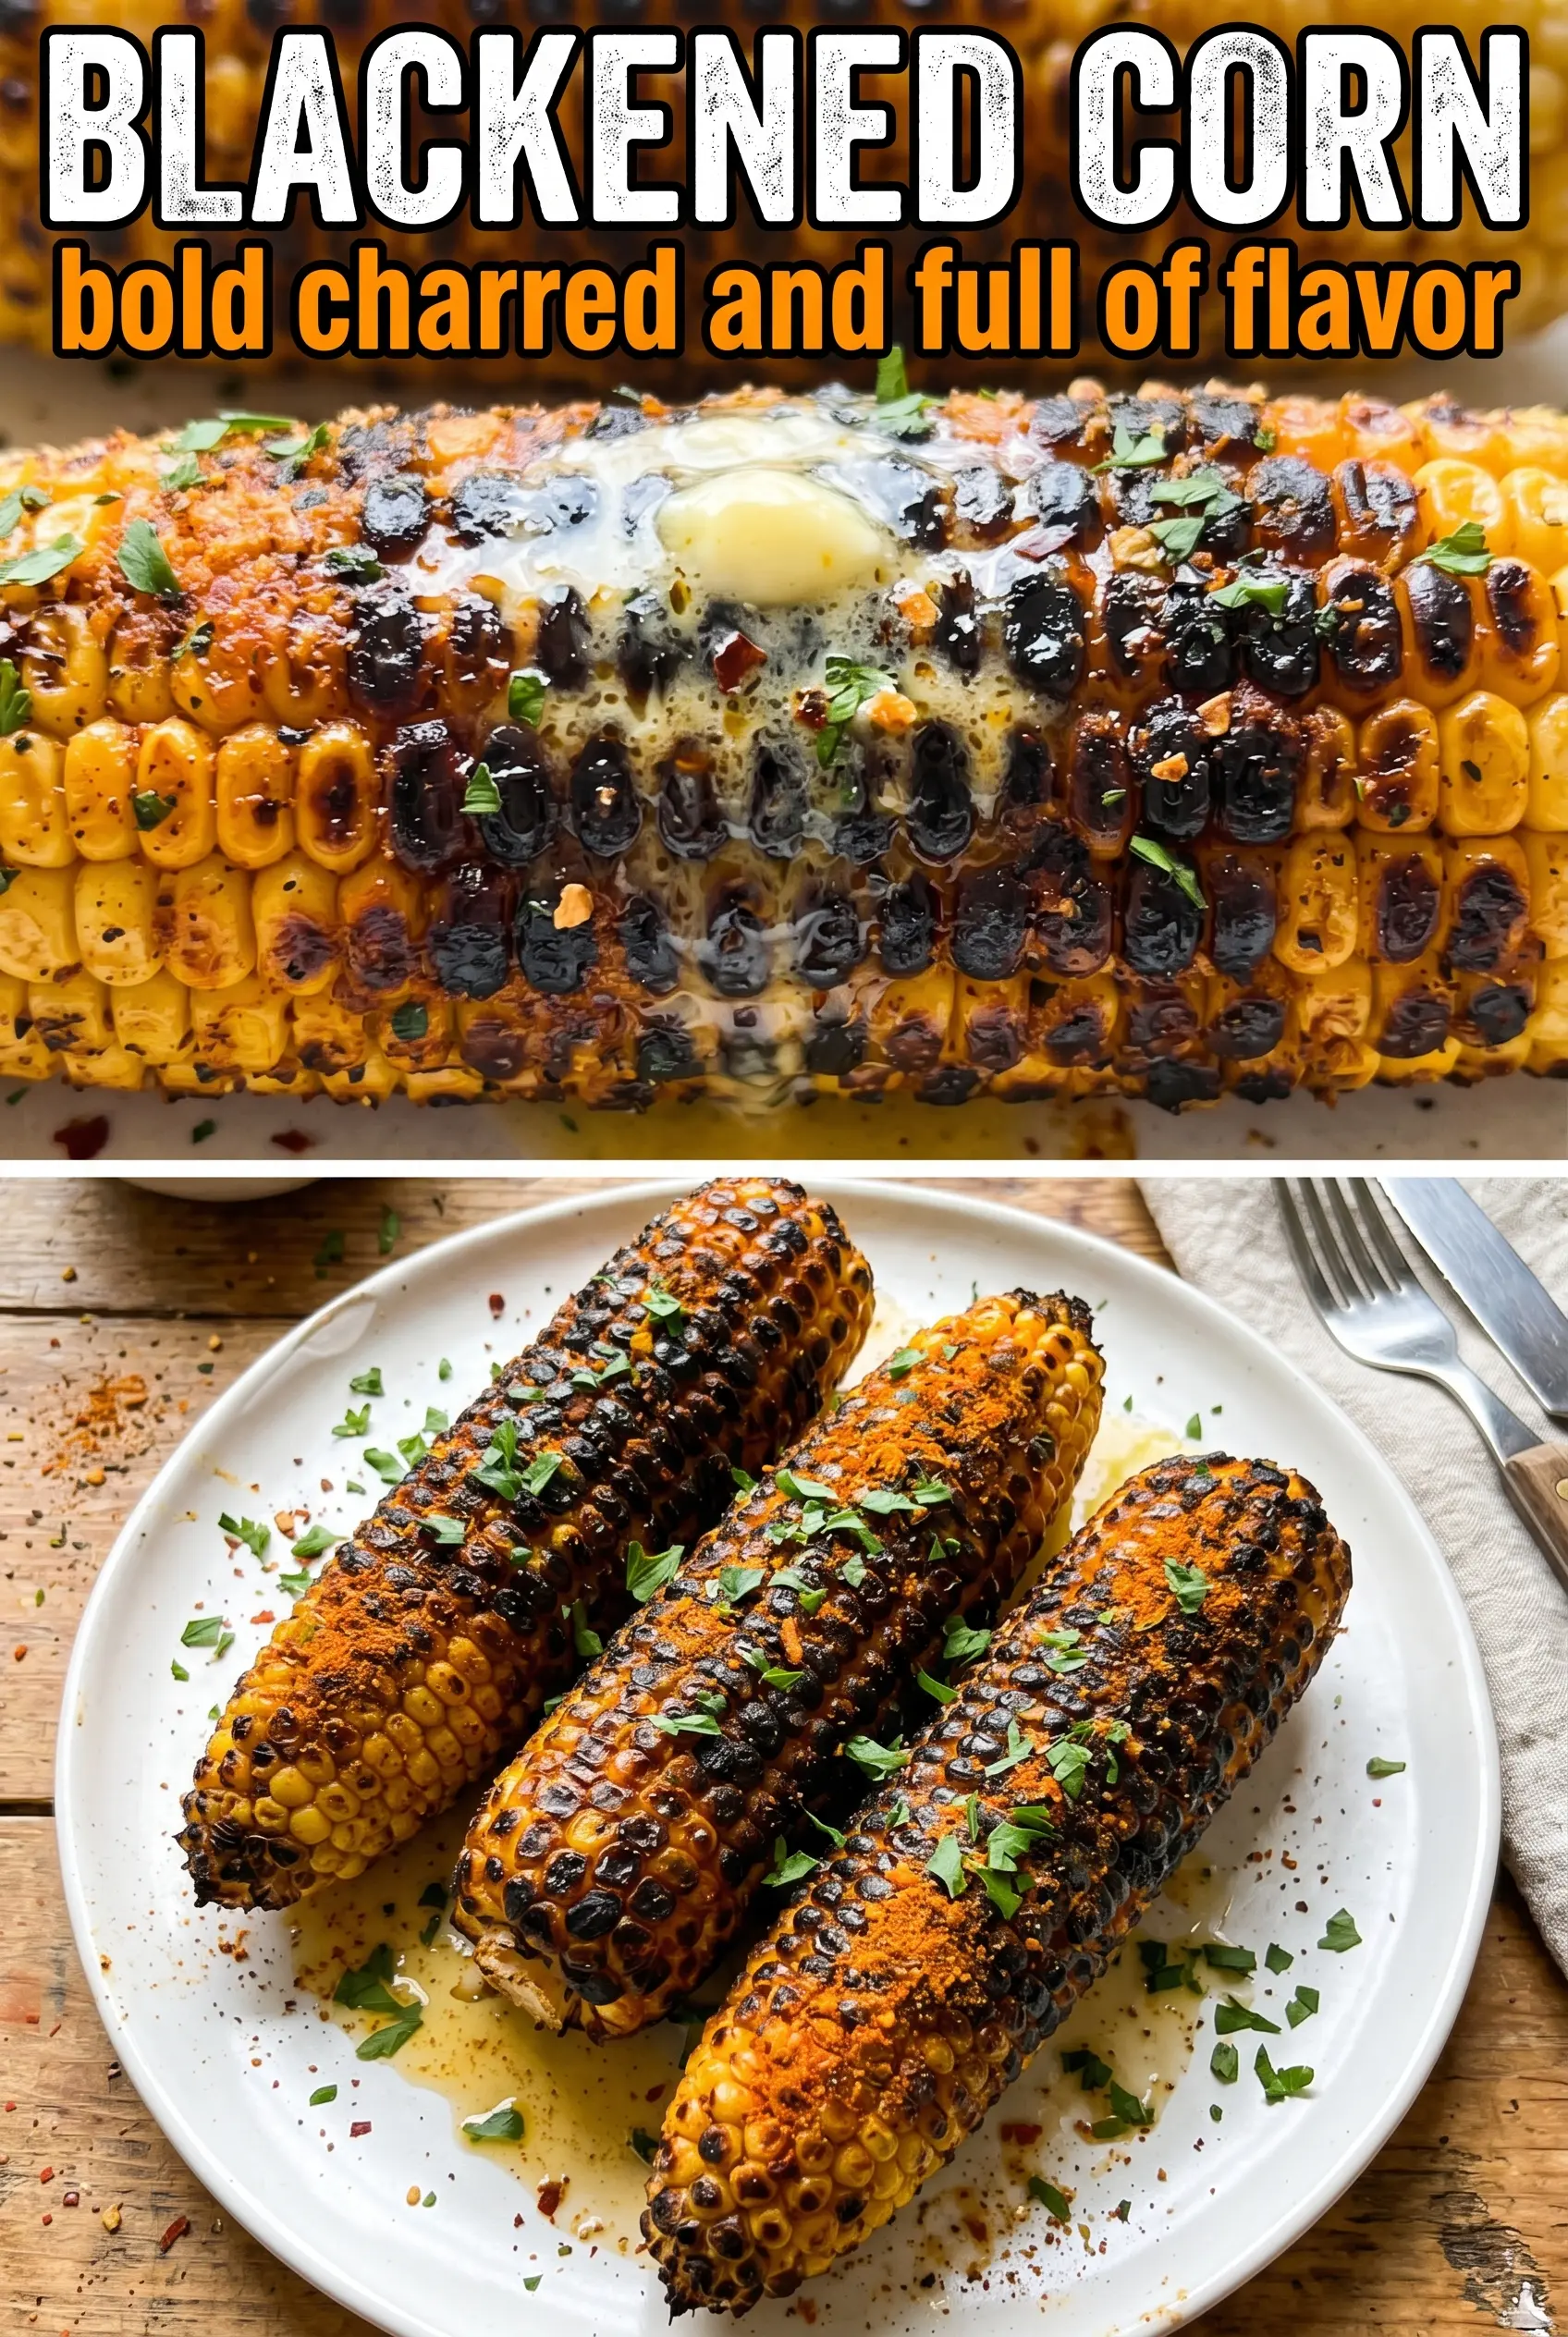
Blackened Corn
Ingredients
Equipment
Method
- Mix smoked paprika, garlic powder, onion powder, dried thyme, dried oregano, cayenne pepper, black pepper, and salt together until evenly combined, forming a cohesive spice blend.
- Brush each ear of corn all over with the melted unsalted butter so the surface looks glossy and evenly coated.
- Press and roll each buttered ear firmly into the blackening spice blend until completely coated, ensuring no bare kernels peek through.
- Heat a cast iron skillet over high heat until smoking hot, indicated by visible smoke rising from the surface.
- Cook the corn for 10–15 minutes, turning every 2–3 minutes, until the spice crust is deeply charred and the kernels are cooked through.
- Serve the blackened corn immediately with lemon wedges and fresh parsley.


