Caramel-deep and warmly spiced, brown sugar cinnamon ice cream has that snickerdoodle-cookie feeling built right into the custard. The brown sugar gives the base a soft molasses note that regular white sugar can’t match, and the cinnamon lands as a warm, rounded spice instead of a sharp one. Churned into a dense, creamy scoop, it tastes like the best part of a bakery cookie turned cold and spoonable.
This version uses a classic custard base, which is what gives the finished ice cream its plush body. Egg yolks and a slow cook do the heavy lifting here: they make the texture smooth and rich, and they help the ice cream freeze with less iciness. The cinnamon goes in after straining, so the custard stays silky and you don’t end up with gritty spice at the bottom of the bowl.
Below, I’ll walk through the part that matters most — getting the custard to the right temperature without scrambling the yolks — plus a few smart swaps and storage notes for the day you want a scoop straight from the freezer.
The custard came out silky and the cinnamon flavor stayed warm, not harsh. I chilled it overnight and it churned into the creamiest batch I’ve made without any icy bits.
Love the snickerdoodle flavor and that deep brown sugar color? Save this Brown Sugar Cinnamon Ice Cream for the next time you want a custard-rich scoop with warm spice and a creamy finish.
The Trick to Keeping the Custard Smooth Instead of Grainy
The part that ruins a lot of homemade ice cream is impatience. If the yolks meet the hot dairy too fast, they turn into little bits of scrambled egg before the custard ever has a chance to thicken. The fix is simple: whisk constantly while you pour in the hot mixture in a thin stream, then cook the base over medium-low heat until it coats the spoon and reaches 175F.
Brown sugar adds another small challenge because it needs time to dissolve completely. If you stop heating as soon as the mixture looks warm, you can end up with a sandy finish. Let it steam until the sugar disappears, and don’t rush the strain step; it catches any tiny egg bits before they get a chance to show up in the churned ice cream.
- Brown sugar — This is the flavor backbone. Packed brown sugar gives the ice cream that caramel-like, almost toffee note that makes it taste like a snickerdoodle in frozen form. Light or dark both work; dark brown sugar gives a deeper molasses edge.
- Heavy cream — This is what makes the finished ice cream lush and scoopable. Don’t swap it for half-and-half if you want the same dense, rich texture, because the fat content is what keeps the custard from freezing hard and icy.
- Whole milk — Whole milk keeps the base from becoming overly thick or greasy. Lower-fat milk will work in a pinch, but the ice cream will freeze firmer and lose some of that custard softness.
- Egg yolks — These thicken the base and give it that classic cooked-custard body. There isn’t a true one-to-one substitute here; if you leave them out, you’ll get a lighter, more icy texture instead of a real custard ice cream.
- Cinnamon, nutmeg, and vanilla — These should go in after straining so the spices stay fresh and the texture stays smooth. Cinnamon is the star, nutmeg adds warmth in the background, and vanilla rounds out the edges so the brown sugar tastes fuller.
Cooking the Base Without Breaking the Custard
Warming the Dairy and Dissolving the Sugar
Start with the cream, milk, and brown sugar in one saucepan and heat it over medium until the sugar disappears and the mixture is steaming. You’re not looking for a full boil; bubbling hard can push the dairy toward the edge of scorching and make the sugar cook unevenly. Stir often and pay attention to the bottom of the pan, where any undissolved sugar likes to hide. When the liquid looks smooth and glossy, it’s ready for the yolks.
Tempering the Yolks
Whisk the egg yolks in a bowl until they look loosened up and slightly lighter in color, then slowly stream in the hot dairy while whisking constantly. This is the moment that keeps the custard from turning into breakfast. Pour too fast and the yolks seize in streaks; pour slowly and they warm gradually, which is what you want. Once about half the dairy has been added, you can pour a little faster because the yolks are already tempered.
Thickening to the Right Point
Return everything to the saucepan and cook over medium-low heat, stirring constantly and scraping the corners of the pan. The custard should thicken enough to coat the back of a spoon, and if you use a thermometer, 175F is the sweet spot. If it gets too hot, the yolks tighten and the texture turns grainy, so keep the heat gentle and don’t walk away. The mixture should look slightly thicker than heavy cream, not pudding.
Straining and Chilling
Set a fine-mesh sieve over a clean bowl and pour the custard through it right away. This catches any tiny cooked bits and leaves you with a smoother base. Stir in the cinnamon, vanilla, nutmeg, and salt after straining so the spices stay bright and aromatic. Cool the bowl over an ice bath, then refrigerate until the base is completely cold before churning; if it goes into the machine warm, it won’t freeze properly and the texture will suffer.
How to Make This Ice Cream Fit What You’ve Got
Brown sugar variation with a deeper molasses note
Use dark brown sugar instead of light brown sugar if you want a fuller, more caramelized flavor. It leans a little darker and more robust, which works beautifully with the cinnamon. The texture stays the same, but the finished ice cream tastes a touch closer to brown-butter toffee.
Dairy-free version that still tastes custardy
Swap in full-fat coconut milk for the cream and milk, then whisk the custard carefully and strain it well. The texture will be a little softer and the coconut flavor will come through, but the egg yolks still give it a rich frozen-custard feel. Use a neutral dairy-free vanilla if you want the cinnamon and brown sugar to stay front and center.
Gluten-free snickerdoodle-style serving idea
The ice cream itself is naturally gluten-free, so the easiest variation is in how you serve it. Crumble a gluten-free snickerdoodle cookie over the top or tuck one into each bowl for crunch. That gives you the cookie-and-cream feel without changing the base at all.
How to keep it scoopable after freezing
If your freezer runs cold, move the churned ice cream into a shallow container and press parchment directly on the surface before freezing. That keeps ice crystals down and makes it easier to scoop. Let it sit at room temperature for 5 to 10 minutes before serving so the brown sugar flavor opens up and the texture softens just enough.
Storage and Reheating
- Refrigerator: The cooked custard base can be refrigerated up to 2 days before churning. It may thicken slightly as it chills, which is exactly what you want.
- Freezer: Churned ice cream keeps well for about 2 weeks before it starts losing its best texture. Store it in an airtight container with parchment pressed on top to slow ice crystals.
- Reheating: Ice cream isn’t reheated, but it does need a brief soften before serving. Let it sit on the counter for 5 to 10 minutes; microwaving turns the edges melty while the center stays hard.
Questions I Get Asked About This Recipe
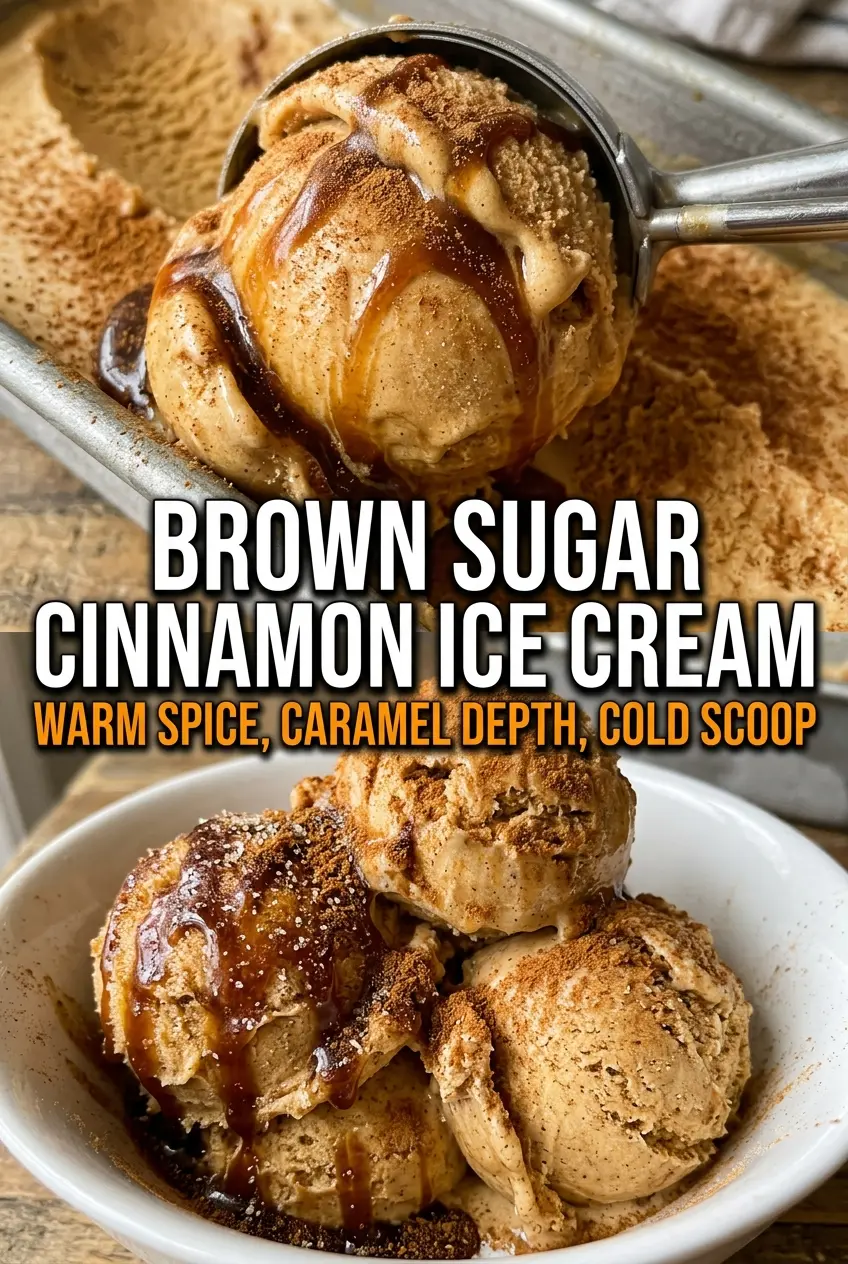
Brown Sugar Cinnamon Ice Cream
Ingredients
Equipment
Method
- Heat heavy cream, whole milk, and brown sugar together in a saucepan over medium heat until the sugar dissolves completely and the mixture steams.
- Slowly whisk the hot cream mixture into the egg yolks, then return everything to the saucepan.
- Cook over medium-low heat, stirring constantly, until the custard reaches 175F and coats the back of a spoon.
- Strain the custard through a fine mesh sieve into a bowl, then stir in cinnamon, vanilla extract, nutmeg, and salt.
- Cool the custard completely over an ice bath until no longer warm, then refrigerate at least 4 hours.
- Churn the chilled custard in an ice cream maker until thickened and the texture holds soft peaks.
- Transfer to a freezer-safe container and freeze until firm, about 4 hours.


