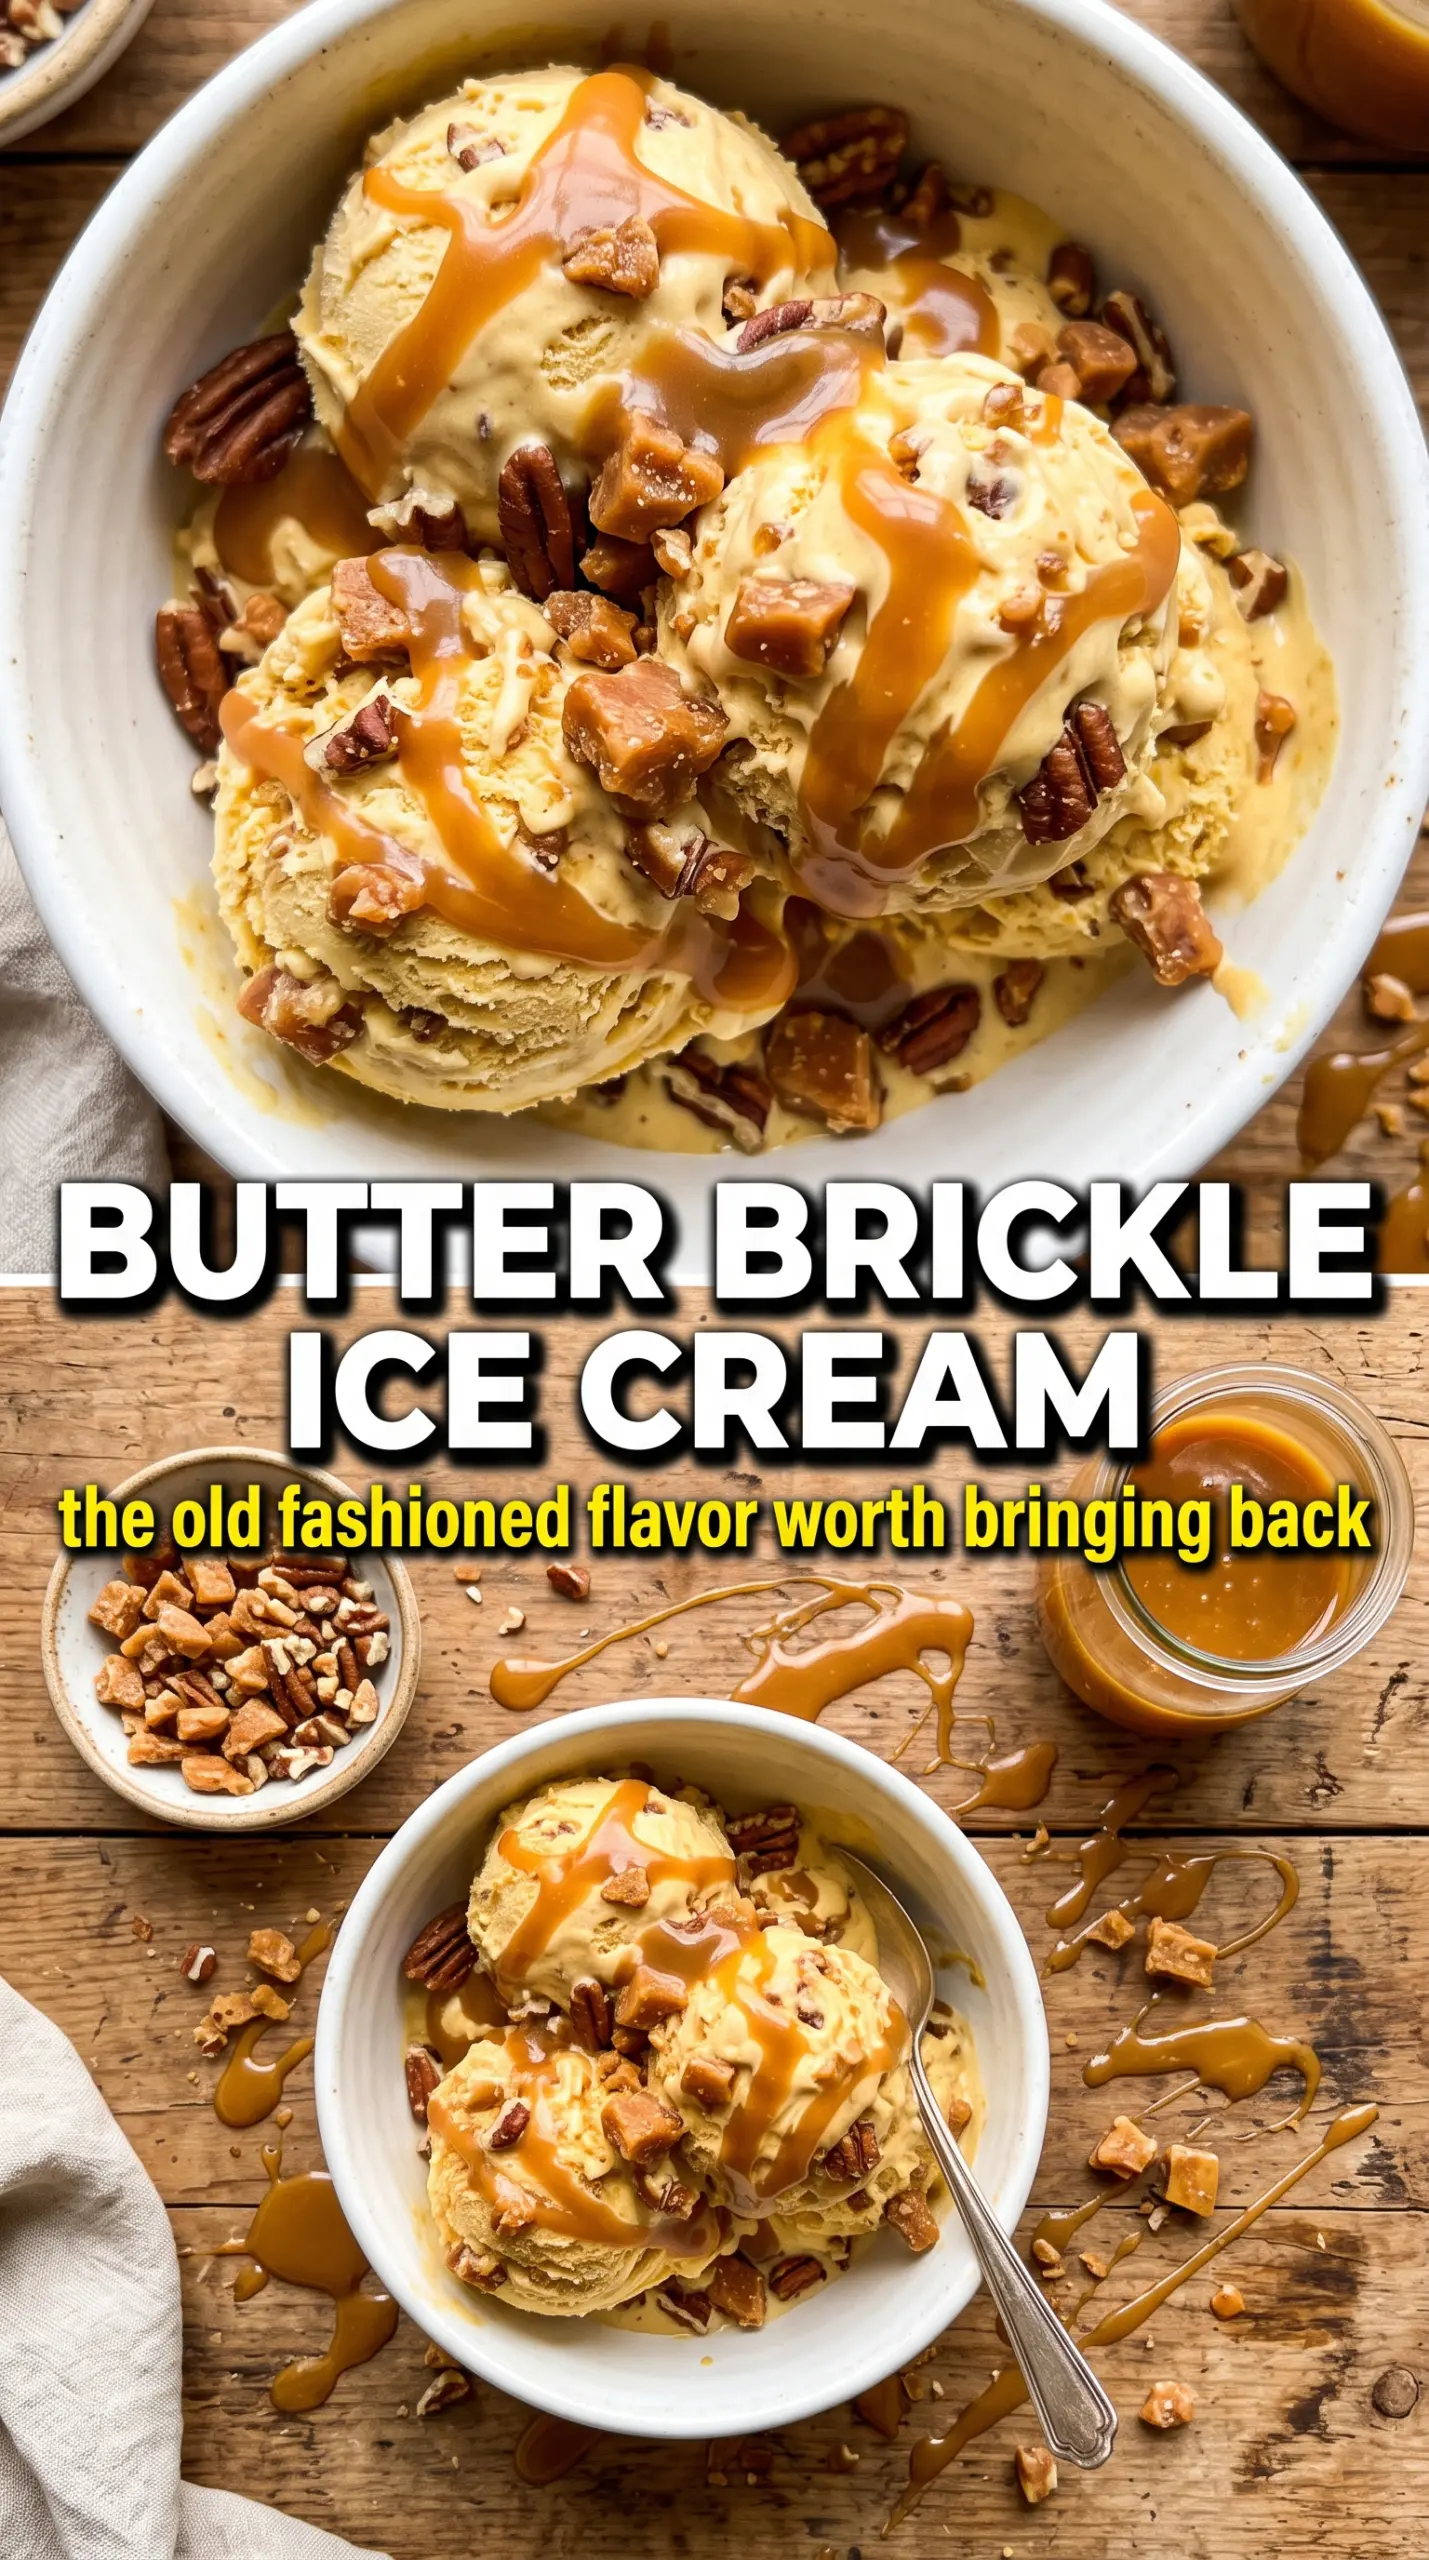
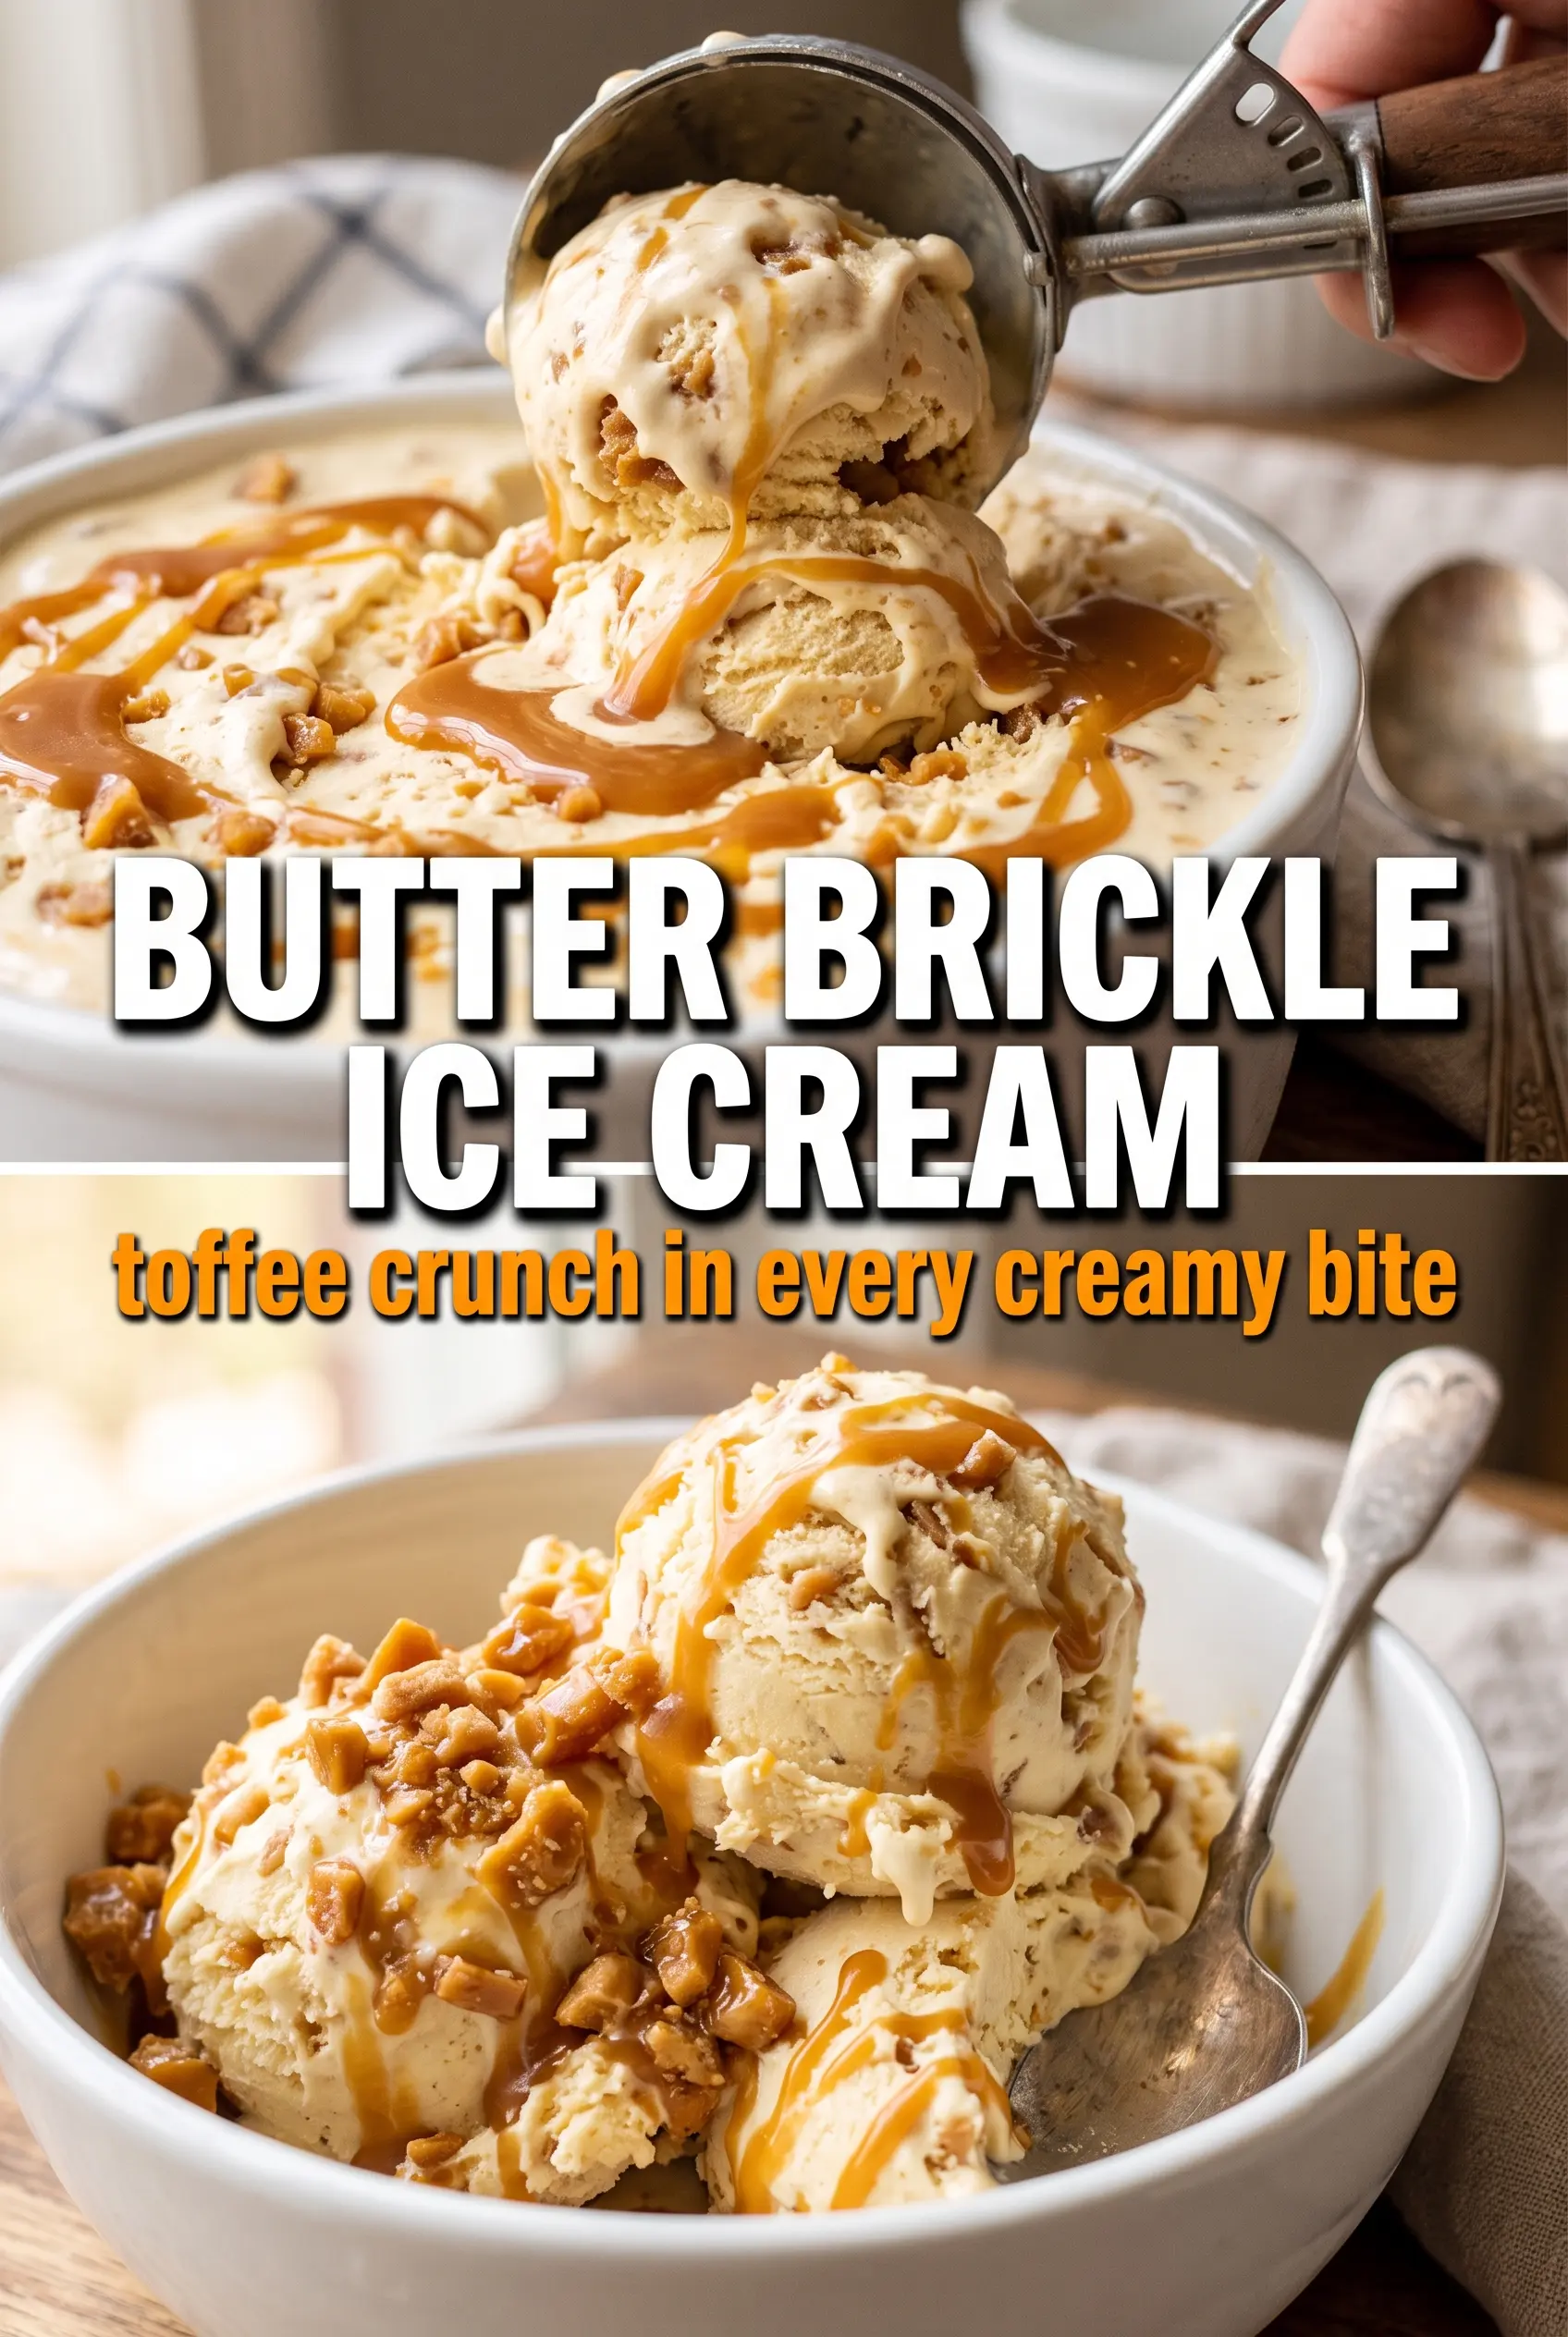
Butter brickle ice cream hits that sweet spot between creamy and crunchy that keeps a bowl interesting down to the last spoonful. The custard base is rich without feeling heavy, and the homemade toffee breaks into sharp, glossy shards that soften just enough against the cold ice cream to give each bite a little caramel snap.
What makes this version work is the balance. The brickle is cooked all the way to hard crack, so it stays crisp instead of turning sticky in the freezer, and the ice cream base is a real custard with egg yolks for body. Brown sugar in the custard brings in that butterscotch note that makes the toffee taste even deeper, not just sweeter.
Below, I’ll walk through the part that matters most: getting the brickle to the right stage without burning it, and knowing exactly when to fold it in so the pieces stay distinct instead of disappearing into the churn.
The toffee stayed shattery even after freezing overnight, and the brown sugar custard made it taste like a true butterscotch ice cream instead of plain vanilla with candy mixed in.
Save this butter brickle ice cream for the nights when you want a custard base with real toffee crunch in every scoop.
The Hard Crack Stage Is What Keeps the Toffee Crisp
Butter brickle sounds simple, but the toffee fails in one very specific way: it gets cooked just enough to taste good, but not enough to stay snappy once it hits the freezer. That soft, chewy middle is fine in candy, not in ice cream. Here, you want the sugar and butter cooked to 300F so the brickle sets into brittle shards that hold their texture against the custard.
Once the sugar mixture turns deep amber and smells nutty, it moves fast. Pull it off the heat the moment it reaches temperature, stir in the salt and vanilla, then get it onto parchment right away. If it sits in the pan even a little too long, it can go from glossy and caramelized to dark and bitter before you can spread it out.
What Each Ingredient Is Doing in This Custard and Toffee
- Heavy cream — This gives the ice cream its plush texture and slows down ice crystals. You can’t swap in lighter cream and expect the same body; the base will freeze harder and lose that rich mouthfeel.
- Whole milk — It keeps the custard from tasting flat and overly dense. A lower-fat milk will work in a pinch, but the texture will be leaner and less scoopable after freezing.
- Brown sugar — This is what pushes the custard toward butterscotch instead of plain vanilla. Packed brown sugar brings moisture and molasses notes that pair with the butter toffee in a way white sugar can’t replicate.
- Egg yolks — They thicken the custard and give it that smooth, custardy finish. If your custard ever turns grainy, it was heated too hard; yolks need low, steady heat and constant whisking.
- Butter — In the brickle, the butter helps the sugar cook evenly and adds that rich, toasted flavor. Use unsalted butter so you control the salt level in the candy.
- Vanilla — Add it after the toffee comes off the heat and again in the custard. That double hit of vanilla ties the candy and ice cream together instead of making them taste like two separate parts.
Build the Custard Slowly, Then Fold in the Brickle at the End
Making the Butter Brickle
Set a parchment-lined sheet pan close by before you start. Melt the sugar and butter together over medium heat and keep stirring so the mixture cooks evenly instead of scorching on the bottom. You want a deep golden color and a clear hard crack stage, not a pale syrup; undercooked brickle turns sticky in the freezer. Stir in the salt and vanilla off the heat, then pour and spread quickly because the candy starts setting almost at once.
Tempering the Yolks
Warm the cream, milk, and brown sugar until the sugar dissolves and the mixture is steaming, not boiling. Whisk a little of the hot liquid into the yolks first, then keep adding more slowly so the eggs rise in temperature without scrambling. If you pour it in all at once, you’ll get sweet scrambled eggs instead of custard. The mixture should look smooth and slightly thickened before it goes back into the pan.
Cooking the Custard to the Right Point
Return the tempered mixture to the saucepan and cook it over low to medium-low heat, stirring constantly and scraping the corners. Stop at 175F or when the custard coats the back of a spoon and leaves a clean line when you swipe a finger through it. If it climbs too high, the yolks can curdle and the base goes grainy. Strain it before chilling so any tiny bits get caught before they can affect the final texture.
Churning and Adding the Bricks
Chill the custard until it’s cold all the way through, then churn it in your ice cream maker until it looks like soft-serve. Add the brickle in the last few minutes so it distributes without getting beaten into dust. Save a handful for the top if you want visible shards in the finished scoop. Freeze until firm, but don’t pack it in while it’s still warm from churning or the pieces can sink and clump.
How to Adapt This for Different Freezers and Diet Needs
Dairy-Free Version with Coconut Cream
Use full-fat coconut milk or coconut cream in place of the cream and milk, then add a little extra vanilla to soften the coconut note. The texture will be a touch less custardy, but it still freezes well and keeps the toffee flavor front and center. Skip any dairy-based swaps that are too thin; this recipe needs fat to stay scoopable.
Salted Butter Brickle Finish
Increase the salt in the brickle slightly and finish the scoops with a pinch of flaky salt. That sharp contrast makes the caramelized sugar taste deeper and cuts the sweetness of the custard. Don’t overdo it; the goal is a lifted finish, not a salty candy bar effect.
No Ice Cream Maker
You can freeze the custard in a shallow pan and stir it every 30 minutes until firm, then fold in the brickle near the end. The texture won’t be as airy, but it still works if you keep breaking up the ice crystals as they form. Let the custard chill completely first or the brickle will melt into the base.
Storage and Reheating
- Refrigerator: The churned ice cream base can hold in the fridge for up to 2 days before freezing, but the finished ice cream belongs in the freezer. The brickle may soften a little after several days, though it should still stay pleasantly crunchy.
- Freezer: Store in an airtight container for up to 2 weeks for the best texture. After that, the ice cream can pick up freezer flavor and the brickle may lose some snap.
- Reheating: Not applicable for ice cream. Let it sit at room temperature for 5 to 10 minutes before scooping; if you try to force a frozen-solid pint, the brickle can crack unevenly and the base will feel icy.
Answers to the Questions Worth Asking
Butter Brickle Ice Cream
Ingredients
Equipment
Method
- Melt the granulated sugar and unsalted butter in a saucepan over medium heat, stirring constantly, until it reaches 300F (hard crack stage). Visually, it should turn deep golden and form brittle threads when dropped into cold water.
- Stir in the salt and vanilla extract and pour the hot toffee onto parchment. Let it cool completely until firm, then shatter into small pieces.
- In a saucepan, heat the heavy cream, whole milk, and packed brown sugar over medium heat until the sugar is fully dissolved. Keep stirring until no grains remain.
- Slowly whisk the hot cream mixture into the egg yolks in a steady stream. This helps prevent scrambling.
- Cook the custard, stirring constantly, until it reaches 175F. The mixture should coat the back of a spoon and hold a clear line when you draw a finger through it.
- Strain the custard into a bowl, then whisk in the vanilla extract and salt. Cover and cool to room temperature before refrigerating for 4 hours.
- Churn the custard in an ice cream maker according to the manufacturer’s instructions until it thickens to soft-serve consistency. In the last 5 minutes, add the butter brickle pieces so they distribute through the base.
- Transfer the ice cream to a container and freeze until firm. Visually, it should become scoopable and hold shape when pressed.


