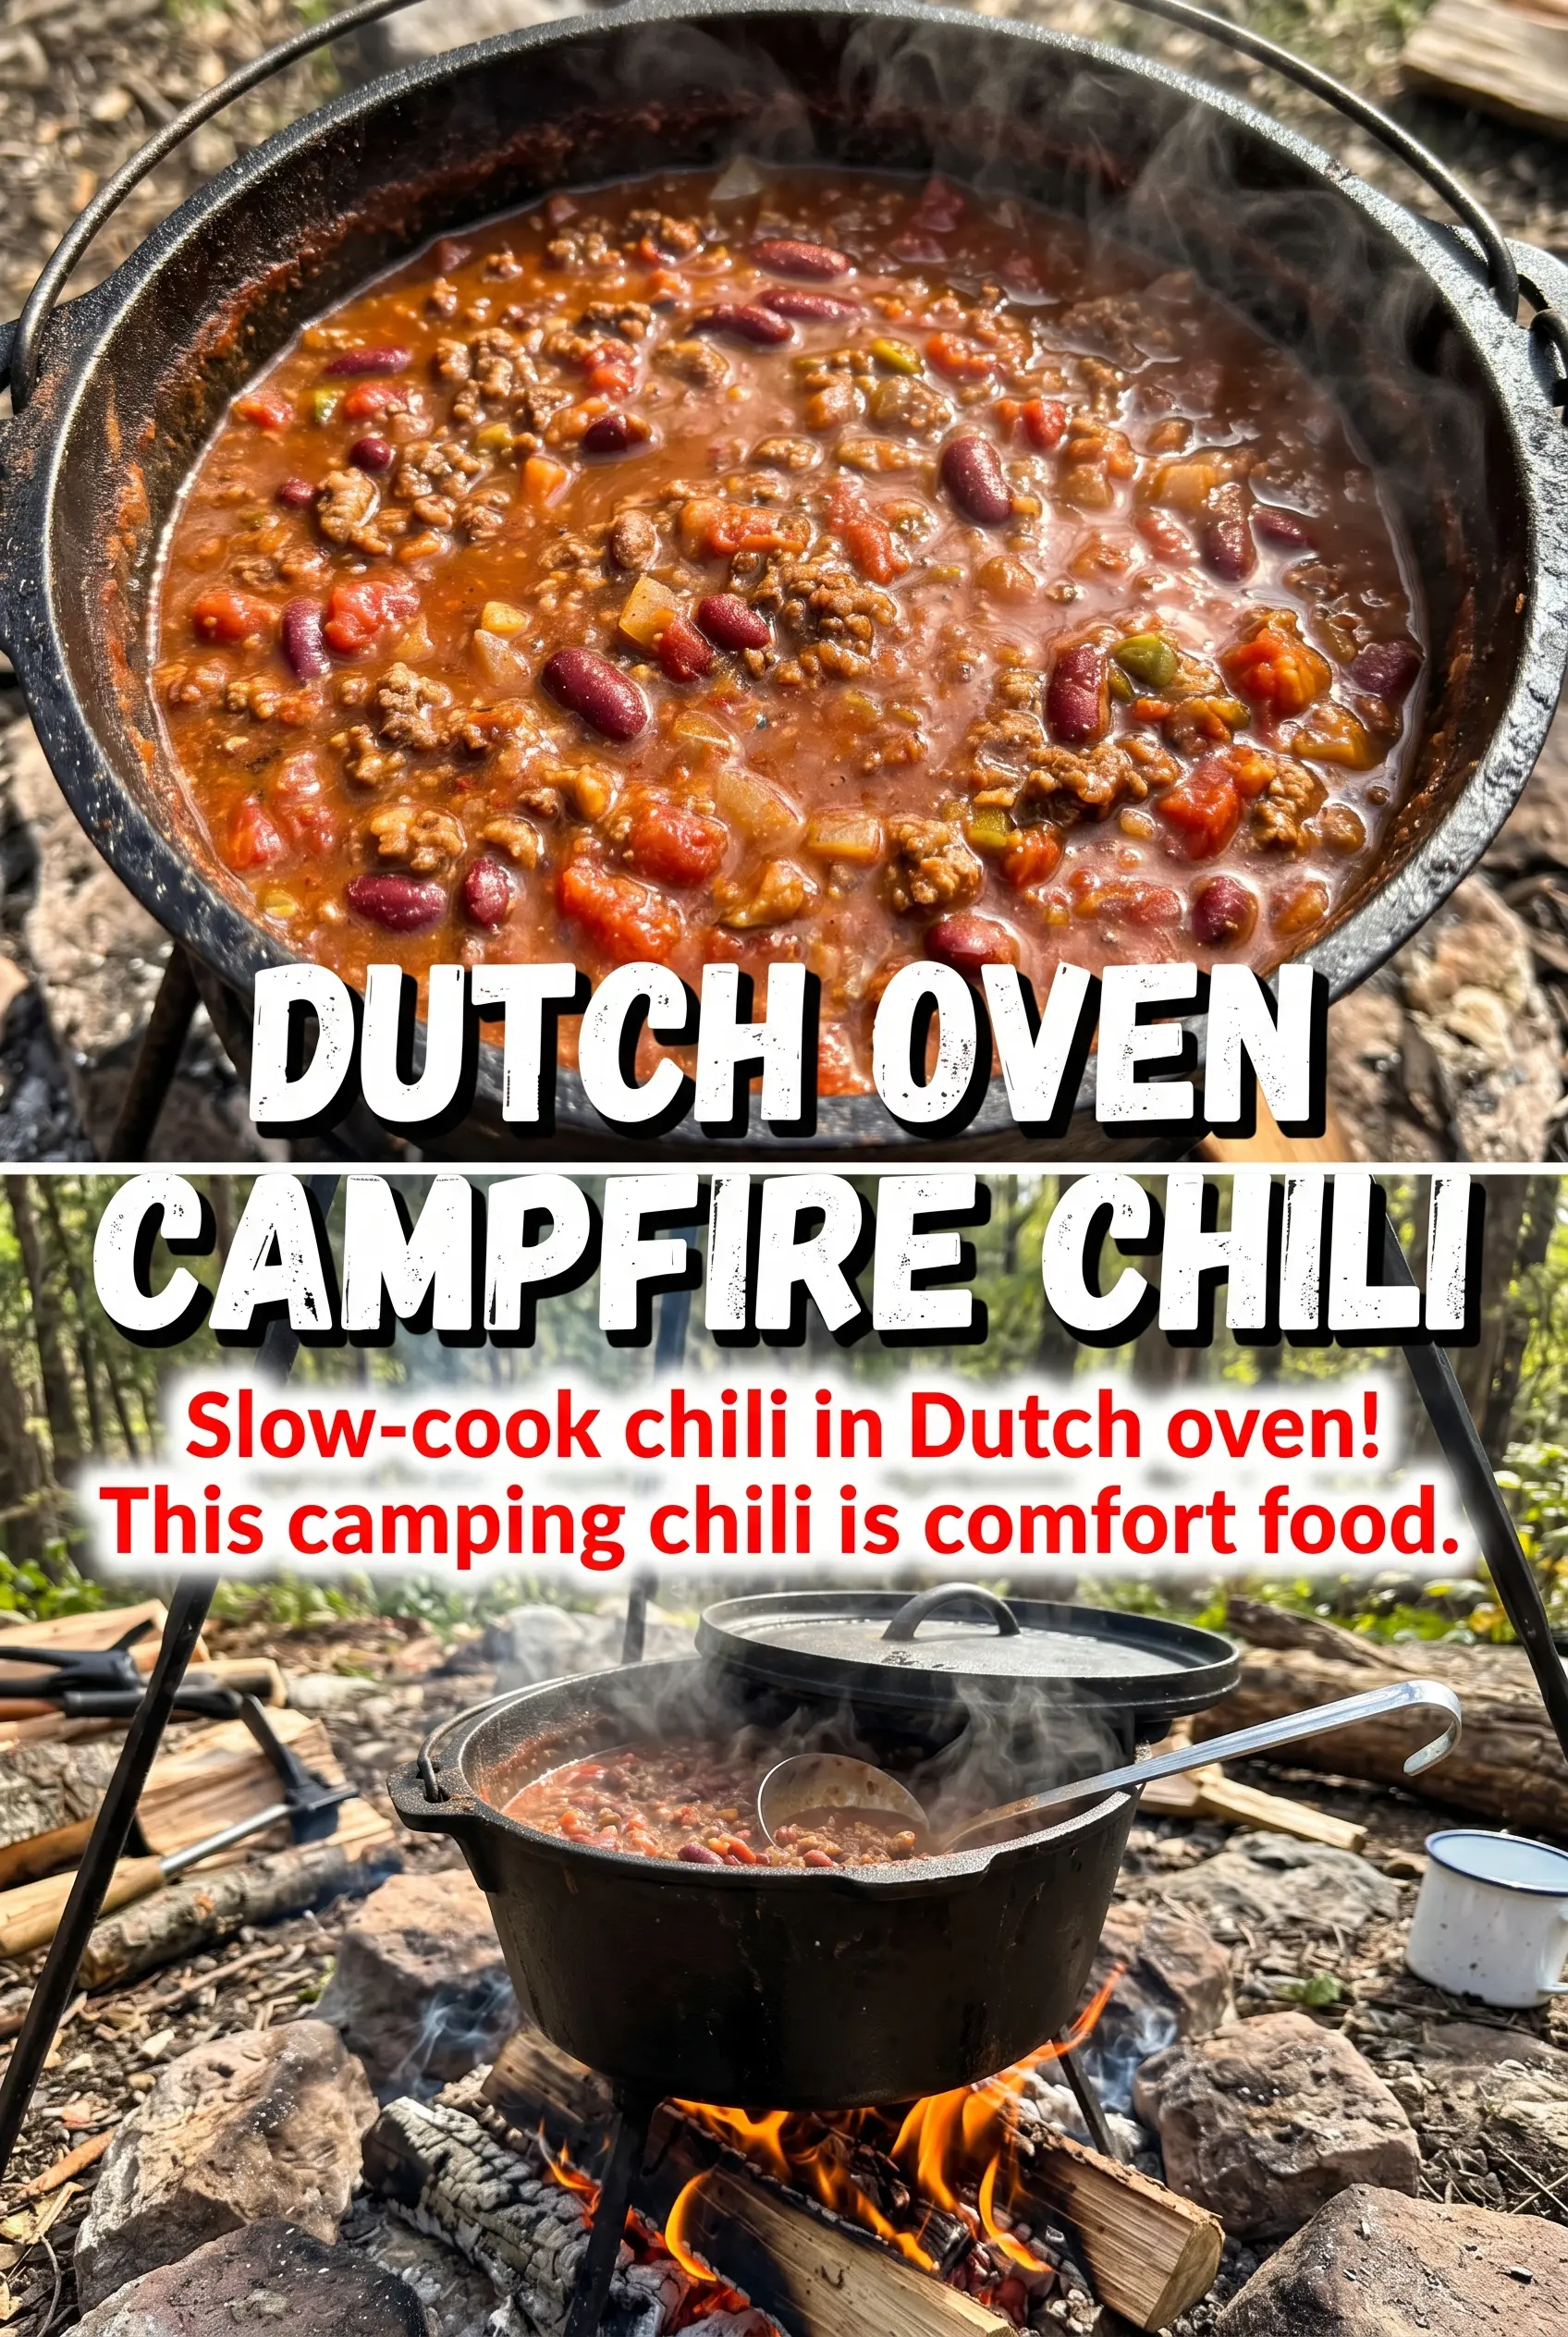
Bubbling chili in a Dutch oven earns its place at the center of campfire cooking because it does the one thing a good outdoor meal should do: it feeds a crowd without turning into a project. The beef gets deeply savory, the tomatoes settle into a rich, spoon-coating base, and the beans hold their shape instead of disappearing into the pot. What you end up with is hearty, smoky-feeling chili that tastes like it had a lot more attention than it actually needed.
The trick is building flavor in layers even though the method is simple. Browning the beef first gives you the browned bits that carry the whole pot, and letting the tomato paste cook for a minute before the liquids go in keeps the chili from tasting flat or tinny. A gentle simmer matters more than a hard boil here, because camp heat can creep up fast and make the beans split or the bottom scorch.
Below, I’ve included the small adjustments that make this work over a fire, plus the substitutions that still keep the pot hearty if you’re cooking with what you brought.
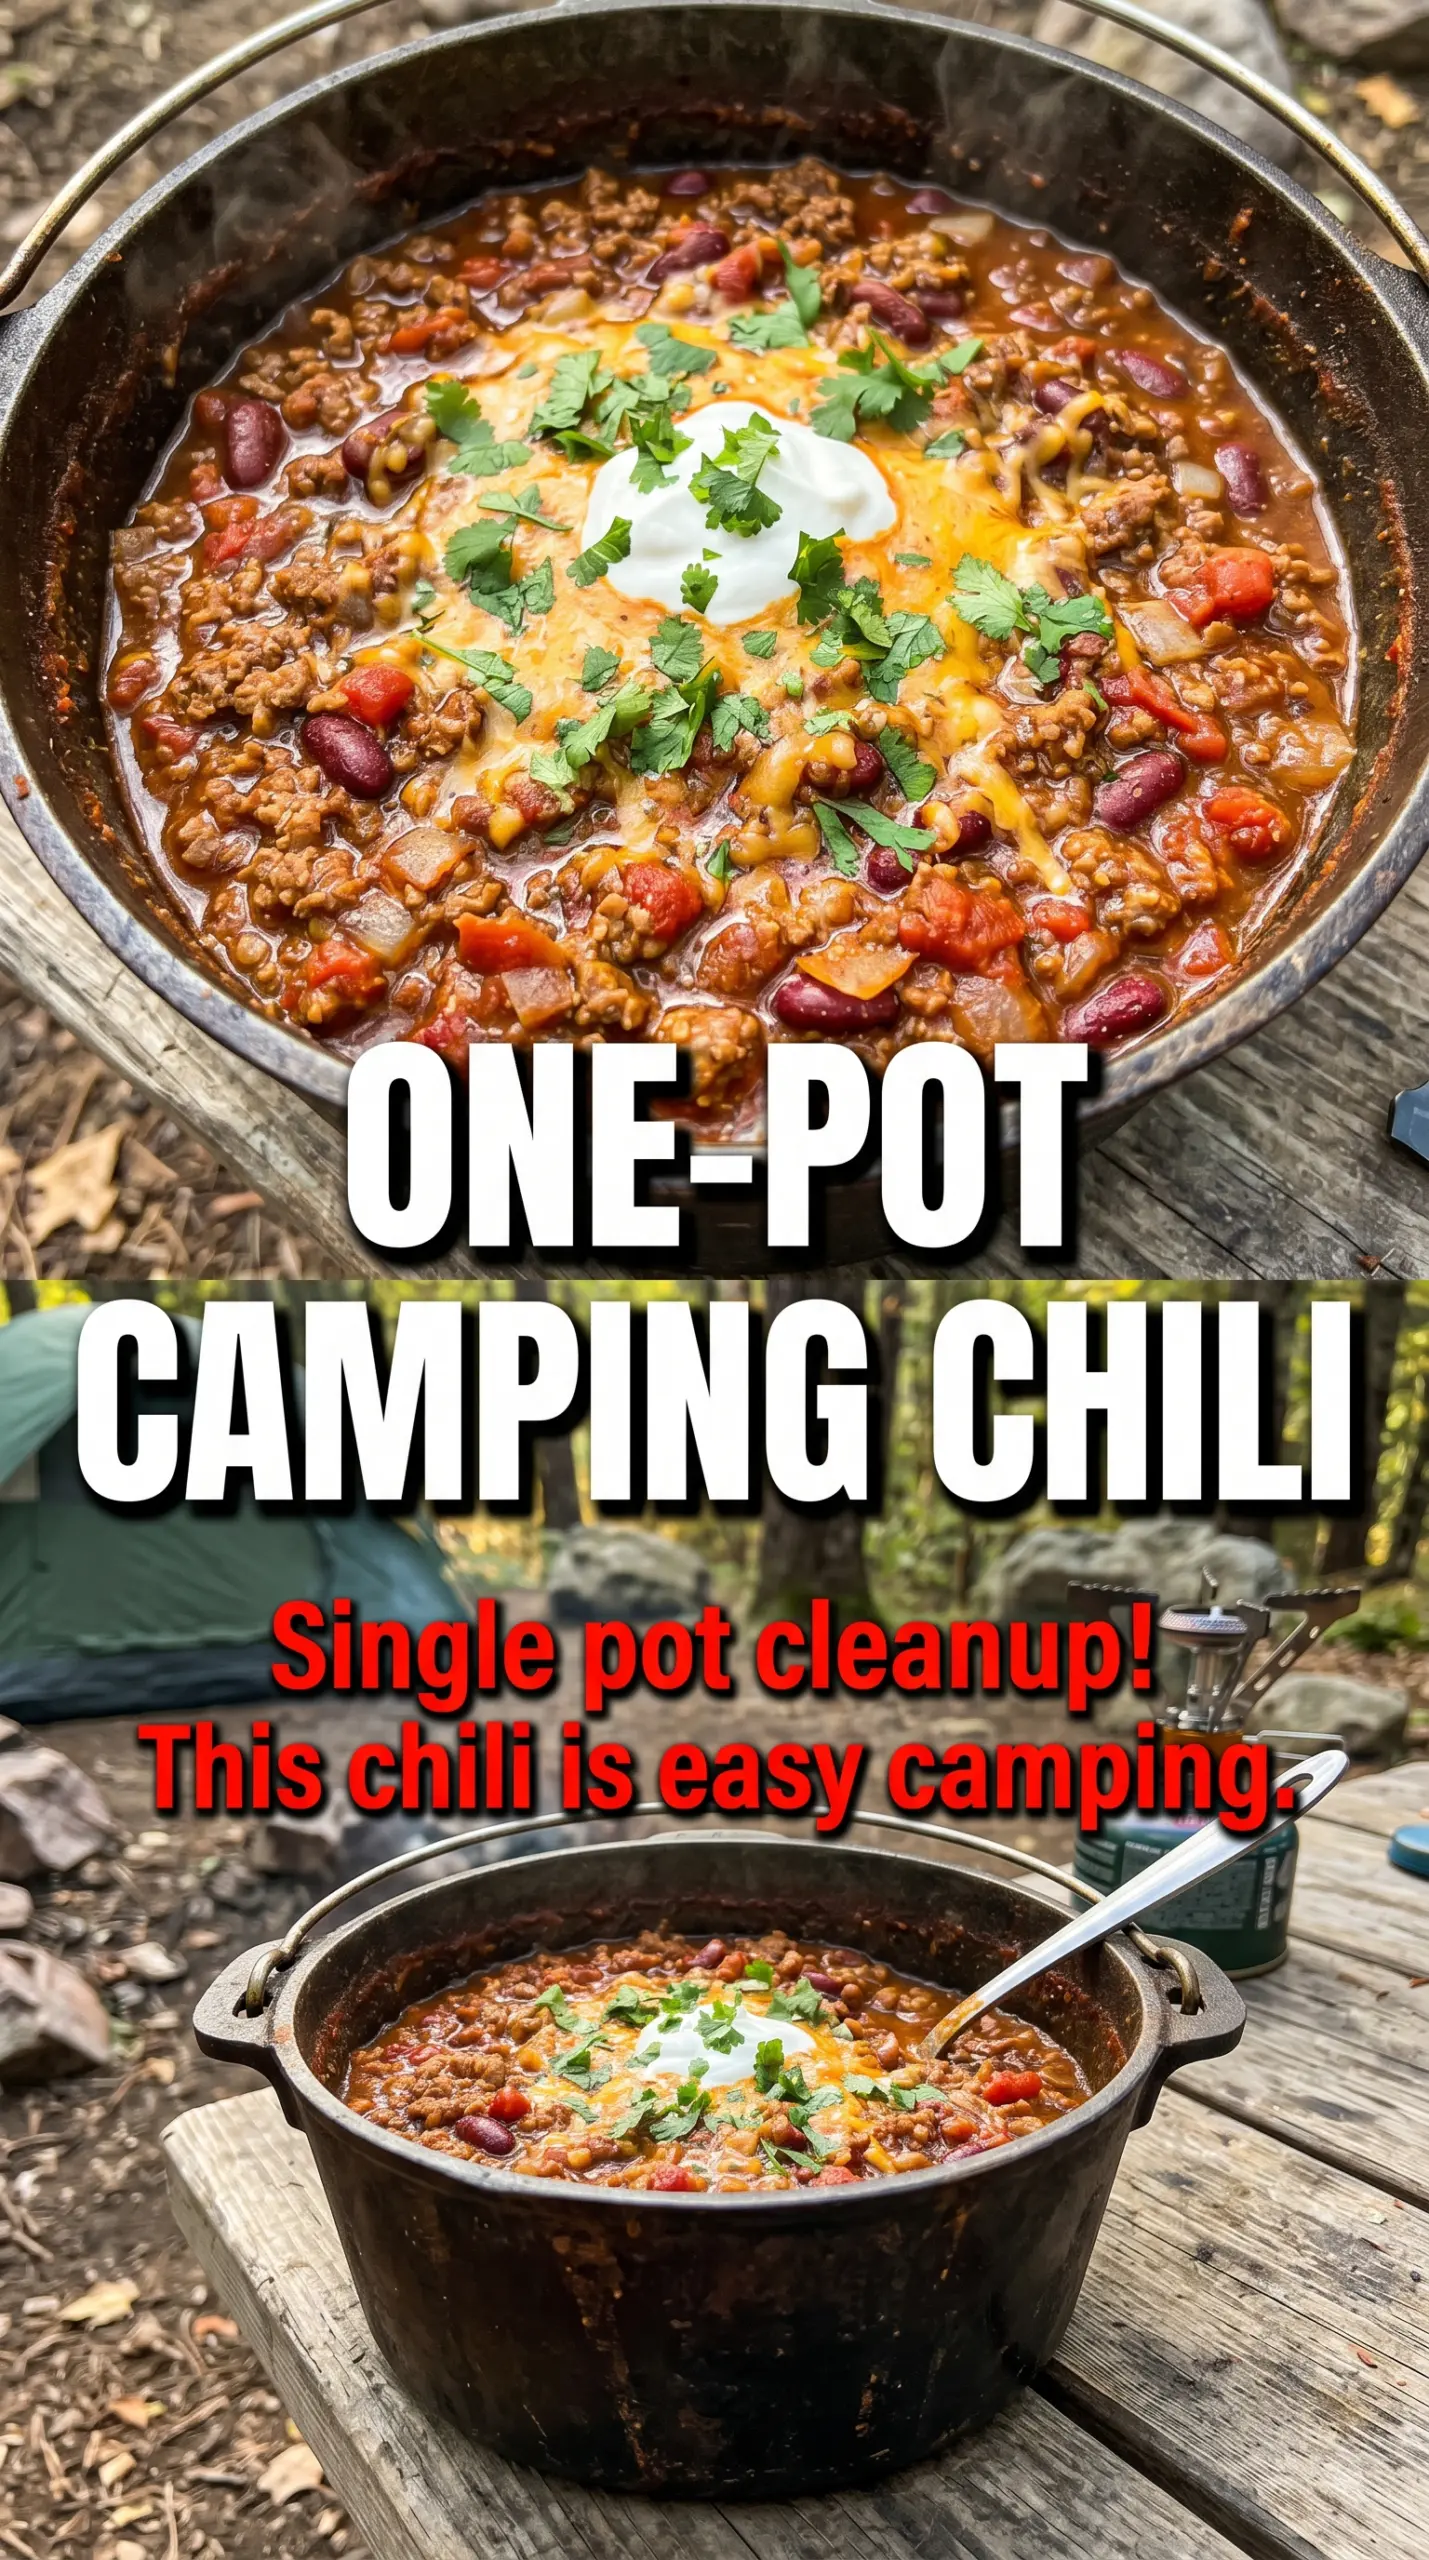
The chili thickened up beautifully over the fire and the beans held their shape. I liked that it tasted even better after sitting for a few minutes while we got the toppings together.
Like this Dutch oven chili? Save it to Pinterest for your next camping dinner, when you want a hearty pot of beans, beef, and tomatoes with almost no cleanup.
The Secret to Campfire Chili That Doesn’t Burn on the Bottom
Campfire heat is uneven, which is why Dutch oven chili can go from gently simmering to scorched in a hurry. The move that matters most is controlling the intensity of the heat under the pot, not just the time on the clock. A steady simmer gives the tomatoes time to mellow and the beans time to absorb seasoning without breaking apart.
Another thing that trips people up is stirring too little once the chili starts thickening. Tomato paste and ground beef both want to settle, especially near the bottom of a heavy pot. Stir from the bottom every few minutes and scrape across the center so nothing sticks long enough to turn bitter.
- Browning first — This builds the savory base. If the beef goes in pale and gray, the chili tastes flatter no matter how much seasoning you add later.
- Tomato paste — It gives body and a deeper tomato flavor, but it needs a minute of heat before the liquids go in. That quick cook takes away the raw, sharp taste.
- Gentle simmer — A hard boil breaks beans and dries out the meat. A lazy bubble keeps the pot cohesive and thick.
What Each Ingredient Is Doing in the Pot
- Ground beef — This is the backbone of the chili. An 80/20 blend gives the best flavor, but if you use lean beef, keep an eye on the pan so it doesn’t dry out before the vegetables go in.
- Onion and bell pepper — These soften into the beef and round out the base. Dice them small so they melt into the chili instead of staying crunchy after the simmer.
- Kidney beans — They add body and make this a true campfire dinner that feeds a crowd. Black beans or pinto beans work too, but kidney beans hold their shape especially well in a long simmer.
- Diced tomatoes and tomato paste — The diced tomatoes bring moisture and acidity, while the paste makes the chili thick enough to spoon over crackers. If you want a looser chili, use one less can of tomatoes or add a splash of water near the end.
- Chili powder and cumin — These are the seasoning backbone, not garnish spices. Fresh chili powder matters here; if yours has been sitting for years, the whole pot will taste dusty instead of warm.
Building the Chili Over the Fire, Not Fighting It
Brown the Beef First
Start by cooking the ground beef in the Dutch oven until it loses its pink color and picks up browned spots. Those browned bits are flavor, so don’t rush to drain the pot unless there’s a huge amount of grease. If you empty out everything, the chili can taste lean and thin instead of rich.
Soften the Vegetables in the Drippings
Add the onion and bell pepper and cook them until they soften and the onion turns translucent at the edges. This usually takes about 5 minutes over medium camp heat. If the fire is running hot, pull the pot partly off the coals for a minute so the vegetables soften without scorching.
Let the Tomatoes and Spices Simmer In
Stir in the beans, diced tomatoes, tomato paste, chili powder, cumin, salt, and pepper. Bring the pot to a simmer, then cover it and let it cook until the chili thickens and the flavors come together. The most common mistake here is boiling hard; that only reduces the liquid too fast and leaves the bottom vulnerable to sticking.
Finish with the Texture You Want
After 35 to 40 minutes, the chili should look thick, glossy, and deeply red, with the beans intact and the meat tender. If it looks too loose, uncover it for the last 5 to 10 minutes. If it looks too tight, stir in a small splash of water and let it settle for a minute before serving.
How to Stretch Campfire Chili for Different Camps and Diets
Make it vegetarian with beans and mushrooms
Swap the beef for 16 ounces of chopped mushrooms and one extra can of beans. The mushrooms give you some of the savory depth you’d normally get from meat, and the extra beans keep the pot filling. Cook the mushrooms until they lose their moisture and start to brown before adding the rest.
Make it dairy-free without changing the chili itself
The chili base is already dairy-free, so the only change is at serving time. Skip the sour cream and use extra diced onions, avocado, or chopped cilantro if you have them. That keeps the bowl bright without adding anything that fights the heat and smoke from the pot.
Make it thicker for crackers and camp mugs
Let the chili cook uncovered for the last 10 minutes, stirring often so it doesn’t catch. This reduces the liquid and gives you a spoonable, scoopable texture that clings to crackers instead of pooling in the bottom of the bowl.
Storage and Reheating
- Refrigerator: Store in an airtight container for up to 4 days. The chili thickens as it chills, which is exactly what you want.
- Freezer: It freezes well for up to 3 months. Cool it completely first, then portion it into freezer-safe containers so it reheats evenly.
- Reheating: Warm it gently on the stovetop over low to medium-low heat with a splash of water if needed. Don’t blast it on high heat, or the bottom can scorch before the center is hot.
Questions I Get Asked About This Recipe
Campfire Chili
Ingredients
Equipment
Method
- Brown the ground beef in a Dutch oven over the campfire. Cook until it is no longer pink and has browned bits on the bottom, then stir in the diced onion and diced bell pepper.
- Cook the onion and bell pepper with the beef for 5 minutes. Stir occasionally so they soften, and keep the heat steady enough for gentle bubbling.
- Add kidney beans, diced tomatoes, tomato paste, chili powder, cumin, salt, and pepper to the Dutch oven. Stir until everything is evenly combined with no dry spice pockets.
- Bring the chili to a simmer over the campfire. Look for small bubbles breaking the surface across the pot, then reduce heat to maintain simmering.
- Cover the Dutch oven and cook for 35-40 minutes, stirring occasionally. Keep it simmering so it thickens and turns rich, with visible bubbling around the edges.
- Serve the chili hot with shredded cheese, sour cream, and crackers. Plate immediately so toppings stay fresh and the chili is steaming.