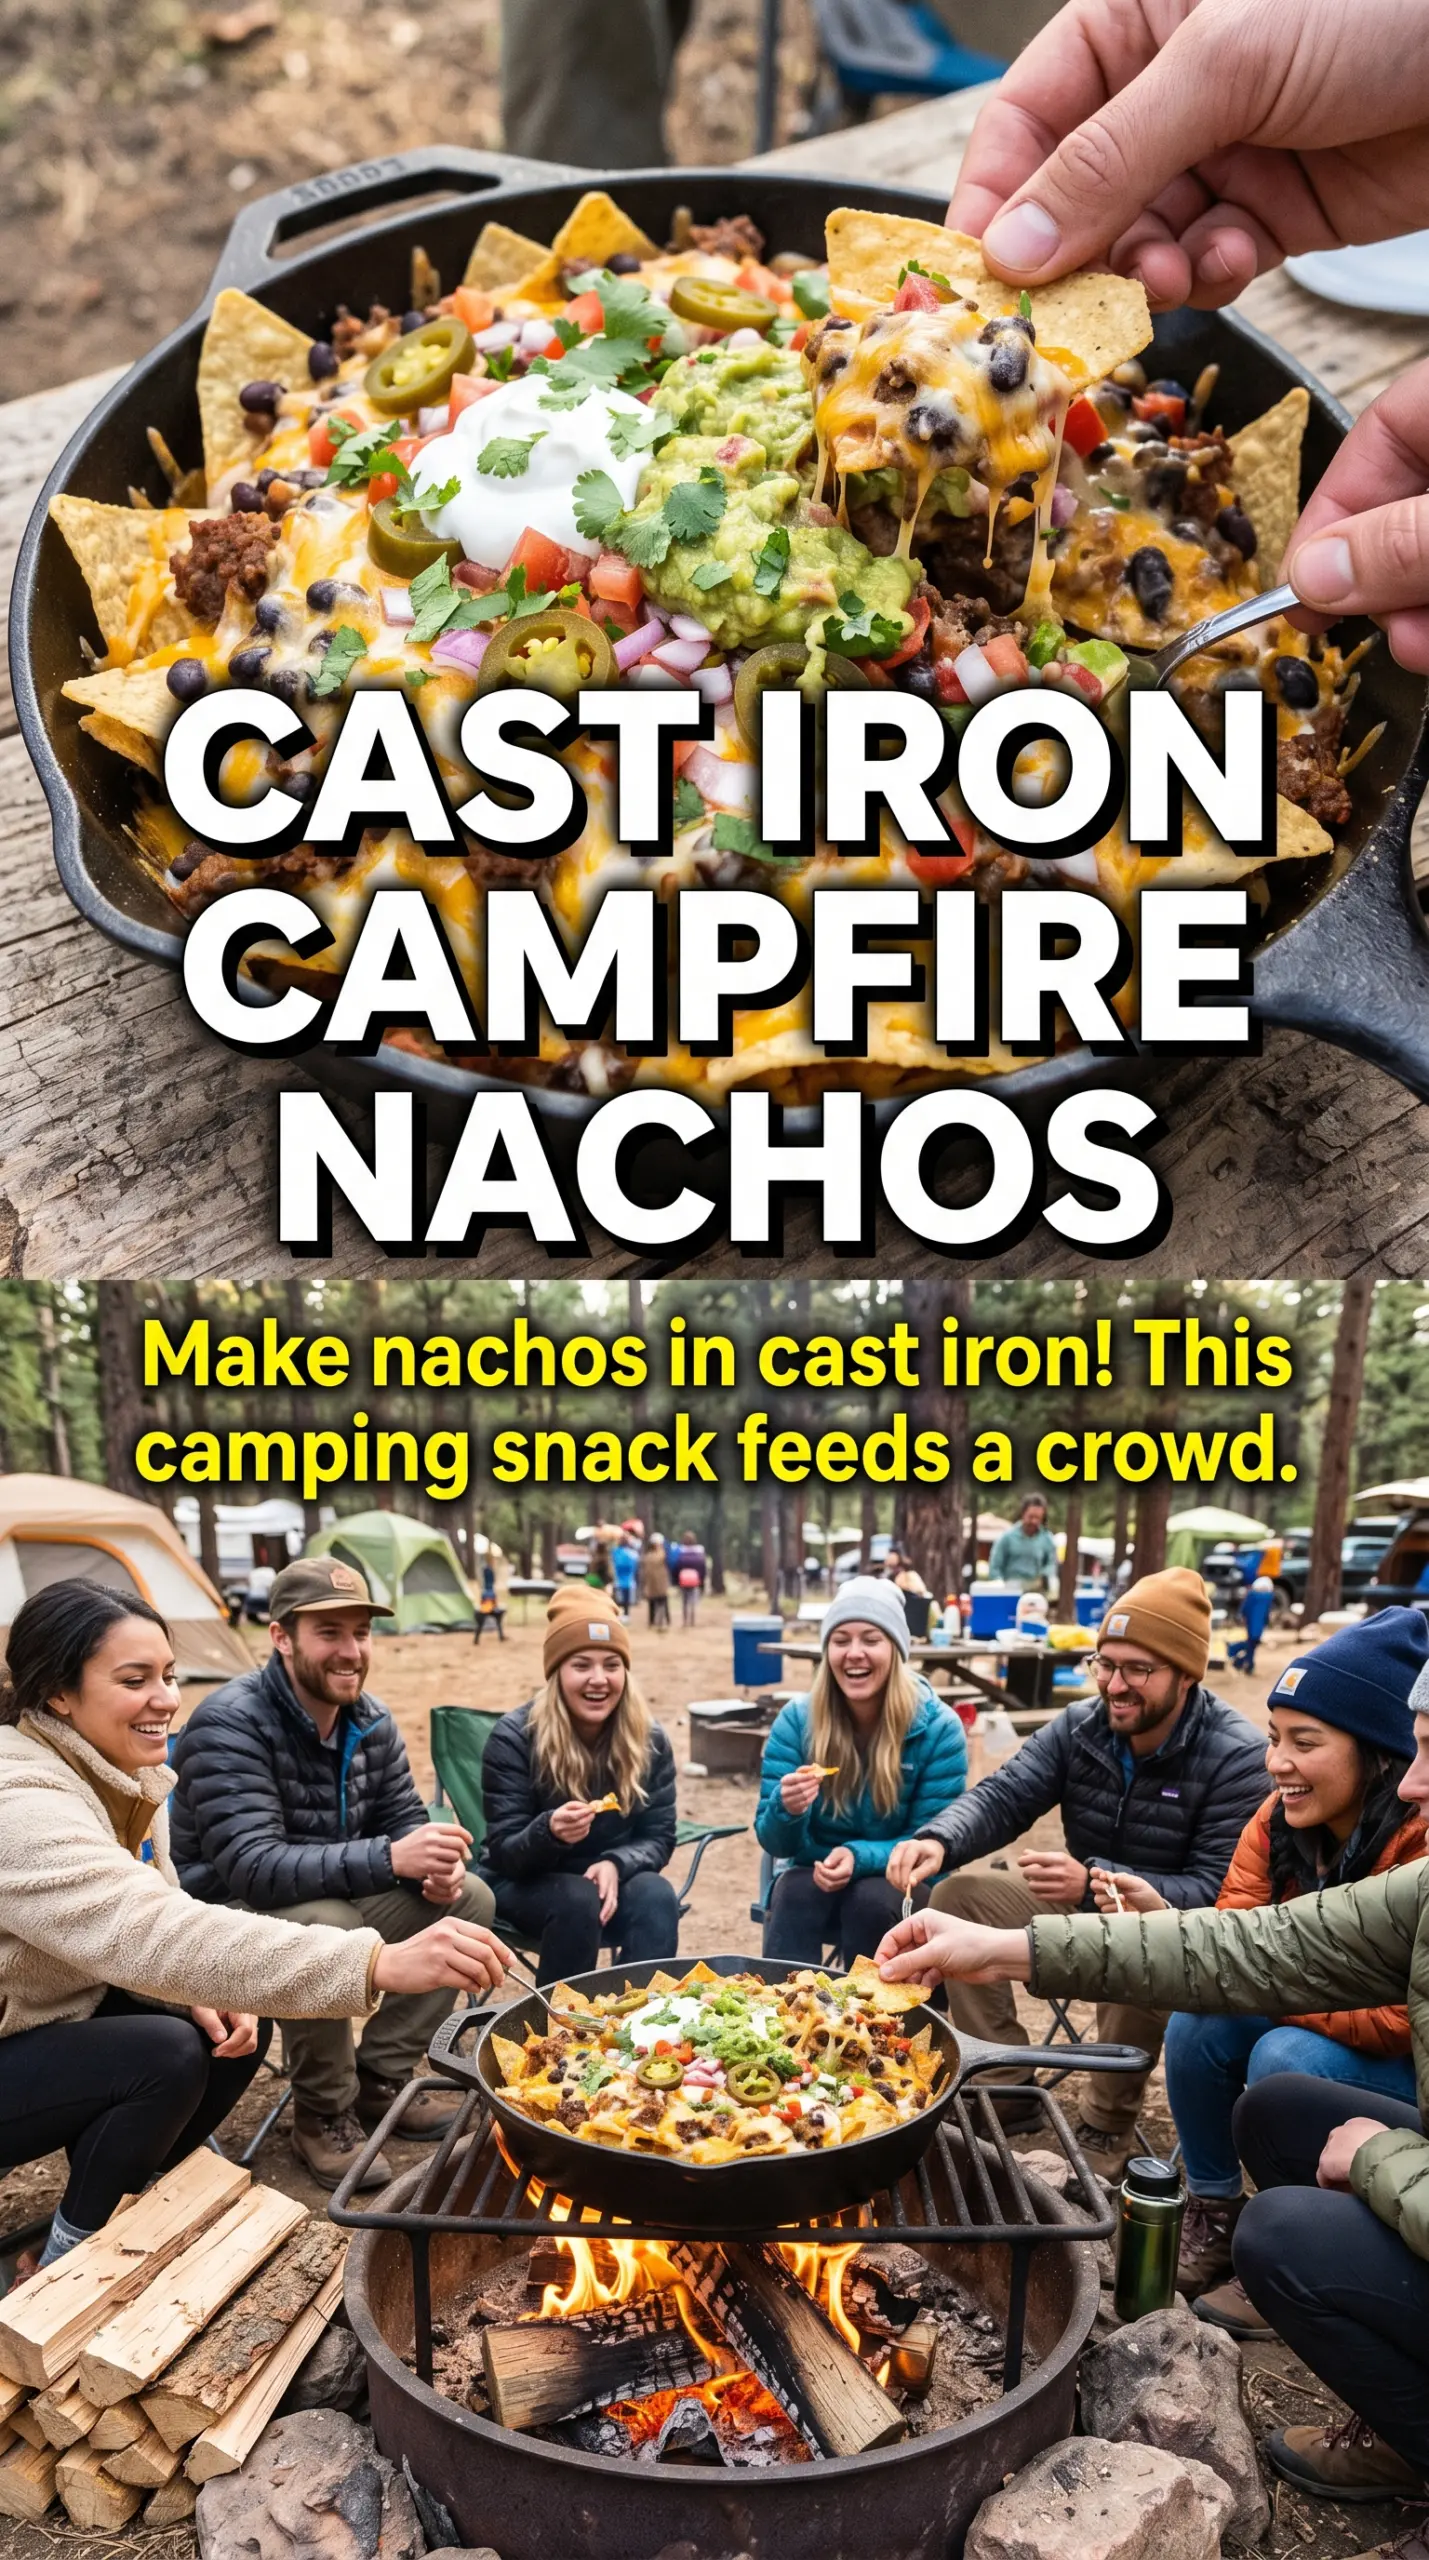
Campfire nachos hit the table fast, but the good ones still taste thought out: crisp chips under a blanket of melted cheese, seasoned beef in every bite, and cool toppings added at the end so nothing turns muddy. This version keeps the chips from going soft too early and gives you that bubbling skillet look that gets people hovering before you even set the pan down.
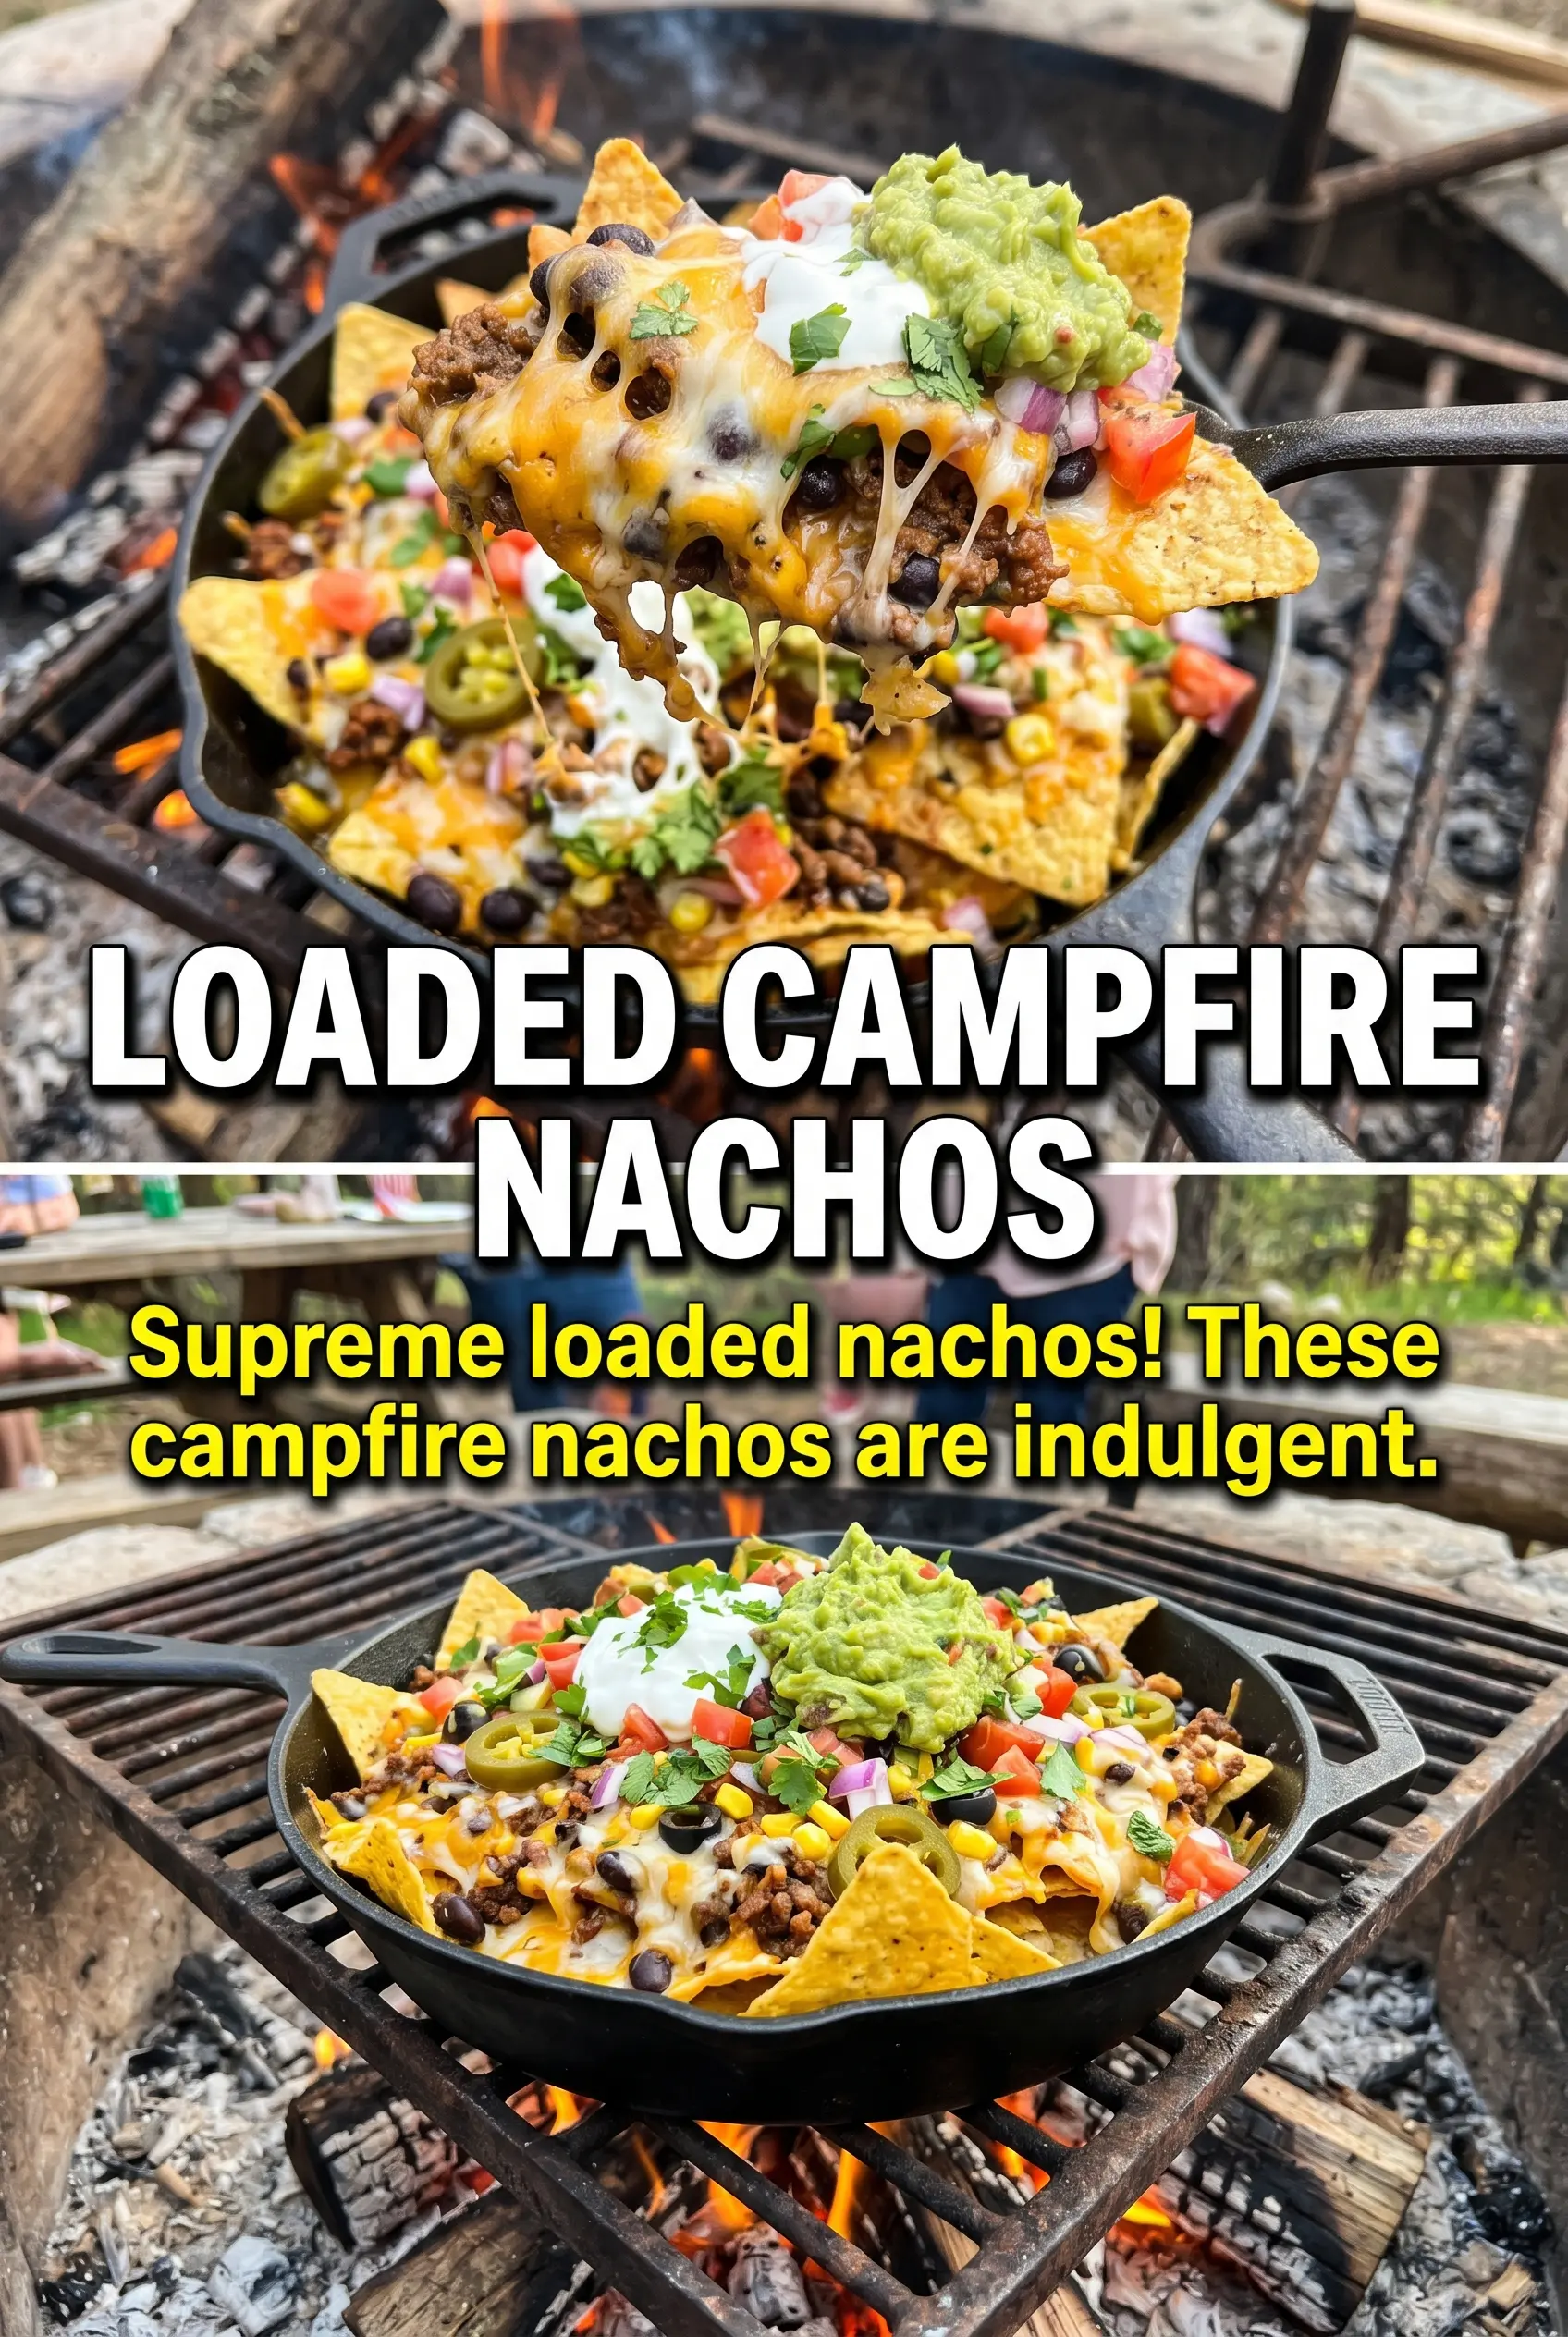
The trick is in the layering and the heat. Half the chips go down first, then some of the beef, beans, corn, and cheese, then the rest of the chips and the remaining toppings. That keeps the top from burning before the cheese underneath has a chance to melt. I also keep the fresh toppings off until the skillet comes off the fire, because tomatoes, sour cream, guacamole, and cilantro belong on top of hot nachos, not under them.
Below you’ll find the one detail that keeps campfire nachos from becoming a greasy pile, plus a few smart swaps for feeding a bigger group or working with what you packed. Once you’ve made them this way, it’s hard to go back to the all-at-once method.
The chips stayed crisp underneath and the cheese melted all the way through the skillet. I took it off the fire at 14 minutes and the toppings on top stayed fresh instead of getting soggy.
Loaded Campfire Nachos Supreme with bubbling cheese and fresh topping layers belongs in your camping recipe rotation.
The Reason the Bottom Layer Stays Crisp Instead of Turning to Mush
The mistake with loaded nachos is piling everything into one layer and letting the heat hit it too long. Chips are built to take some heat, but once the toppings sit on them for several minutes, they start steaming under the cheese and lose their snap. The double-layer method here spreads the weight out and gives the cheese a chance to glue everything together before the chips give up.
Cast iron helps because it holds steady heat and melts the cheese evenly, but an aluminum pan works if that’s what you have at camp. The key is medium heat, not a roaring fire. If the pan sits over flames that are too hot, the bottom chips burn before the top layer warms through.
What Each Topping Is Doing in the Skillet
- Tortilla chips — Use sturdy chips here, not thin restaurant-style ones. You need chips that can hold beef and beans without collapsing as the cheese melts.
- Ground beef with taco seasoning — This is the main savory layer, so season it well before it ever hits the skillet. If your beef is greasy, drain it before assembling or the chips will absorb that fat and turn heavy.
- Mexican cheese blend — This melts smoothly and gives you those stretchy pockets across the top. Pre-shredded is fine for camping, though freshly grated cheese melts a little cleaner if you’re cooking at home.
- Black beans and corn — These add body and a little sweetness, which keeps the nachos from tasting flat. Drain both well so they don’t steam the chips from underneath.
- Fresh toppings — Tomatoes, jalapeños, sour cream, guacamole, cilantro, and lime all go on after the heat comes off. That’s what keeps the contrast intact and gives every bite a cold-creamy, bright finish.
Building the Skillet So the Cheese Melts Before the Chips Burn
Start with a sturdy base
Spread half the chips in the skillet in an even layer, then add half the beef, beans, corn, and cheese. The goal is coverage without compacting the chips into a solid mat. If the layer looks too tall in the center, press it down just enough that the heat can reach the cheese. Leave the edges a little loose so you still get some crisp chips around the perimeter.
Repeat the layers, then stop touching it
Add the rest of the chips and repeat the toppings. Once the skillet goes over the fire, don’t stir or shuffle anything around. That only breaks the chips and makes the bottom layer collapse. You’re waiting for the cheese to melt into all the gaps and for the top chips to look glossy and warmed through.
Watch the cheese, not the clock
In 12 to 15 minutes, the cheese should be fully melted and bubbling at the edges. If the fire runs hot, pull the skillet a little farther from the flames and rotate it once. If the cheese is melting but the bottom sounds overly crunchy or smells toasty, it’s time to take it off. Nachos keep carrying heat for a minute or two after you remove the pan.
How to Adapt These Nachos for a Bigger Crowd or Different Diets
Make Them Vegetarian Without Losing the Heft
Skip the beef and double the black beans, or add seasoned sautéed mushrooms if you want a meatier bite. The beans keep the skillet filling, but the mushrooms bring back some of the savory depth you’d otherwise miss.
Gluten-Free Nachos That Don’t Need Special Treatment
Most tortilla chips are naturally gluten-free, but the taco seasoning is worth checking if you’re cooking for someone sensitive. Use a seasoning blend you trust, and the rest of the dish stays exactly the same.
Dairy-Free With the Same Campfire Energy
Use a dairy-free shredded melting cheese and swap the sour cream and guacamole toppings for extra salsa or diced avocado. The flavor shifts a little, but you still get the same layered, loaded effect.
How to Scale for a Larger Group
For a crowd, use two pans instead of one oversized skillet. A giant pile of nachos traps steam in the middle and the bottom layer goes soft before the top can melt. Two smaller pans cook more evenly and are easier to serve fast.
Storage and Reheating
- Refrigerator: Best eaten right away, but leftovers will keep for 2 days. The chips soften as they sit.
- Freezer: Not a good freezer recipe. The chips lose their texture and the fresh toppings won’t hold up.
- Reheating: Reheat only the chip, beef, bean, and cheese portion in a skillet or oven until warm. Add fresh toppings after reheating so the guacamole, sour cream, and tomatoes stay cold and bright.
Answers to the Questions Worth Asking
Campfire Nachos Supreme
Ingredients
Equipment
Method
- Layer half the chips in a large cast iron skillet or aluminum pan so they form an even base.
- Top with half the beef, black beans, corn, and shredded Mexican cheese blend.
- Add remaining chips and repeat toppings with the remaining beef, beans, corn, and cheese.
- Place the skillet on a campfire grate over medium heat for 12-15 minutes, until the cheese is fully melted and visibly bubbly at the edges.
- Remove from the heat and immediately top with diced tomatoes, sliced jalapeños, sour cream, guacamole, and chopped cilantro so the toppings stay fresh.
- Serve immediately with lime wedges on the side for squeezing.