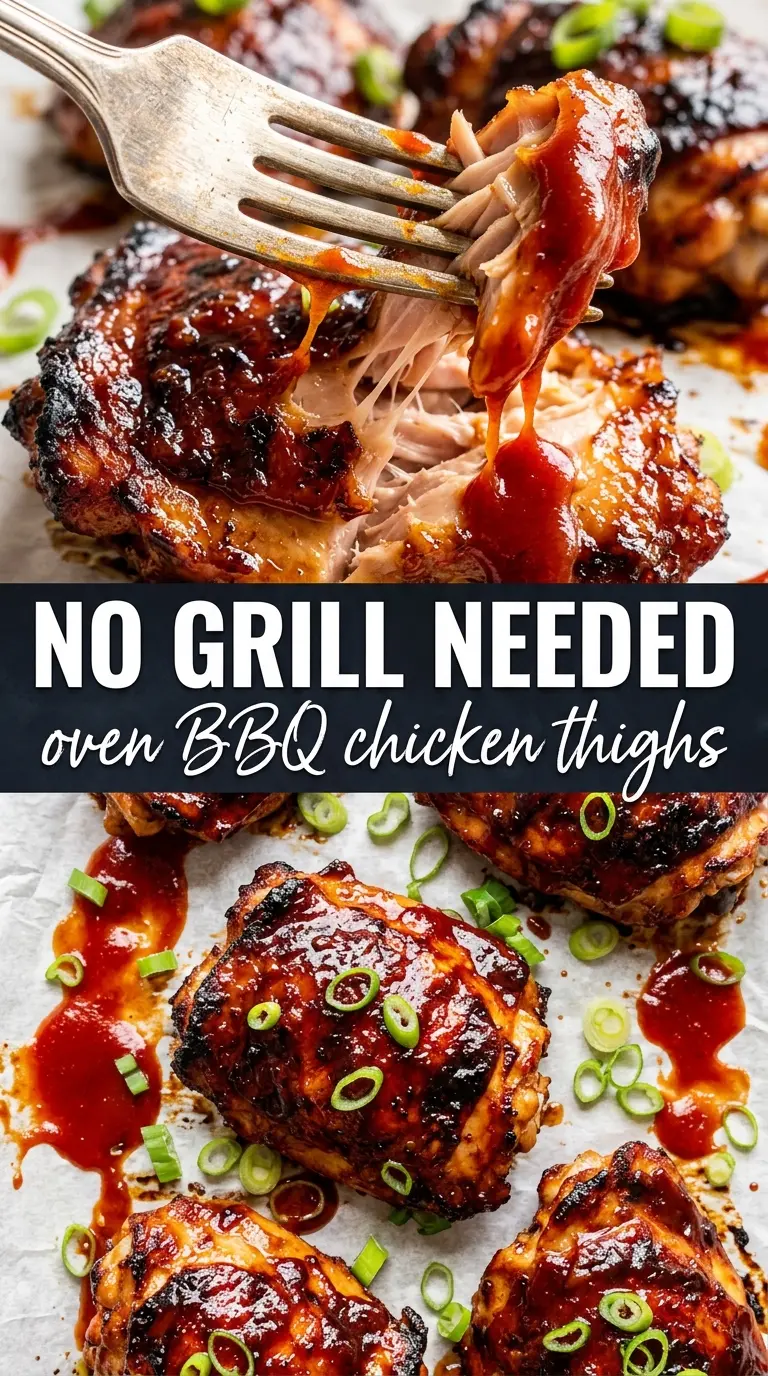
Sticky, deeply caramelized BBQ chicken thighs from the oven land with the kind of lacquered glaze that clings to your fingers and makes you reach for a second piece before you’ve finished the first. The skin turns crisp at the edges, the sauce tightens into a mahogany coating, and the chicken underneath stays juicy enough to pull apart with a fork. It’s the kind of dinner that tastes like backyard cooking, even when the grill never leaves the garage.
The trick is giving the chicken an uncluttered path to browning. A wire rack keeps the thighs out of the pan drippings so the skin can render instead of steam, and the sauce goes on late enough to reduce without burning. That last broil is the moment that turns good BBQ chicken into sticky, finger-licking chicken, but only if you’re already watching the pan like a hawk.
Below, I’m breaking down the part that matters most: how to get the sauce thick and caramelized without scorching it, which BBQ sauce works best, and what to change if you want a sweeter, smokier, or gluten-free version.
The sauce got sticky and caramelized on the rack exactly like you said, and the chicken stayed juicy all the way through. I was worried the BBQ sauce would burn, but the timing was spot on.
Save these caramelized BBQ chicken thighs for the night you want sticky oven-baked chicken without firing up the grill.
The Part Most BBQ Chicken Misses: Sauce Goes On Late
The biggest mistake with oven-baked BBQ chicken is saucing too early. BBQ sauce has sugar, and sugar turns from glossy to bitter fast under high heat. If it goes on before the chicken has had time to cook through, the glaze scorches before the thighs finish, and you end up with dark patches instead of that thick, sticky coating you were after.
Starting the chicken plain gives the skin time to render and crisp first. Then the sauce gets brushed on in two thin layers, which lets each coat reduce and cling instead of sliding off the chicken in a wet puddle. The final broil is there for color, not for cooking the chicken through.
- Chicken thighs — Bone-in, skin-on thighs are the right cut here because they stay juicy under direct oven heat and give you enough fat to keep the meat tender. Boneless thighs will cook faster, but you lose some of that rich, self-basting texture.
- BBQ sauce — Use a sauce you already like on its own, since it concentrates in the oven. A very sweet sauce caramelizes faster, while a smokier or tangier one gives you a deeper finish; avoid anything watery or it won’t lacquer properly.
- Smoked paprika — This does a lot of the heavy lifting for grilled flavor in an oven recipe. Regular paprika works in a pinch, but you’ll lose that smoky edge that makes the chicken taste like it came off a pit.
- Wire rack — It’s not just for convenience. It lets hot air move around the thighs so the skin renders instead of sitting in its own steam on the pan.
What Each Ingredient Is Actually Doing in This Chicken Thigh Recipe
- Chicken thighs (pat dry for browning) — Thighs are more forgiving than breasts. Pat dry so they brown properly instead of steam.
- Oil or butter (the browning medium) — High-heat oil essential for proper searing. Creates deep pan flavor through browning.
- Seasonings (salt, pepper, spices) — Build flavor boldly. Thighs carry flavor better than white meat.
- Aromatics (garlic, onion, ginger, herbs) — Cook with oil to bloom flavors. These become the foundation of the dish.
- Sauce or braising liquid (soy, honey, wine, or broth) — This keeps thighs moist and adds flavor. Thighs stay juicy even if slightly overcooked.
- Vegetables (if using potatoes, carrots, or others) — Layer by cooking time so everything finishes together.
- Acid (vinegar, wine, citrus, or soy) — This brightens sauce and prevents heavy thigh flavor from becoming monotone.
- Proper doneness (165°F internal temperature) — Thighs stay juicy at this temp. Thermometer ensures accuracy without guessing.
Getting the Skin Crisp Before the Glaze Turns Sticky
Seasoning the Chicken Evenly
Pat the thighs dry before you season them. Moisture on the skin is the enemy of crisp edges, and oil won’t fix that. Rub the chicken all over with olive oil, garlic powder, smoked paprika, onion powder, salt, and pepper until the seasoning looks evenly coated and slightly pasty. If you see bare spots, the flavor will be uneven after baking, so take a minute to work it in.
Baking Through Before Saucing
Set the thighs skin-side up on the rack and bake them at 400°F for about 25 minutes. This first stretch is about cooking the chicken through and getting the skin fat moving. Don’t brush on sauce yet; if you do, the sugar starts browning too soon and the chicken underneath still hasn’t had time to finish. You’re looking for the skin to look taut and lightly golden before the first coat goes on.
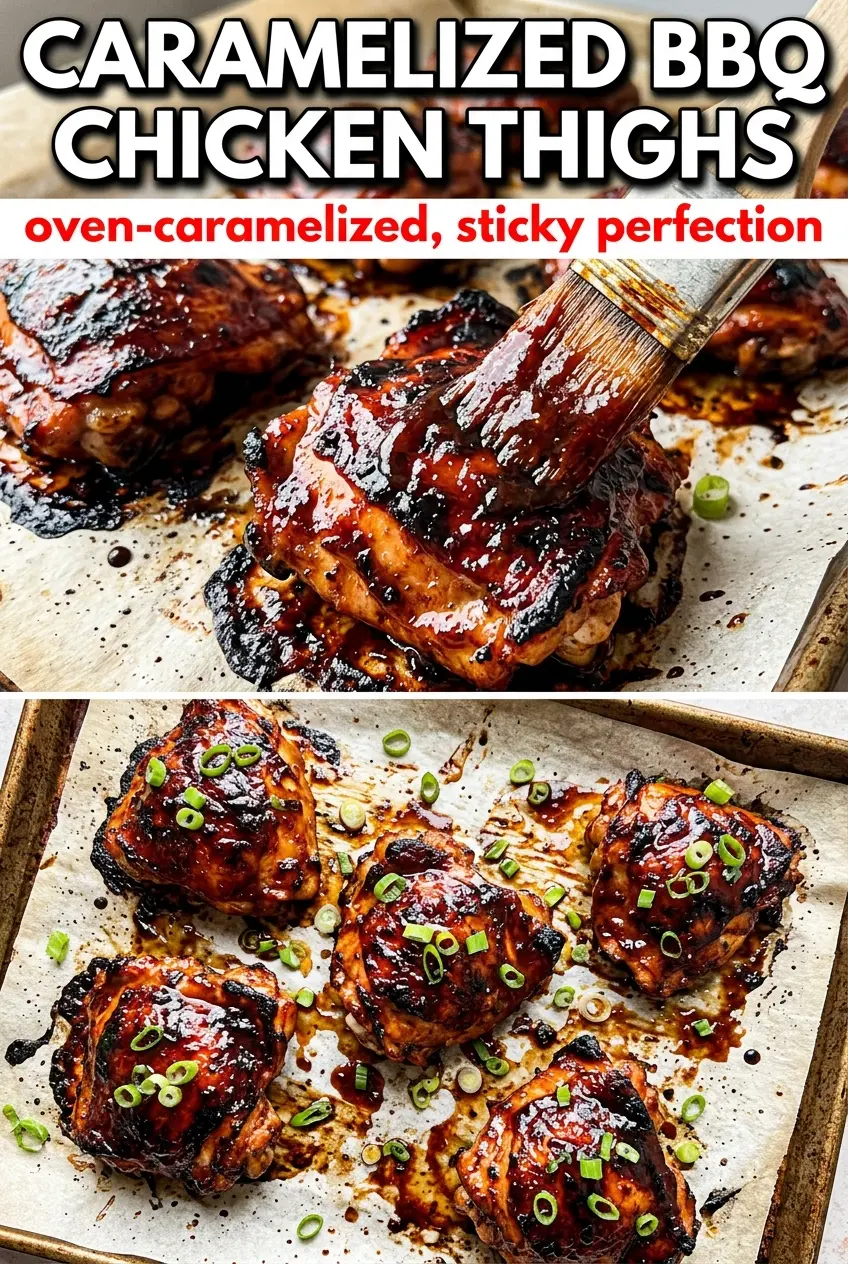
Building the Sticky Finish
Brush on a generous layer of BBQ sauce and return the pan to the oven for 10 minutes. Add a second coat, then bake again until the sauce looks thicker, darker, and glossy around the edges. If your sauce starts to look dry or pasty, it’s time for the broiler, but only for 3 to 4 minutes with the pan watched constantly. The line between caramelized and burnt is short here.
Resting Before Serving
Let the chicken rest for 5 minutes after it comes out of the oven. That pause keeps the juices from running all over the pan the second you cut in. Spoon any extra sauce from the pan over the thighs right before serving for the best shine and the strongest BBQ hit.
How to Adapt These BBQ Chicken Thighs Without Losing the Sticky Glaze
Use boneless thighs for a faster dinner
Boneless, skinless thighs will cook quicker, usually about 10 minutes less overall, and they still take well to the sauce. You’ll lose the crisp skin and some of the richer finish, so watch closely and pull them as soon as they reach 165°F.
Make it gluten-free with the right BBQ sauce
The seasoning mix is naturally gluten-free, but BBQ sauce varies a lot. Check the label for hidden wheat or malt vinegar if you need a strict gluten-free dinner, because the sauce is the only ingredient most likely to trip you up.
Lean into a sweeter or smokier finish
A honey-style BBQ sauce gives you a thicker, stickier glaze and darker edges, while a hickory or mesquite sauce tastes more like classic cookout chicken. Either works, but the sweeter the sauce, the more closely you need to watch the final broil.
Make it a little spicier
Add a pinch of cayenne to the seasoning mix or choose a spicy BBQ sauce. Heat plays well with the caramelized glaze, but don’t overload it or the burn from the broiler will compete with the chile heat instead of balancing it.
Storage and Reheating
- Refrigerator: Store leftovers in an airtight container for up to 4 days. The skin won’t stay crisp, but the flavor gets even deeper overnight.
- Freezer: Freeze cooked thighs tightly wrapped or sealed for up to 2 months. The sauce holds up well, though the skin softens after thawing, so plan on reheating them for the meat rather than the crunch.
- Reheating: Warm in a 350°F oven, covered loosely with foil for the first part, then uncover near the end so the glaze can re-stick. The common mistake is blasting them in the microwave, which makes the sauce greasy and the chicken rubbery.
Questions I Get Asked About This Recipe
Caramelized BBQ Chicken Thighs in the Oven
Ingredients
Equipment
Method
- Preheat the oven to 400F and set a wire rack inside a foil-lined baking sheet so air circulates under the chicken.
- Rub the chicken with olive oil, garlic powder, smoked paprika, onion powder, and salt and pepper until evenly coated and the spices look well-distributed on the skin.
- Place the chicken skin-side up on the rack and bake for 25 minutes until the skin is golden and rendered.
- Brush generously with BBQ sauce and bake for 10 minutes until the sauce looks glossy and begins to thicken.
- Brush with more BBQ sauce and bake for 5 more minutes until the surface looks deeply caramelized and sticky, with a dark mahogany sheen.
- Broil for 3-4 minutes, watching carefully, until the glaze bubbles and the edges are lacquered and browned.
- Rest for 5 minutes to set the sticky glaze, then serve with extra BBQ sauce and a sprinkle of fresh parsley for garnish.