Silky dairy-free vanilla ice cream can be just as rich and scoopable as the version made with cream when the base is built the right way. This one freezes with a clean vanilla finish, a smooth body, and none of that icy edge that gives plant-based ice creams a bad name. The texture lands somewhere between custard-soft and classic scoop shop ice cream, which is exactly why it disappears fast.
The trick is using full-fat coconut milk for body, then leaning on a small amount of starch to help the mixture hold together after churning. A little coconut oil rounds out the mouthfeel so the ice cream doesn’t taste thin or chalky, and cooking the base just long enough to dissolve the sugar gives you a smoother churn later. You’re not trying to make pudding here. You’re giving the ice cream maker a stable, well-balanced base that freezes creamy instead of hard.
Below, I’ve included the little details that matter most: how to keep the base from feeling grainy, which swaps work without wrecking the texture, and what to do if your freezer turns the finished ice cream a little firmer than you expected.
The ice cream came out smooth instead of icy, and the vanilla flavor stayed clean even after freezing overnight. I used maple syrup and it churned beautifully.
Save this dairy free vanilla ice cream for the nights when you want a creamy scoop that freezes smooth without dairy.
The Step That Keeps Dairy-Free Ice Cream Creamy After Freezing
The biggest mistake with dairy-free ice cream is rushing the base straight from the pot to the churn. Coconut milk needs time to chill completely, or the churned mixture stays soft and melts too fast in the freezer. That resting time isn’t passive; it’s what lets the fat set up and the starch fully hydrate so the finished ice cream has a smoother, denser bite.
The other thing that matters is gentle heat. You’re only warming the mixture until the sugar dissolves and the base thickens slightly. If it starts to simmer hard, the coconut milk can separate and the starch can clump, which gives you a grainy texture instead of a clean, creamy one. Keep the whisk moving and stop as soon as the base looks a touch more velvety than when you started.
- Full-fat coconut milk — This is the backbone of the recipe. Light coconut milk won’t give you the same richness or freeze as smoothly.
- Arrowroot or tapioca starch — A small amount thickens the base just enough to help it stay creamy after freezing. Either works; arrowroot gives a slightly cleaner finish, while tapioca can make the texture a little more elastic.
- Coconut oil — This adds body and helps mimic the round mouthfeel you’d normally get from dairy fat. If you skip it, the ice cream still works, but it can taste a little leaner.
- Maple syrup instead of sugar — It’s the easiest swap if you want a slightly softer scoop and a deeper flavor. The ice cream will taste less neutral and a little more caramel-like.
How to Build the Base So It Churns Smoothly
Whisking the Base Until It Looks Unified
Start with the coconut milk cold from the can and whisk it with the sugar, starch, vanilla, salt, and coconut oil until the mixture looks completely even. The starch needs to disappear before heat goes on, or you’ll chase tiny lumps around the pot later. If the coconut milk has separated in the can, whisking it together first takes care of that before anything thickens.
Heating Just Enough to Activate the Thickener
Cook over medium heat and keep whisking. The mixture should loosen first, then turn slightly glossy and a little thicker around the edges, usually in about 5 minutes. If you let it boil hard, the texture can turn gritty or split, and that’s hard to fix once it happens. Pull it off the heat as soon as it has a faint coating quality on the back of a spoon.
Chilling Before the Churn
Cool the base over an ice bath first, then refrigerate until it is completely cold. Warm base is the fastest way to get soft, slushy ice cream that never quite firms up right. I like to chill it at least 4 hours, and overnight is even better if you have the time. The colder the base goes into the machine, the finer the churn.
Freezing Until Scoopable
After churning, the ice cream will look like soft serve. That’s correct. Transfer it to a freezer-safe container, press parchment directly on the surface if you want to limit ice crystals, and freeze until it reaches scoopable firmness. About 2 hours usually does it, but freezer temperature changes the timing, so go by texture: firm enough to hold a scoop, but not rock hard.
How to Adapt This Dairy-Free Ice Cream Without Losing the Texture
Make It Maple-Sweetened
Swap the granulated sugar for maple syrup and keep the amount the same. The ice cream will churn a little softer and taste warmer and deeper, with a hint of caramel. It’s a good change if you want a less neutral vanilla profile, but the finished texture won’t be quite as firm as the sugar version.
Use Tapioca for a Slightly Chewier Scoop
Tapioca starch gives the base a little more stretch and a touch more body after freezing. If arrowroot is what you have, use it the same way, but know that arrowroot tends to set a little cleaner and lighter. Both work; neither should be skipped entirely if you want that creamy, not icy, finish.
Make It Vegan and Gluten-Free
This recipe is already naturally vegan and gluten-free as written, as long as your vanilla extract and starch are certified if that matters for your kitchen. That makes it an easy dessert for mixed-diet crowds without changing the texture or the process.
Storage and Reheating
- Refrigerator: Not recommended once churned; the texture softens too much and starts to melt.
- Freezer: Store in an airtight container for up to 2 weeks. It will get firmer over time, but the flavor holds well.
- Reheating: Let it sit at room temperature for 5 to 10 minutes before scooping. If it’s frozen solid, the outside will soften long before the center does, so waiting a few minutes gives you cleaner scoops.
Answers to the Questions Worth Asking
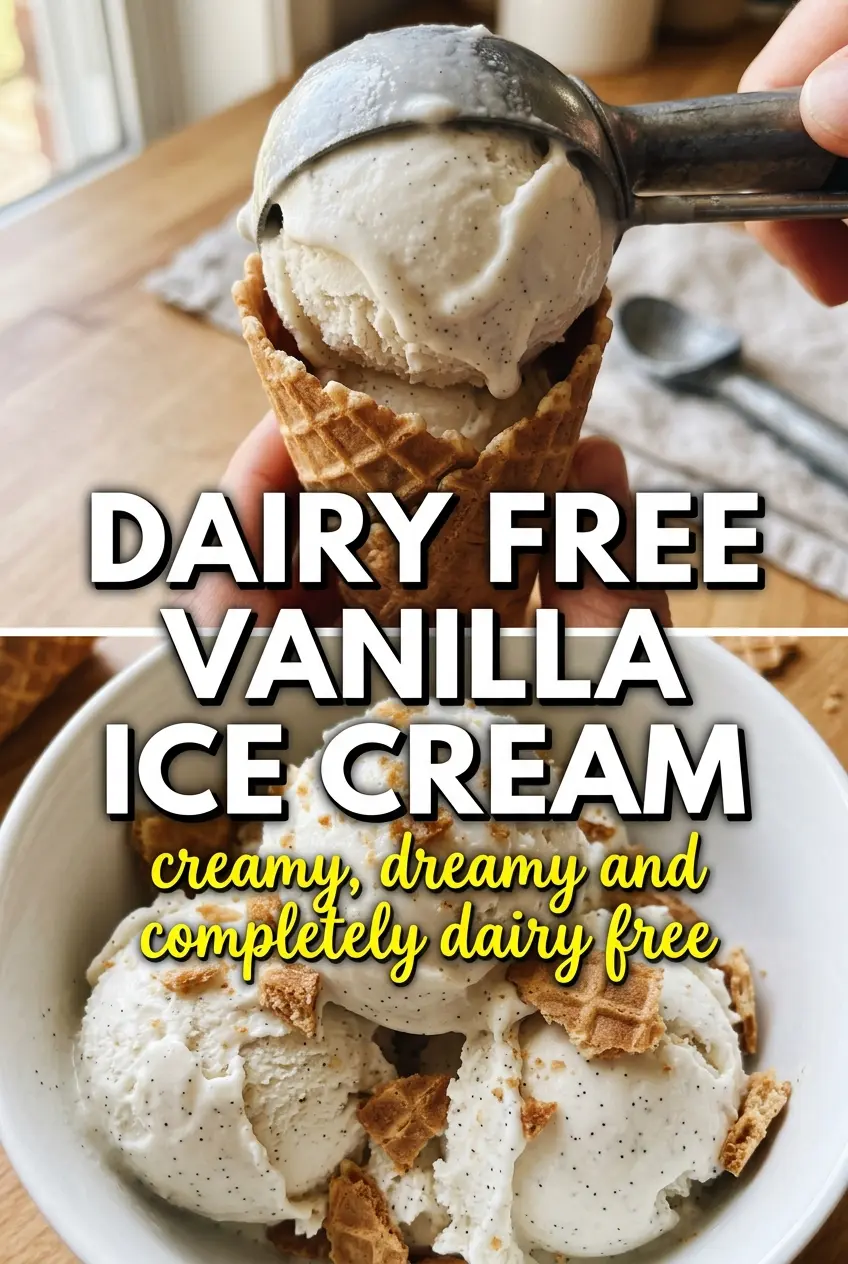
Dairy Free Vanilla Ice Cream
Ingredients
Equipment
Method
- Whisk full-fat coconut milk, granulated sugar, arrowroot or tapioca starch, pure vanilla extract, salt, and coconut oil together in a saucepan until smooth.
- Heat over medium heat, whisking constantly, until the sugar dissolves and the mixture thickens very slightly, about 5 minutes.
- Cool completely over an ice bath, then refrigerate at least 4 hours until thoroughly chilled.
- Churn the chilled mixture in an ice cream maker according to the manufacturer’s instructions until thick and creamy.
- Freeze until scoopable, about 2 hours, for a firm yet spoonable texture.


