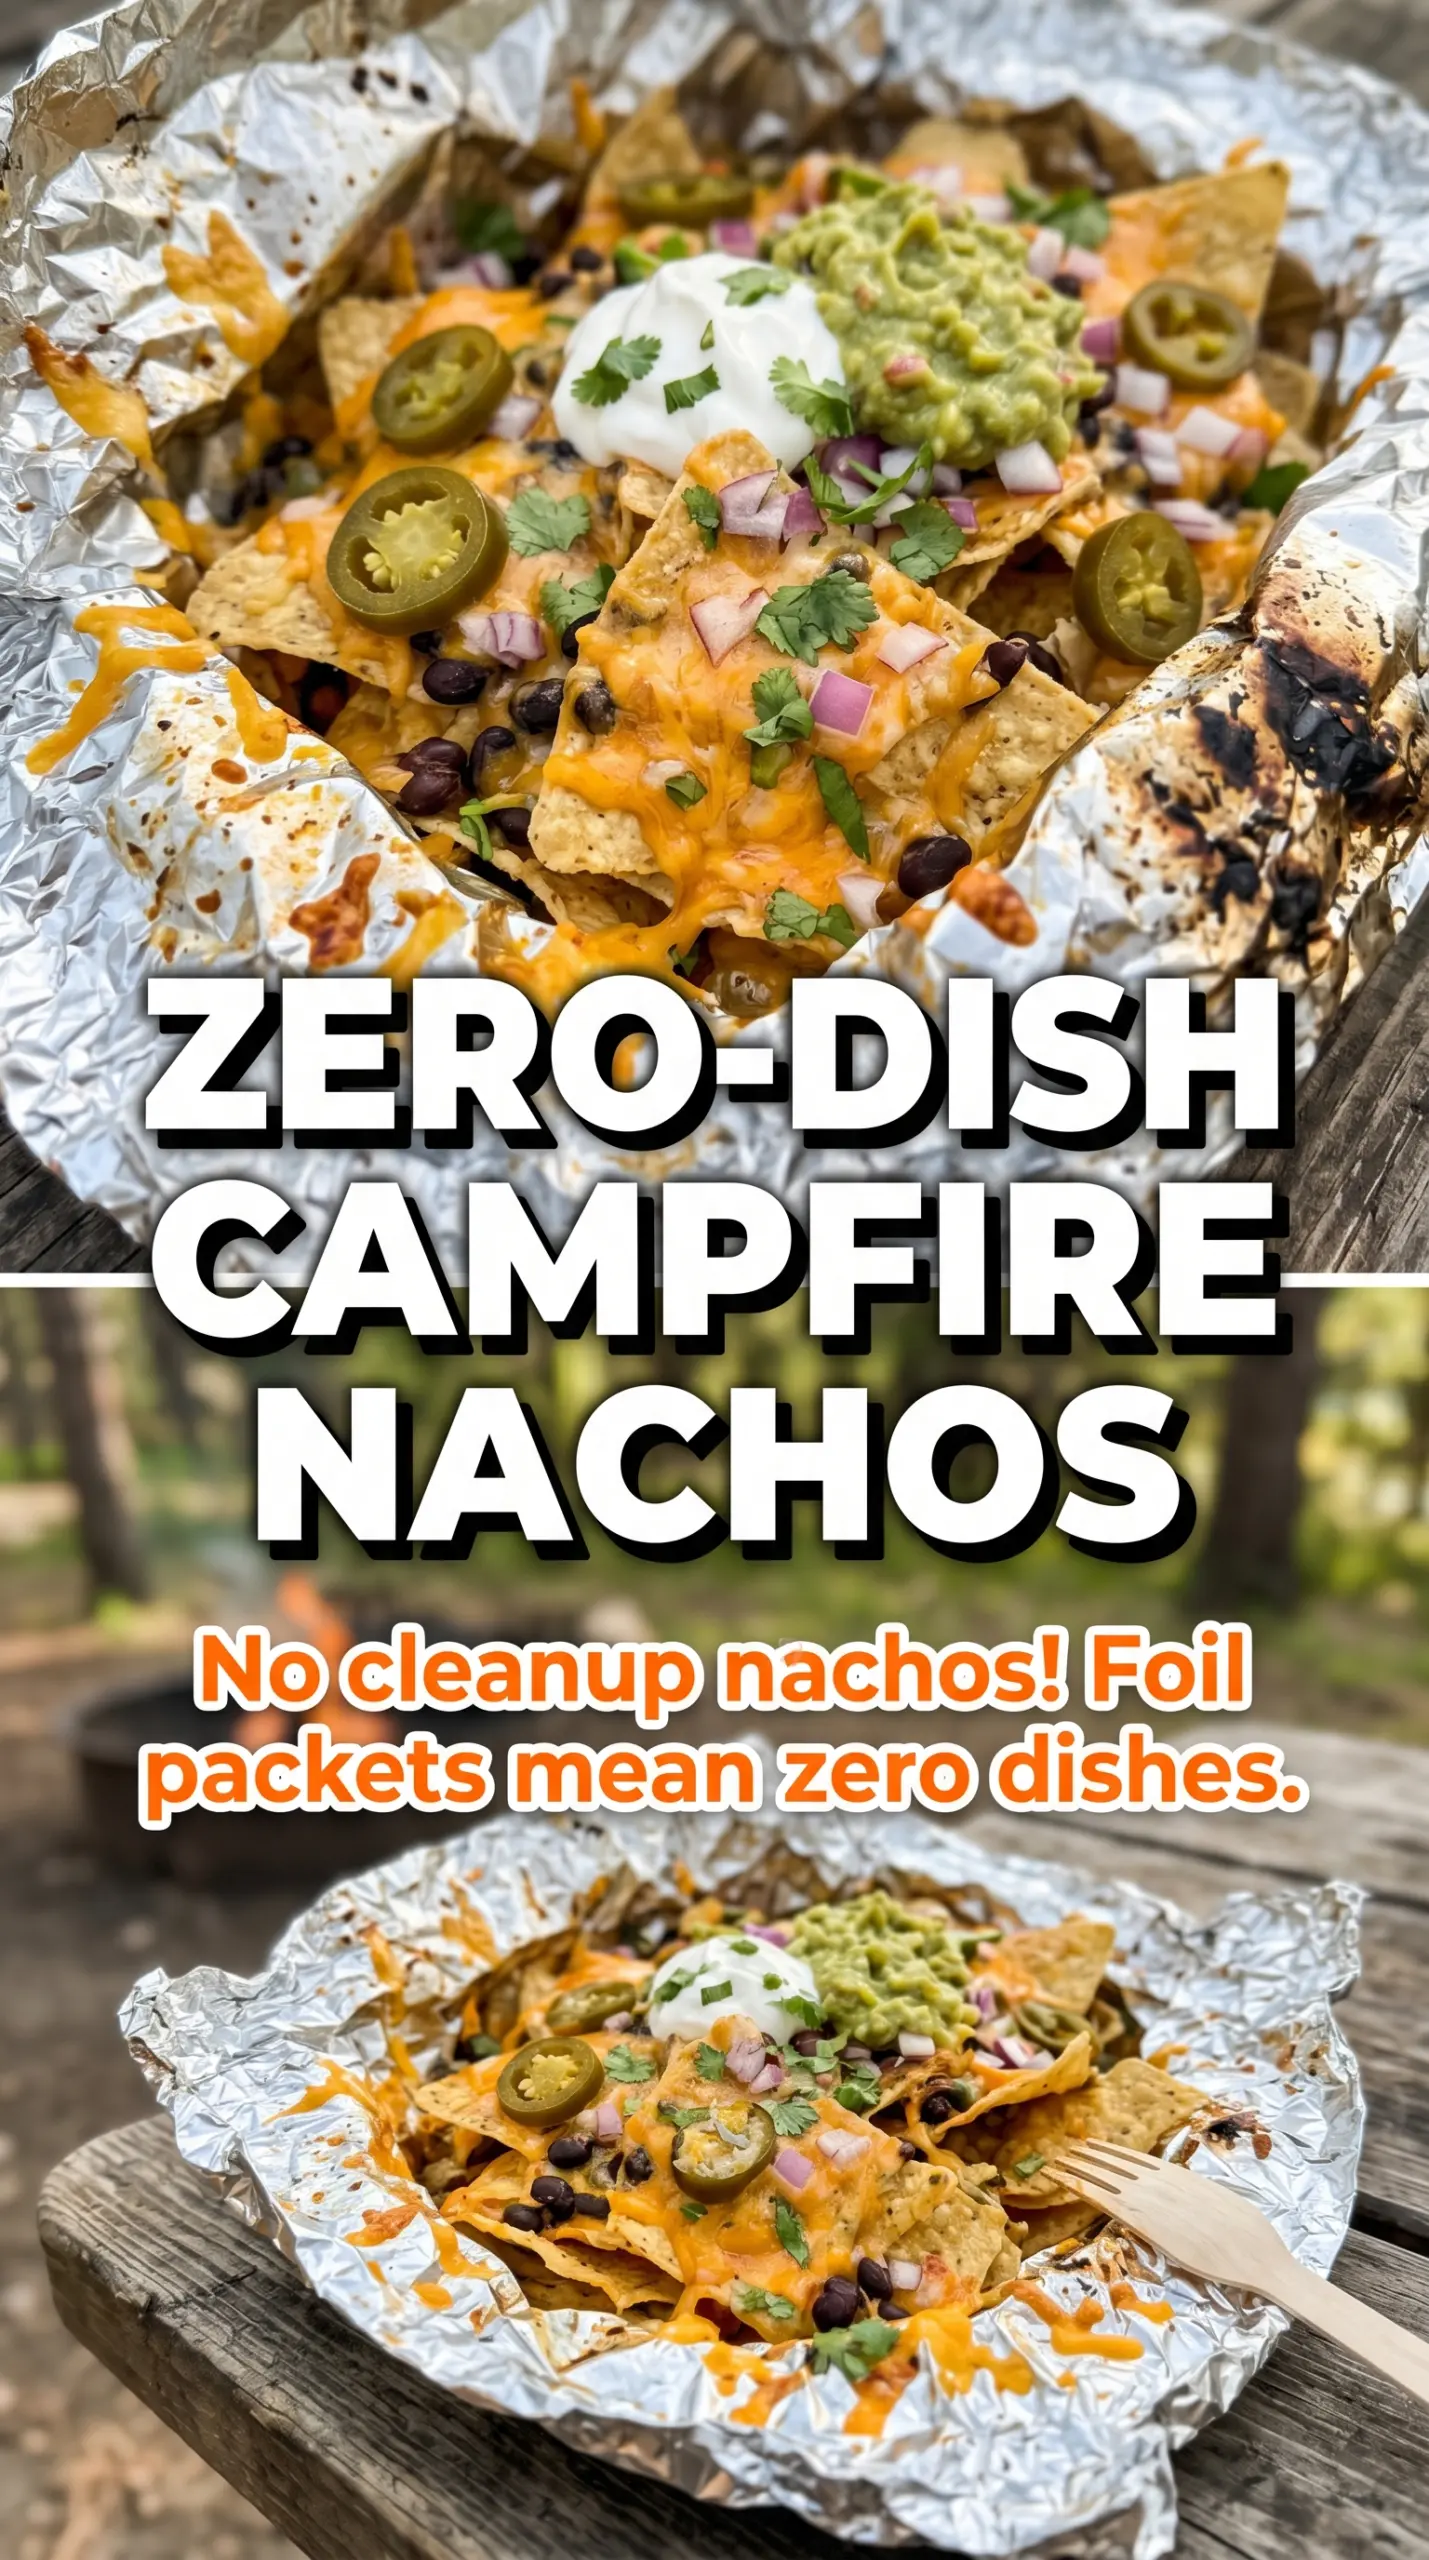
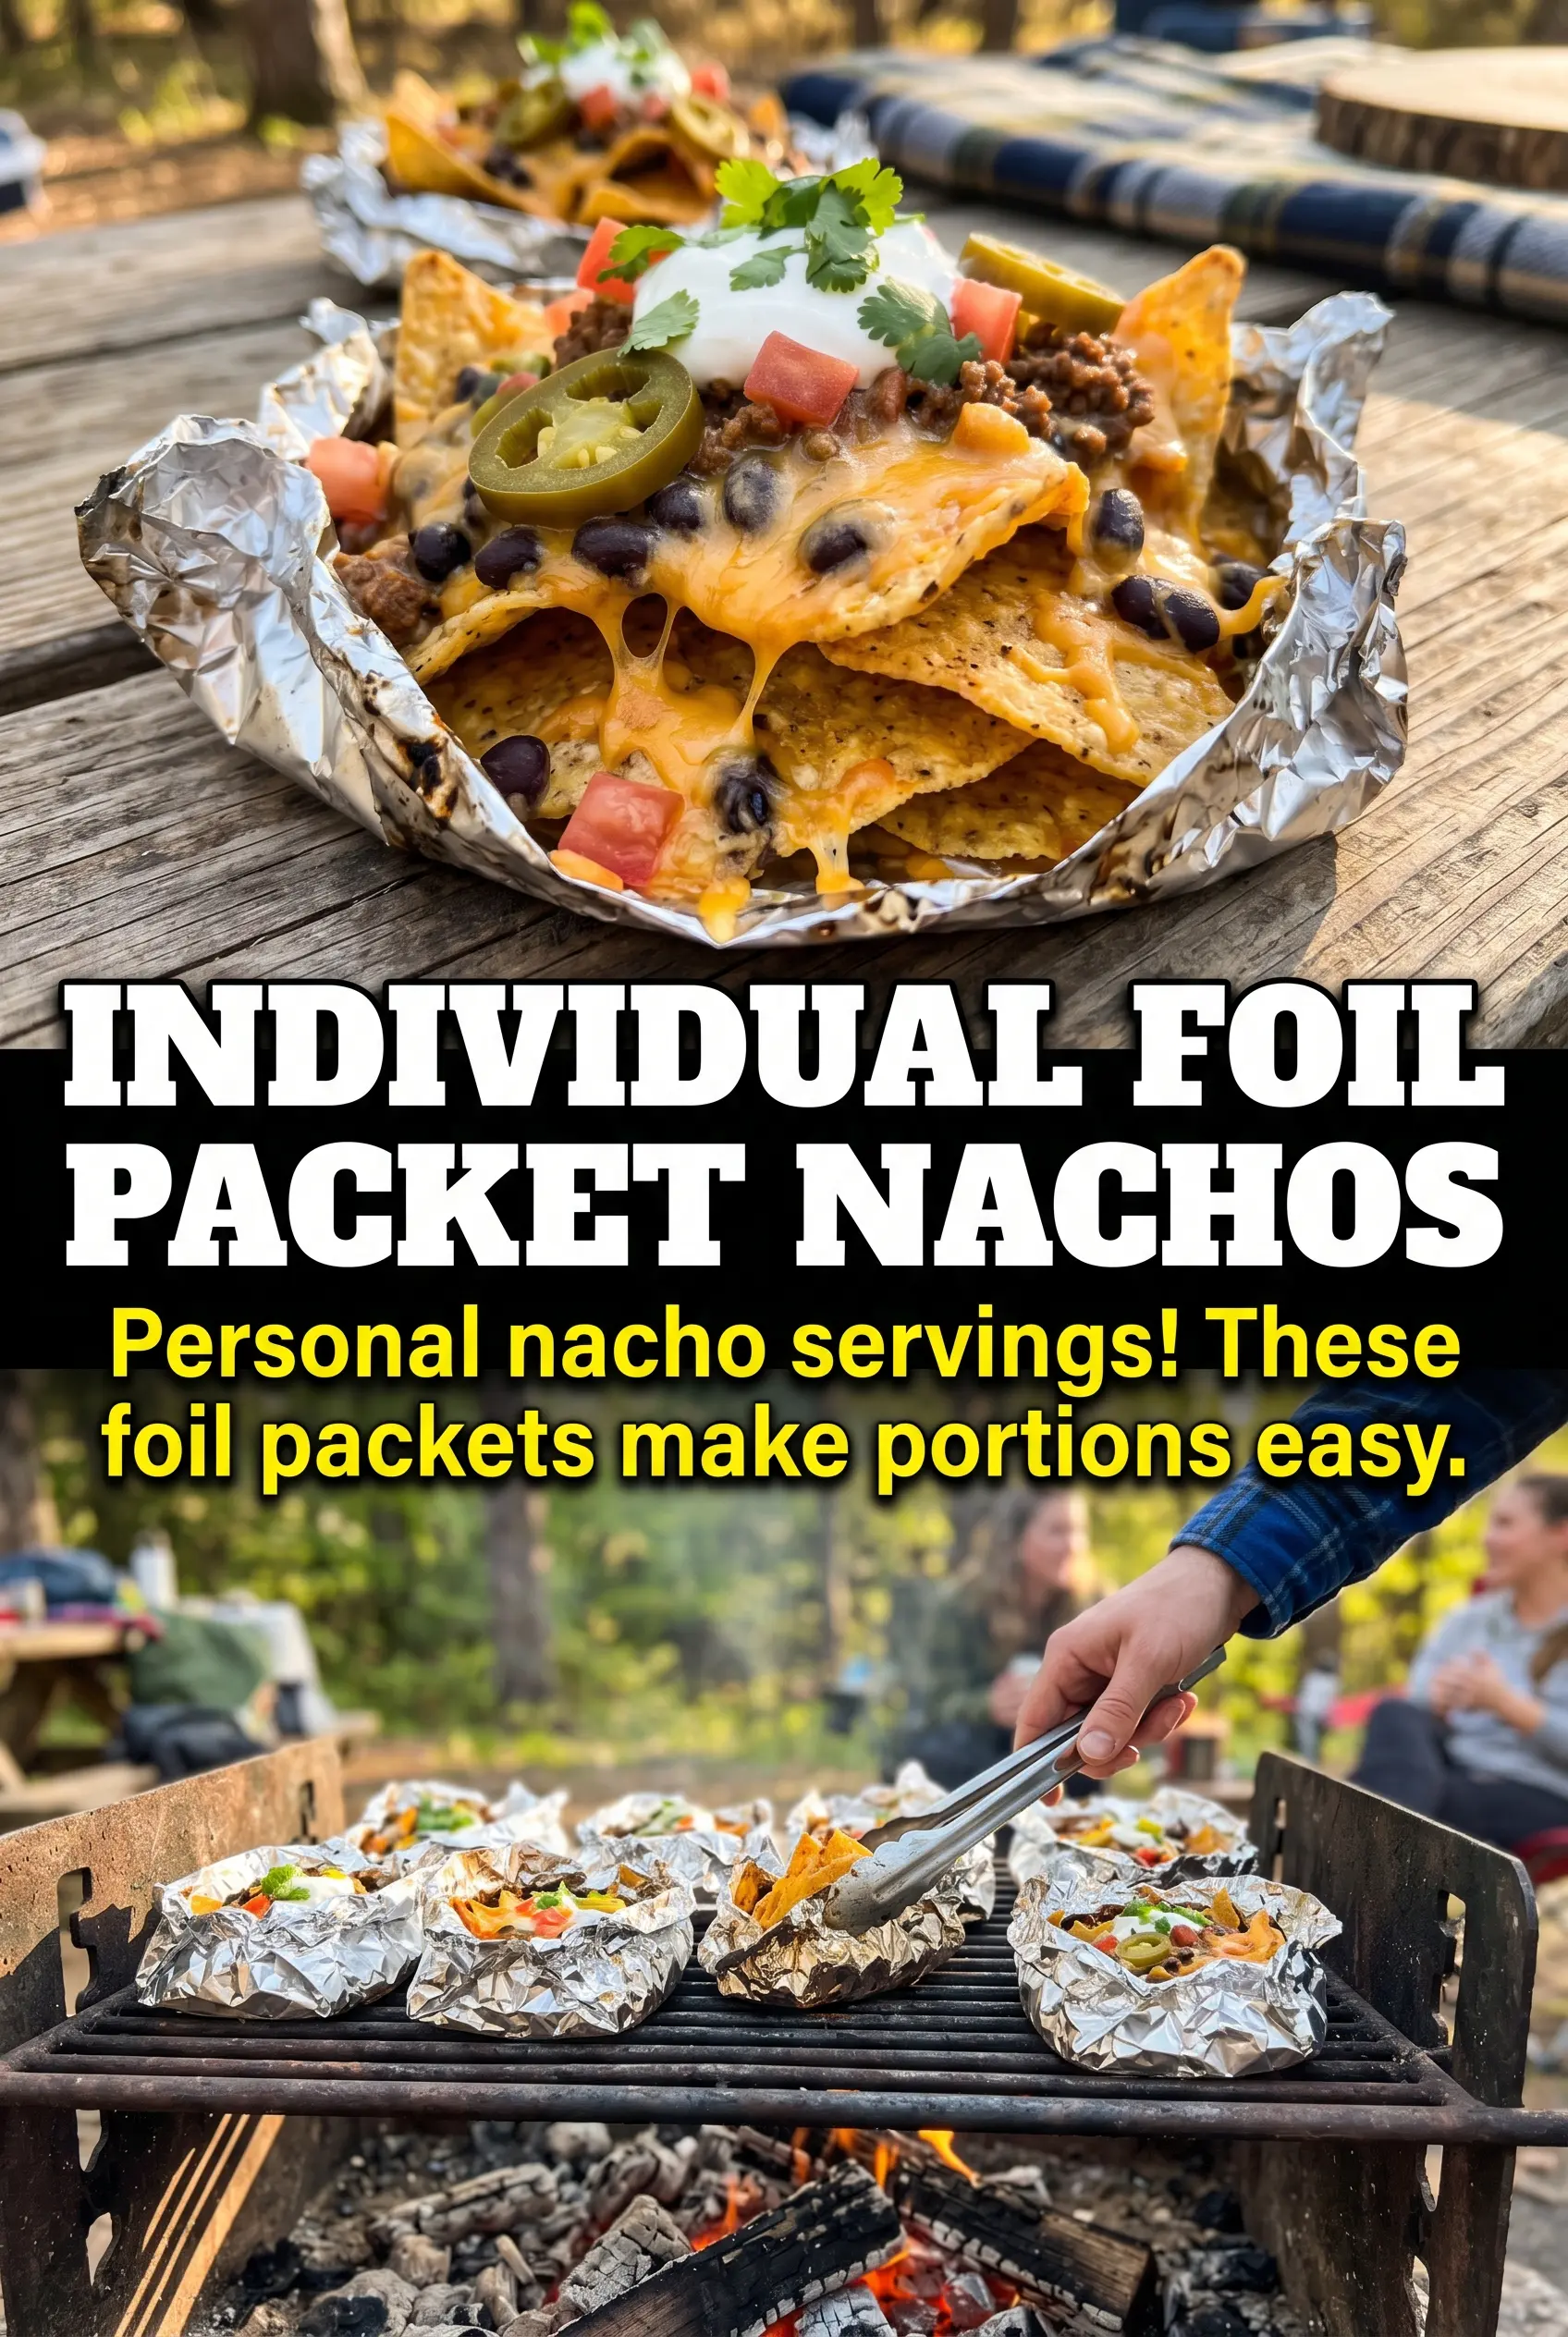
Grilled campfire nacho packets turn a casual snack into a hot, melty, hands-on meal without a pile of dishes. The chips stay mostly crisp at the edges, the cheese melts into the beans and meat, and every packet comes out with its own little pocket of smoky, salty, loaded nachos. It’s the kind of food that disappears fast because nobody has to wait for a big shared pan to get scooped up.
The trick is keeping the layers simple and the foil sealed well enough to trap heat without crushing the chips into dust. Heavy-duty foil matters here, and so does medium heat. Too hot, and the bottom burns before the cheese melts; too low, and the chips go soft before anything gets properly warm. A little headspace inside the packet helps the steam circulate, which is what melts the cheese evenly.
Below, I’ve included the little details that keep these from turning soggy, plus a few smart swaps for making them vegetarian or scaling them up for a crowd.
The cheese melted all the way through and the chips on the edges stayed crisp enough to scoop. I used beef in half the packets and beans in the others, and they all cooked evenly in about 14 minutes.
Save these grilled campfire nacho packets for the next time you want melty, smoky nachos with almost no cleanup.
The Part That Keeps Campfire Nachos Crispy Instead of Mushy
Most foil-packet nachos fail for one reason: they sit in their own steam for too long. That steam softens the chips fast, especially if the packets are overfilled or sealed too tightly with no air space. The goal here is melted cheese and hot toppings, not a casserole in disguise.
I keep the chips in a fairly loose layer and let the cheese and toppings do the heavy lifting. The other important piece is the heat level. Medium heat gives the cheese time to melt before the bottom layer scorches, and it’s the difference between a packet that opens up cleanly and one that tastes burnt on the underside.
- Heavy-duty foil — This is not the place for thin foil. You need something sturdy enough to hold the packet together over a grate without tearing when you open it.
- Tortilla chips — Use sturdy chips with some thickness. Thin chips break apart too easily and vanish under the toppings before the cheese melts.
- Black beans — They add body and keep the packets from feeling like just chips and cheese. Rinsed and well drained beans work best so they don’t add extra moisture.
- Cooked meat — Ground beef or chicken gives the packets more substance. Pre-cooked meat is the right choice here because the packet is only for heating through, not fully cooking raw protein.
What Each Layer Is Actually Doing in the Packet
The cheese blend matters because it melts smoothly without turning oily too fast. A Mexican blend usually gives you a mix of stretch and flavor, and that’s exactly what you want when the packets are opening over heat. If you only have cheddar, it’ll work, but it can release a little more grease and feel less silky.
The jalapeño slices bring heat without adding extra sauce that could make the chips soggy. If you want a milder packet, swap in sliced bell pepper or skip the peppers entirely. Salsa, sour cream, and guacamole are best added after the packets come off the heat, not before, because cold, wet toppings are what keep the nachos from staying crisp where they should.
How to Build the Packets So the Cheese Melts Before the Chips Collapse
Divide the Chips First
Spread the tortilla chips among four sheets of heavy-duty foil before adding anything else. Keeping each portion separate gives you control over the layer thickness, which matters because overloaded packets trap too much steam and turn soft fast. A loose pile with room for heat to move around melts better than a packed mound.
Layer the Toppings in the Right Order
Sprinkle the cheese over the chips first, then add the beans, meat, and jalapeños. Putting cheese against the chips helps everything bind together as it melts, while the toppings warm through on top. If you bury the cheese under wet ingredients, you’ll get patches that never fully melt before the chips give way.
Seal for Heat, Not for Pressure
Fold the foil into tight packets, but leave a little room inside for air circulation. You want a closed packet that traps heat, not one squeezed flat against the food. Crimp the seams well so juices and melted cheese don’t leak out when you move the packets to the grate.
Cook Over Medium Heat
Set the packets on a campfire grate over medium heat for 12 to 15 minutes. If the fire is raging hot, pull the packets a little farther from the coals or lower the heat, because direct high heat scorches the bottom long before the center gets fully hot. You’re listening for the steady sizzle of melting cheese, not aggressive crackling.
Open Them Carefully and Finish Cold
Remove the packets from the heat and let them sit for a moment before opening. Steam will rush out, and that’s enough to burn you if you open them too fast. Spoon on the salsa, sour cream, and guacamole after the packet is opened so the toppings stay fresh and the chips in the center don’t soften any more than they have to.
How to Adapt These Nacho Packets for Different Camps and Different Eaters
Vegetarian bean packets
Skip the meat and use extra black beans or pinto beans instead. The packets still feel hearty because the beans hold heat well and give the nachos enough substance to stand up to the chips. Add a little extra cheese if you want the filling to feel more complete without the meat.
Dairy-free version
Use a good melting dairy-free shredded cheese and keep the packets slightly looser so the substitute has room to soften. Dairy-free shreds can be a little less creamy than regular cheese, so the salsa and guacamole on top help bring back that rich finish. Don’t overload the packet with extra wet toppings before cooking or the cheese alternative won’t set properly.
Make-ahead packets for a group
Assemble the dry packets up to a few hours ahead, then keep them chilled until you’re ready to cook. This saves time at the fire, but don’t add salsa or sour cream until serving because they’ll make the chips soft while the packets wait. If you’re cooking for a crowd, label one side of each packet with a marker so you can keep track of meat and vegetarian versions.
Storage and Reheating
- Refrigerator: Store leftovers in an airtight container for up to 2 days. The chips will soften, but the flavor still holds up well.
- Freezer: I don’t recommend freezing finished nacho packets. The chips turn stale and the texture falls apart after thawing.
- Reheating: Warm leftovers in a skillet over low heat or in a 300°F oven until just heated through. High heat makes the chips dry out and the cheese separate instead of melting back together.
Answers to the Questions Worth Asking
Grilled Campfire Nacho Packets
Ingredients
Equipment
Method
- Divide tortilla chips among 4 foil sheets, spreading them into an even layer on each sheet. Aim for a similar thickness so everything melts at the same pace.
- Top each packet with shredded Mexican cheese blend, then add drained black beans, cooked ground beef or chicken, and sliced jalapeño. Add toppings to each packet to match the amounts so every serving stays loaded.
- Fold foil into sealed packets, leaving some room for heat circulation. Press edges shut firmly so the cheese doesn’t leak during grilling.
- Place packets on campfire grate over medium heat for 12-15 minutes. Watch for bubbling cheese through the foil and melted edges as the visual cue.
- Remove packets from heat and carefully open them right away. Steam will be hot, so pull back the foil away from your face to avoid burns.
- Top the opened nachos with salsa, sour cream, and guacamole before serving. Add right before eating for the best contrast between creamy toppings and melty cheese.