Crispy-skinned chicken thighs with a sticky honey-buffalo glaze are one of those dinners that disappears fast because they hit every note at once: smoky, tangy, sweet, and a little messy in the best way. The skin gets deeply browned on the grill while the sauce turns lacquered and clingy instead of sliding off into the flames. That contrast is what keeps this recipe in my regular rotation.
The trick is treating the sauce like a glaze, not a marinade dump. A portion gets reserved for basting after the chicken has started to cook, which keeps the honey from scorching before the thighs have time to render and crisp. Bone-in, skin-on thighs also matter here because they stay juicy over the grill and give you enough fat to build that shattering skin.
Below, I’ll walk you through the exact grill timing, the small timing detail that keeps the glaze from burning, and a few swaps that still give you that same sticky buffalo finish.
The skin got crisp on the grill and the honey buffalo glaze turned sticky without burning. I served it with celery and blue cheese like you suggested, and it tasted like game day food from a restaurant.
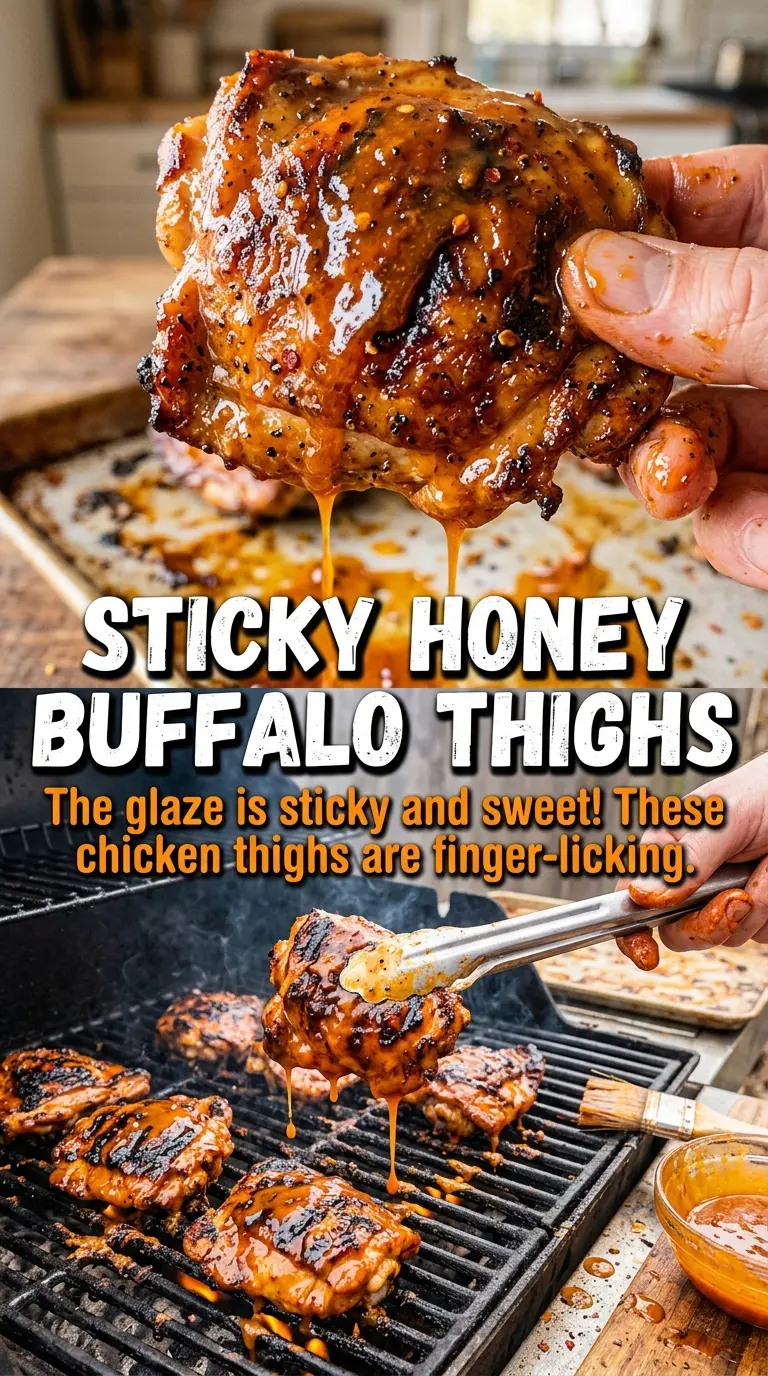
Sticky grilled honey buffalo chicken thighs with crisp skin and bold heat deserve a spot in your game day lineup.
The Grill Heat That Gives You Crispy Skin Without Burning the Glaze
The mistake most people make with honey-based grilled chicken is starting with sauce too early and too much direct heat. Honey browns fast, then turns bitter before the chicken has finished cooking. This version fixes that by using medium heat, starting skin-side down so the fat renders, and saving part of the sauce for basting once the chicken has enough color to handle it.
Chicken thighs are the right cut for this job because they stay tender long enough for the skin to crisp. If you use breast meat here, the cook time gets tighter and the glaze has less room for error. The goal is a deep golden skin, not charred spots with pale rubbery patches underneath.
What the Buffalo Sauce, Honey, and Butter Are Each Doing Here
- Buffalo sauce — This is the base flavor and the acid that keeps the glaze from tasting flat. Use a sauce you already like on wings; the heat level carries straight through the final dish.
- Honey — This gives you the sticky finish and balances the vinegar in the buffalo sauce. If you cut the honey too far, the sauce won’t cling the same way and it will taste sharper.
- Butter — Melted butter smooths the sauce and helps it baste evenly over the skin. It also softens the edge of the heat, which matters once the glaze starts reducing on the grill.
- Apple cider vinegar — A little vinegar keeps the honey from reading heavy. If your buffalo sauce is already very tangy, keep the vinegar modest so the glaze doesn’t get harsh.
- Bone-in, skin-on thighs — This cut stays juicy while the skin crisps. Boneless thighs work in a pinch, but they cook faster and won’t give you the same crackly skin or rich glaze.
How to Build the Glaze and Grill the Thighs So Nothing Sticks or Scorches
Mixing the Glaze
Stir the buffalo sauce, honey, melted butter, and vinegar until the mixture looks glossy and fully combined. Reserve about a third of it before it touches the raw chicken, because once the sauce has been on the thighs it’s not safe for final basting. The sauce should coat a spoon in a thin layer; if it looks overly thick, the honey is dominating and the glaze may burn faster than it should.
Seasoning and Marinating
Pat the chicken thighs dry, then season them well with salt and pepper before brushing on some of the sauce. The short 30-minute rest gives the seasoning time to settle into the meat and helps the glaze start sticking. Don’t leave them swimming in sauce for hours; the honey will work against browning if the surface stays too wet.
Getting the Skin Crisp
Place the thighs skin-side down over medium heat and leave them alone for 8 to 10 minutes. You want steady sizzling, not aggressive flare-ups, and the skin should release more easily once the fat has rendered. If the skin clings to the grates, give it another minute; forcing it now tears the surface and leaves you with patchy crisping later.
Basting and Finishing
Flip the thighs and grill for another 8 to 10 minutes, basting with the reserved sauce in thin layers as they cook. A light coat builds color without drowning the skin. Pull them when the internal temperature reaches 165°F and the glaze looks sticky and set, not wet and shiny. Let them rest a few minutes so the juices settle and the sauce grips the skin instead of sliding off the first cut.
How to Adapt These Thighs for Different Heat Levels and Cooking Setups
Milder Buffalo Chicken Thighs
Use a mild buffalo sauce and add a little extra honey. You’ll get the same sticky grill finish, but the heat will sit in the background instead of leading the bite. This is the version I serve when I want the glaze to be a crowd-pleaser instead of a dare.
Dairy-Free Version
Swap the butter for melted olive oil or a dairy-free butter substitute. The glaze won’t taste quite as round, but it will still cling and caramelize well on the grill. Use a little less oil than butter by volume if your substitute is very rich.
Boneless Thighs on a Weeknight
Boneless thighs cook faster, so start checking them a few minutes early and expect less rendered fat under the skin. They still taste great with this glaze, but you lose some of the crispy-skin payoff. Keep the heat at medium so the honey doesn’t jump from glossy to scorched.
Oven Finish Instead of Full Grill
Sear the thighs skin-side down in a grill-safe pan or cast-iron skillet, then finish them in a hot oven until they reach temperature. This gives you more control if your grill runs hot or uneven. You won’t get the same open-flame char, but the skin can still turn crisp and the glaze will set cleanly.
Storage and Reheating
- Refrigerator: Store leftovers for up to 4 days. The skin softens, but the flavor stays strong.
- Freezer: Freeze cooked thighs well-wrapped for up to 2 months. Thaw overnight in the fridge; the glaze holds up better than the skin.
- Reheating: Warm in a 350°F oven until heated through. A skillet or microwave will make the skin limp, which is the main thing you’re trying to avoid.
Answers to the Questions Worth Asking

Grilled Honey Buffalo Chicken Thighs
Ingredients
Equipment
Method
- Mix buffalo sauce, honey, melted butter, and apple cider vinegar until smooth and glossy, about 1 minute. Reserve 1/3 cup of the sauce for basting.
- Season the chicken thighs with salt and pepper, then brush them with some of the sauce so the skin is coated. Use any thick leftover sauce from the bowl to help the seasoning stick.
- Marinate the thighs for 30 minutes. Keep them in the refrigerator so the surface stays cold before grilling.
- Preheat the grill to medium heat and grill the thighs skin-side down for 8-10 minutes until the skin is crisp and deeply golden at the edges. Place the chicken directly on the grate for best browning.
- Flip the thighs and grill for 8-10 more minutes over medium heat. Baste frequently with the reserved sauce during this second grilling pass.
- Continue grilling until the internal temperature reaches 165°F and the glaze looks sticky and slightly tacky on the surface. If it browns too fast, move the thighs to a cooler zone and keep basting.
- Serve the grilled honey buffalo chicken thighs with blue cheese dressing and celery sticks. Spoon extra sauce on top if any glaze remains on the tray.