Cloud-white homemade marshmallow ice cream has that rare scoopable sweetness that tastes familiar on the first bite and still feels a little special. The base turns out soft and billowy instead of dense, with a clean marshmallow flavor that stays gentle rather than cloying. Those little mini marshmallows folded in at the end give each bite a chewy pop, so the texture never gets flat or one-note.
The trick here is building the custard first, then melting the marshmallow creme into it while the base is still warm enough to go smooth. That gives you the silkiness you want without cooking the marshmallow flavor out of it. The egg yolks add body, the cream keeps it lush, and the small amount of salt keeps the sweetness from turning heavy.
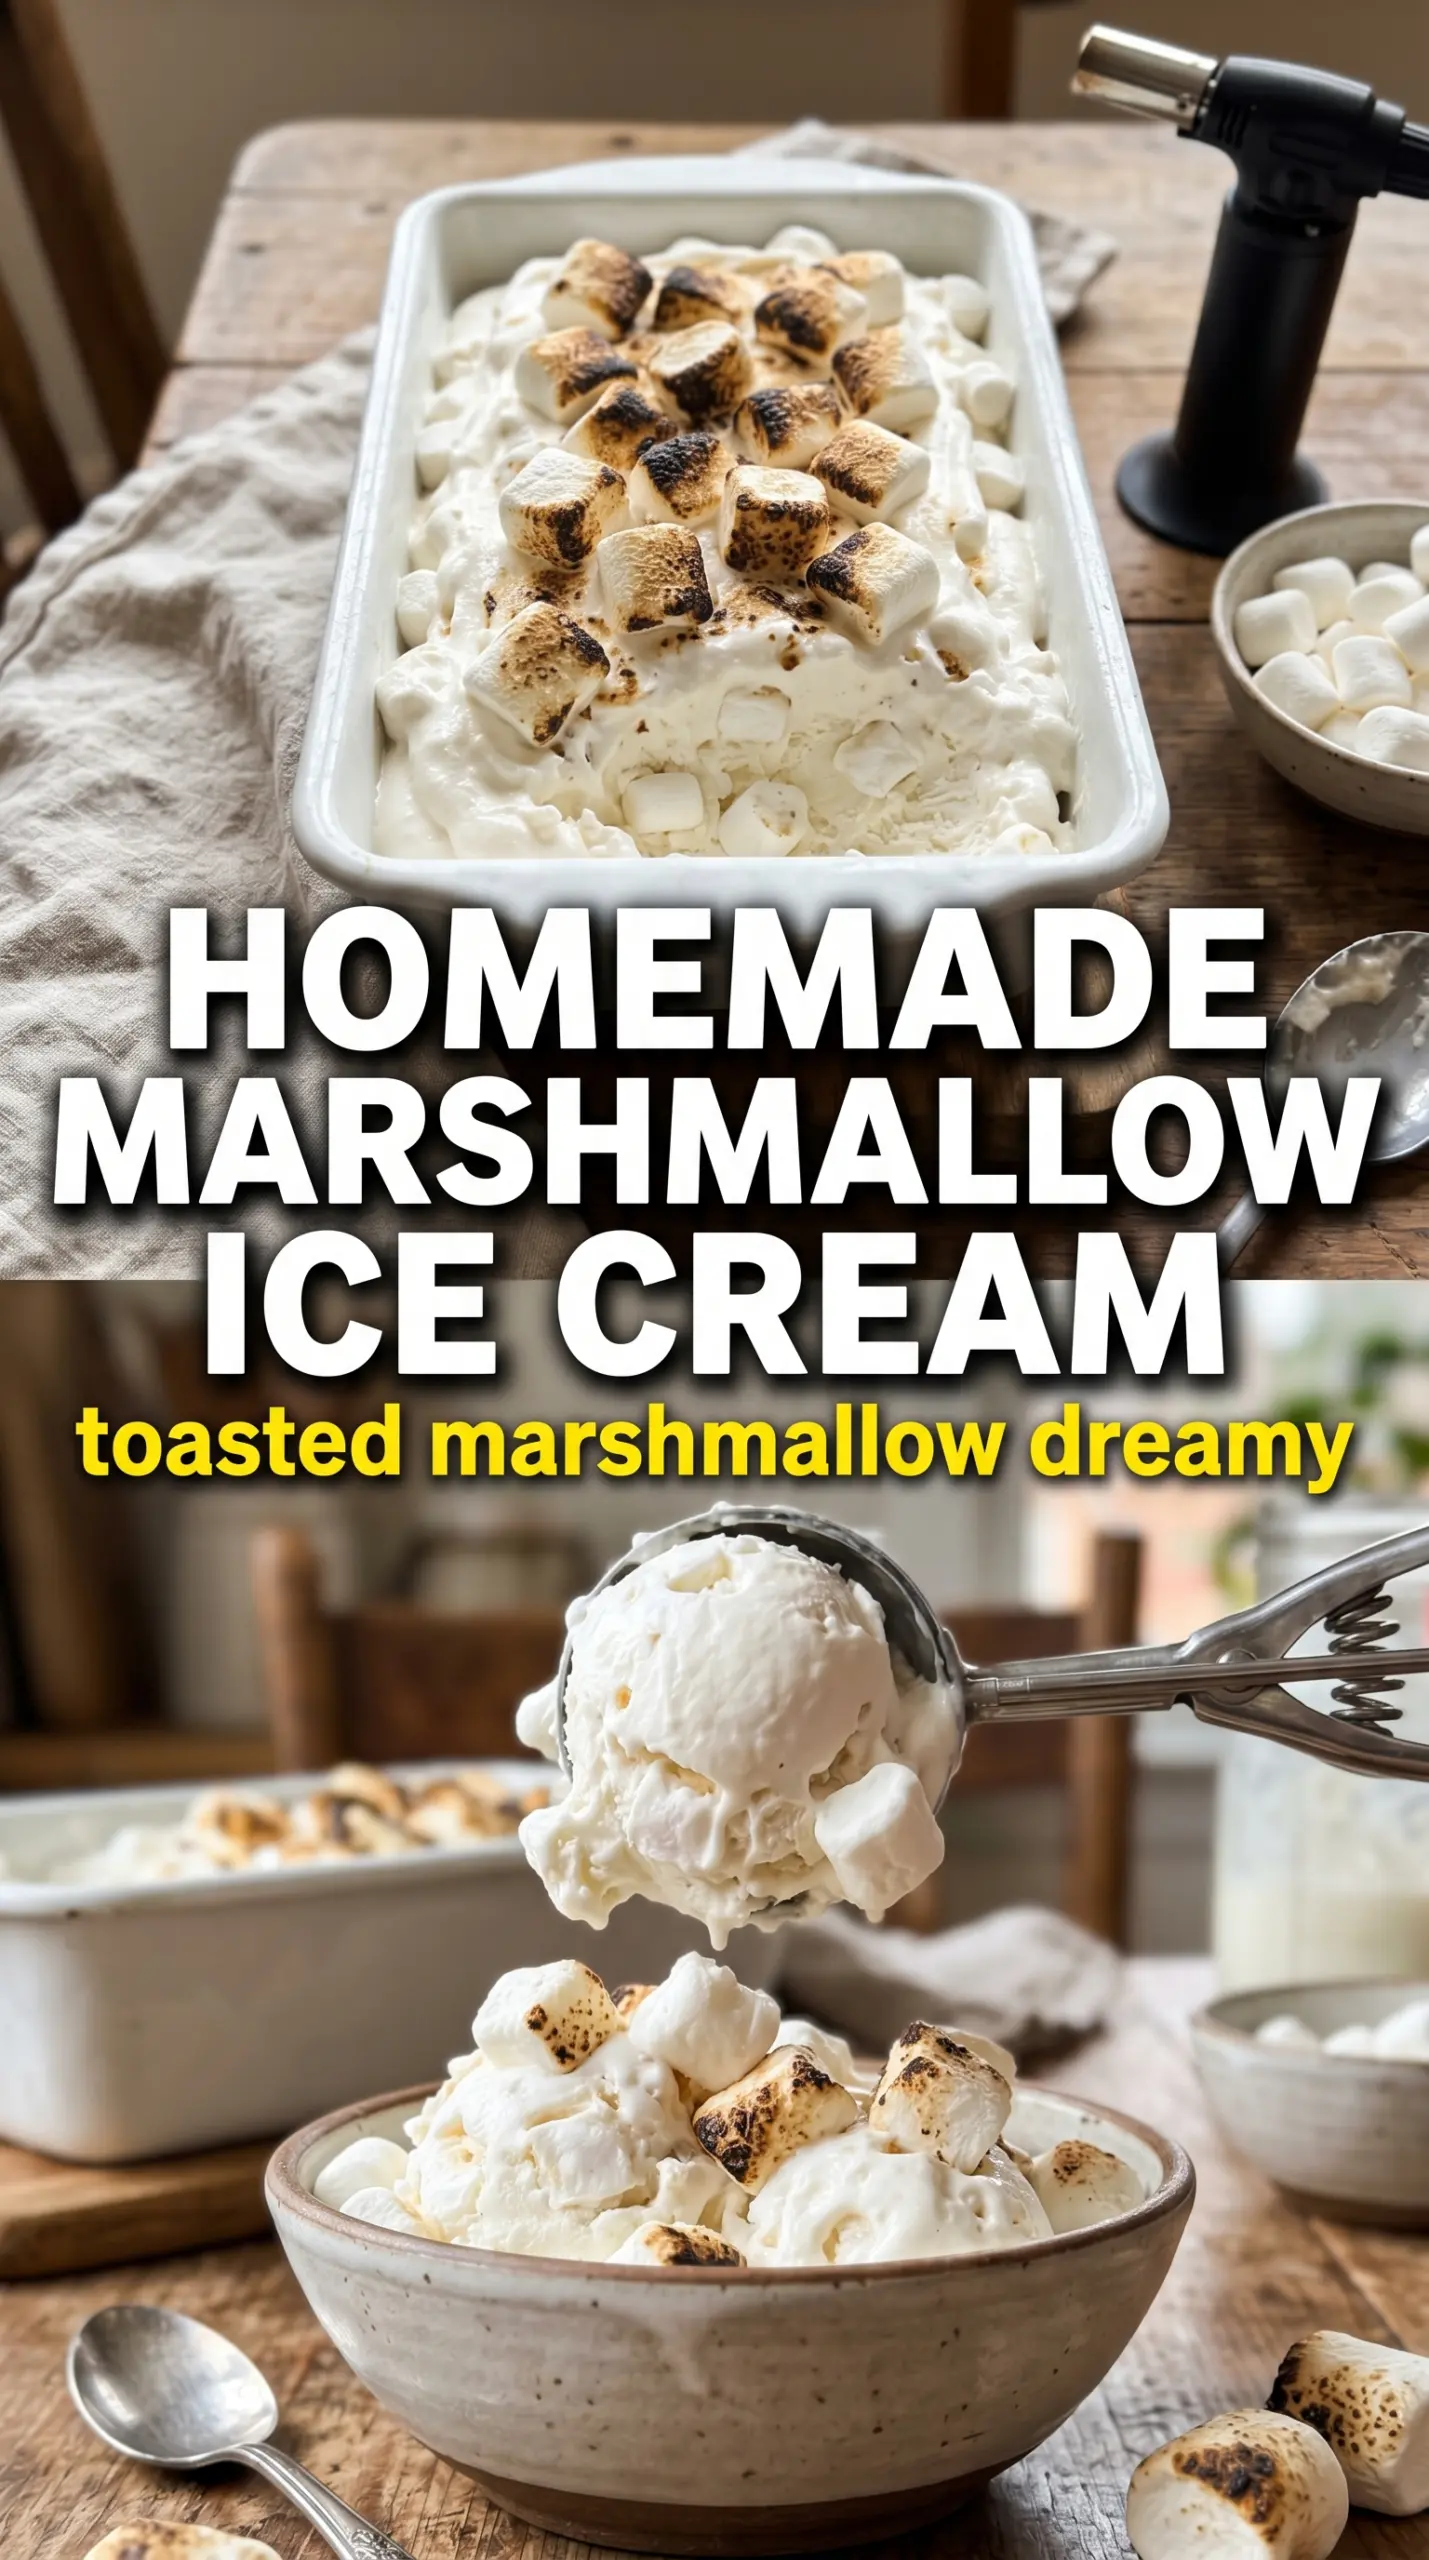
Below, you’ll find the exact timing that keeps the custard from curdling, plus the best way to add a toasted note if you want a more campfire-style marshmallow flavor. It freezes into a scoopable, cloud-like ice cream that holds its shape without feeling icy.
The custard came out silky and the marshmallow creme melted in without any graininess. I added the mini marshmallows at the end like you said, and they stayed chewy after freezing instead of turning hard.
Love the fluffy marshmallow texture? Save this homemade marshmallow ice cream for the next time you want a soft, scoopable dessert with mini marshmallow pieces in every bite.
The Reason Marshmallow Ice Cream Stays Soft Instead of Turning Icy
The mistake most homemade ice creams make is leaning on milk and sugar alone, which can freeze into something hard and a little grainy. Marshmallow creme changes that. It brings extra glucose and stabilizers that help the base stay scoopable, even after a night in the freezer.
The other thing that matters is temperature. If the custard goes into the churn warm, it takes too long to freeze and the texture gets coarse. Chill it fully until cold all the way through. That rest is doing real work, not just filling time.
- Heavy cream — This gives the ice cream its body and that plush, rounded mouthfeel. Lower-fat cream won’t give the same richness or softness.
- Whole milk — It lightens the base just enough so the marshmallow flavor stays front and center. Half-and-half will work in a pinch, but the finished ice cream will feel a little heavier.
- Marshmallow creme — This is the defining ingredient. Regular marshmallows don’t melt into the base the same way, so don’t swap them in for the main flavoring.
- Egg yolks — They make the custard silky and give it enough structure to churn into a smooth scoop. Temper them slowly so you don’t end up with scrambled bits.
- Mini marshmallows — These stay as little chewy pockets after freezing. If you want toasted flavor, torch them fast and fold them in right at the end so they don’t disappear into the base.
- Vanilla extract — It rounds out the sweetness and makes the marshmallow taste fuller. Use a good one here because it’s one of the few background flavors in the recipe.
What Each Ingredient Is Actually Doing in This Frozen Dessert
- Base ingredient (cream, milk, or non-dairy) — This provides the foundation and richness. Quality matters.
- Sweetener (sugar, honey, or other) — This sweetens and prevents ice crystals. The ratio is critical.
- Flavor element (vanilla, fruit, or other) — This defines the ice cream personality. Use quality ingredients.
- Stabilizers (egg yolks, cornstarch, or gelatin) — These prevent melting and large ice crystals. Optional but helpful.
- Churning (if using ice cream maker) — This incorporates air and prevents ice crystals. Critical for smooth texture.
- Freezing temperature and time — Proper freezing prevents rock-hard texture. Store at 0°F or below.
- Mix-ins (chocolate, cookies, or fruit) — These add texture and prevent monotone flavor. Add near end of churning.
- No-churn method (if using whipped cream or condensed milk) — This creates creamy texture without ice cream maker. Freezing time is longer.
How to Build the Custard So It Stays Velvety
Warming the Dairy
Heat the cream and milk until the mixture is steaming and tiny bubbles form around the edge, but don’t let it boil. Boiling makes the custard more difficult to control when it hits the egg yolks. You want it hot enough to temper the yolks, not so hot that it seizes them.
Tempering the Yolks
Whisk the sugar into the egg yolks until they look pale and thick, then stream in the hot dairy slowly while whisking constantly. That gradual addition keeps the eggs from curdling. If you dump the liquid in all at once, you’ll get sweet scrambled eggs instead of a smooth base.
Cooking to the Right Thickness
Return the mixture to the saucepan and cook over medium-low heat until it reaches 175°F. Stir constantly and scrape the bottom and corners of the pan so nothing sticks. The custard should coat the back of a spoon and leave a clean line when you run your finger through it.
Melting in the Marshmallow Creme
Take the pan off the heat before whisking in the marshmallow creme. It melts fast in the warm custard, and off the heat you can work it until the base turns completely smooth and glossy. If you keep it on the burner, the mixture can thicken unevenly and lose that cloud-like texture.
What to Change When You Want a Toasted, Dairy-Free, or Kinder-to-Sweet-Tooth Version
Toasted Marshmallow Version
Briefly torch the mini marshmallows until the edges darken and the centers soften, then fold them in at the end of churning. You get a deeper, campfire-style note without changing the texture of the base, but they can turn sticky if you add them too early.
Dairy-Free Adaptation
Use full-fat coconut milk in place of the cream and milk, but expect a slight coconut note and a softer set. The marshmallow creme still does the heavy lifting for texture, though you’ll want to freeze the finished ice cream a little longer before scooping.
Less Sweet, More Vanilla
Cut the sugar back slightly and increase the vanilla to 1 1/2 teaspoons. That softens the sweetness without changing the texture much, but don’t reduce the sugar too aggressively or the custard can freeze harder.
Storage and Reheating
- Refrigerator: Not applicable for the finished ice cream, but the custard base can chill up to 24 hours before churning.
- Freezer: Freeze in an airtight container up to 2 weeks. The texture is best in the first few days and may firm up more after that.
- Reheating: Let the container sit at room temperature for 5 to 10 minutes before scooping. If it’s rock hard, don’t microwave it or the edges will melt before the center softens.
Questions I Get Asked About This Recipe
Homemade Marshmallow Ice Cream
Ingredients
Equipment
Method
- Warm the heavy cream and whole milk in a saucepan over medium heat until steaming, then remove from direct heat.
- Whisk the egg yolks and granulated sugar in a bowl, then slowly whisk in the hot cream-milk mixture until smooth.
- Return everything to the saucepan and cook, stirring constantly, until the custard reaches 175F, then remove from the heat.
- Whisk in the marshmallow creme until completely melted and smooth, with no lumps or streaks.
- Stir in the vanilla extract and salt, mixing until evenly combined.
- Cool the mixture completely, then refrigerate for 4 hours until cold.
- Churn the chilled base in an ice cream maker according to the manufacturer’s instructions.
- If using toasted marshmallows, briefly torch the mini marshmallows until lightly golden, then fold them in during the last 2 minutes of churning.
- Transfer the churned ice cream to a container and freeze until firm.