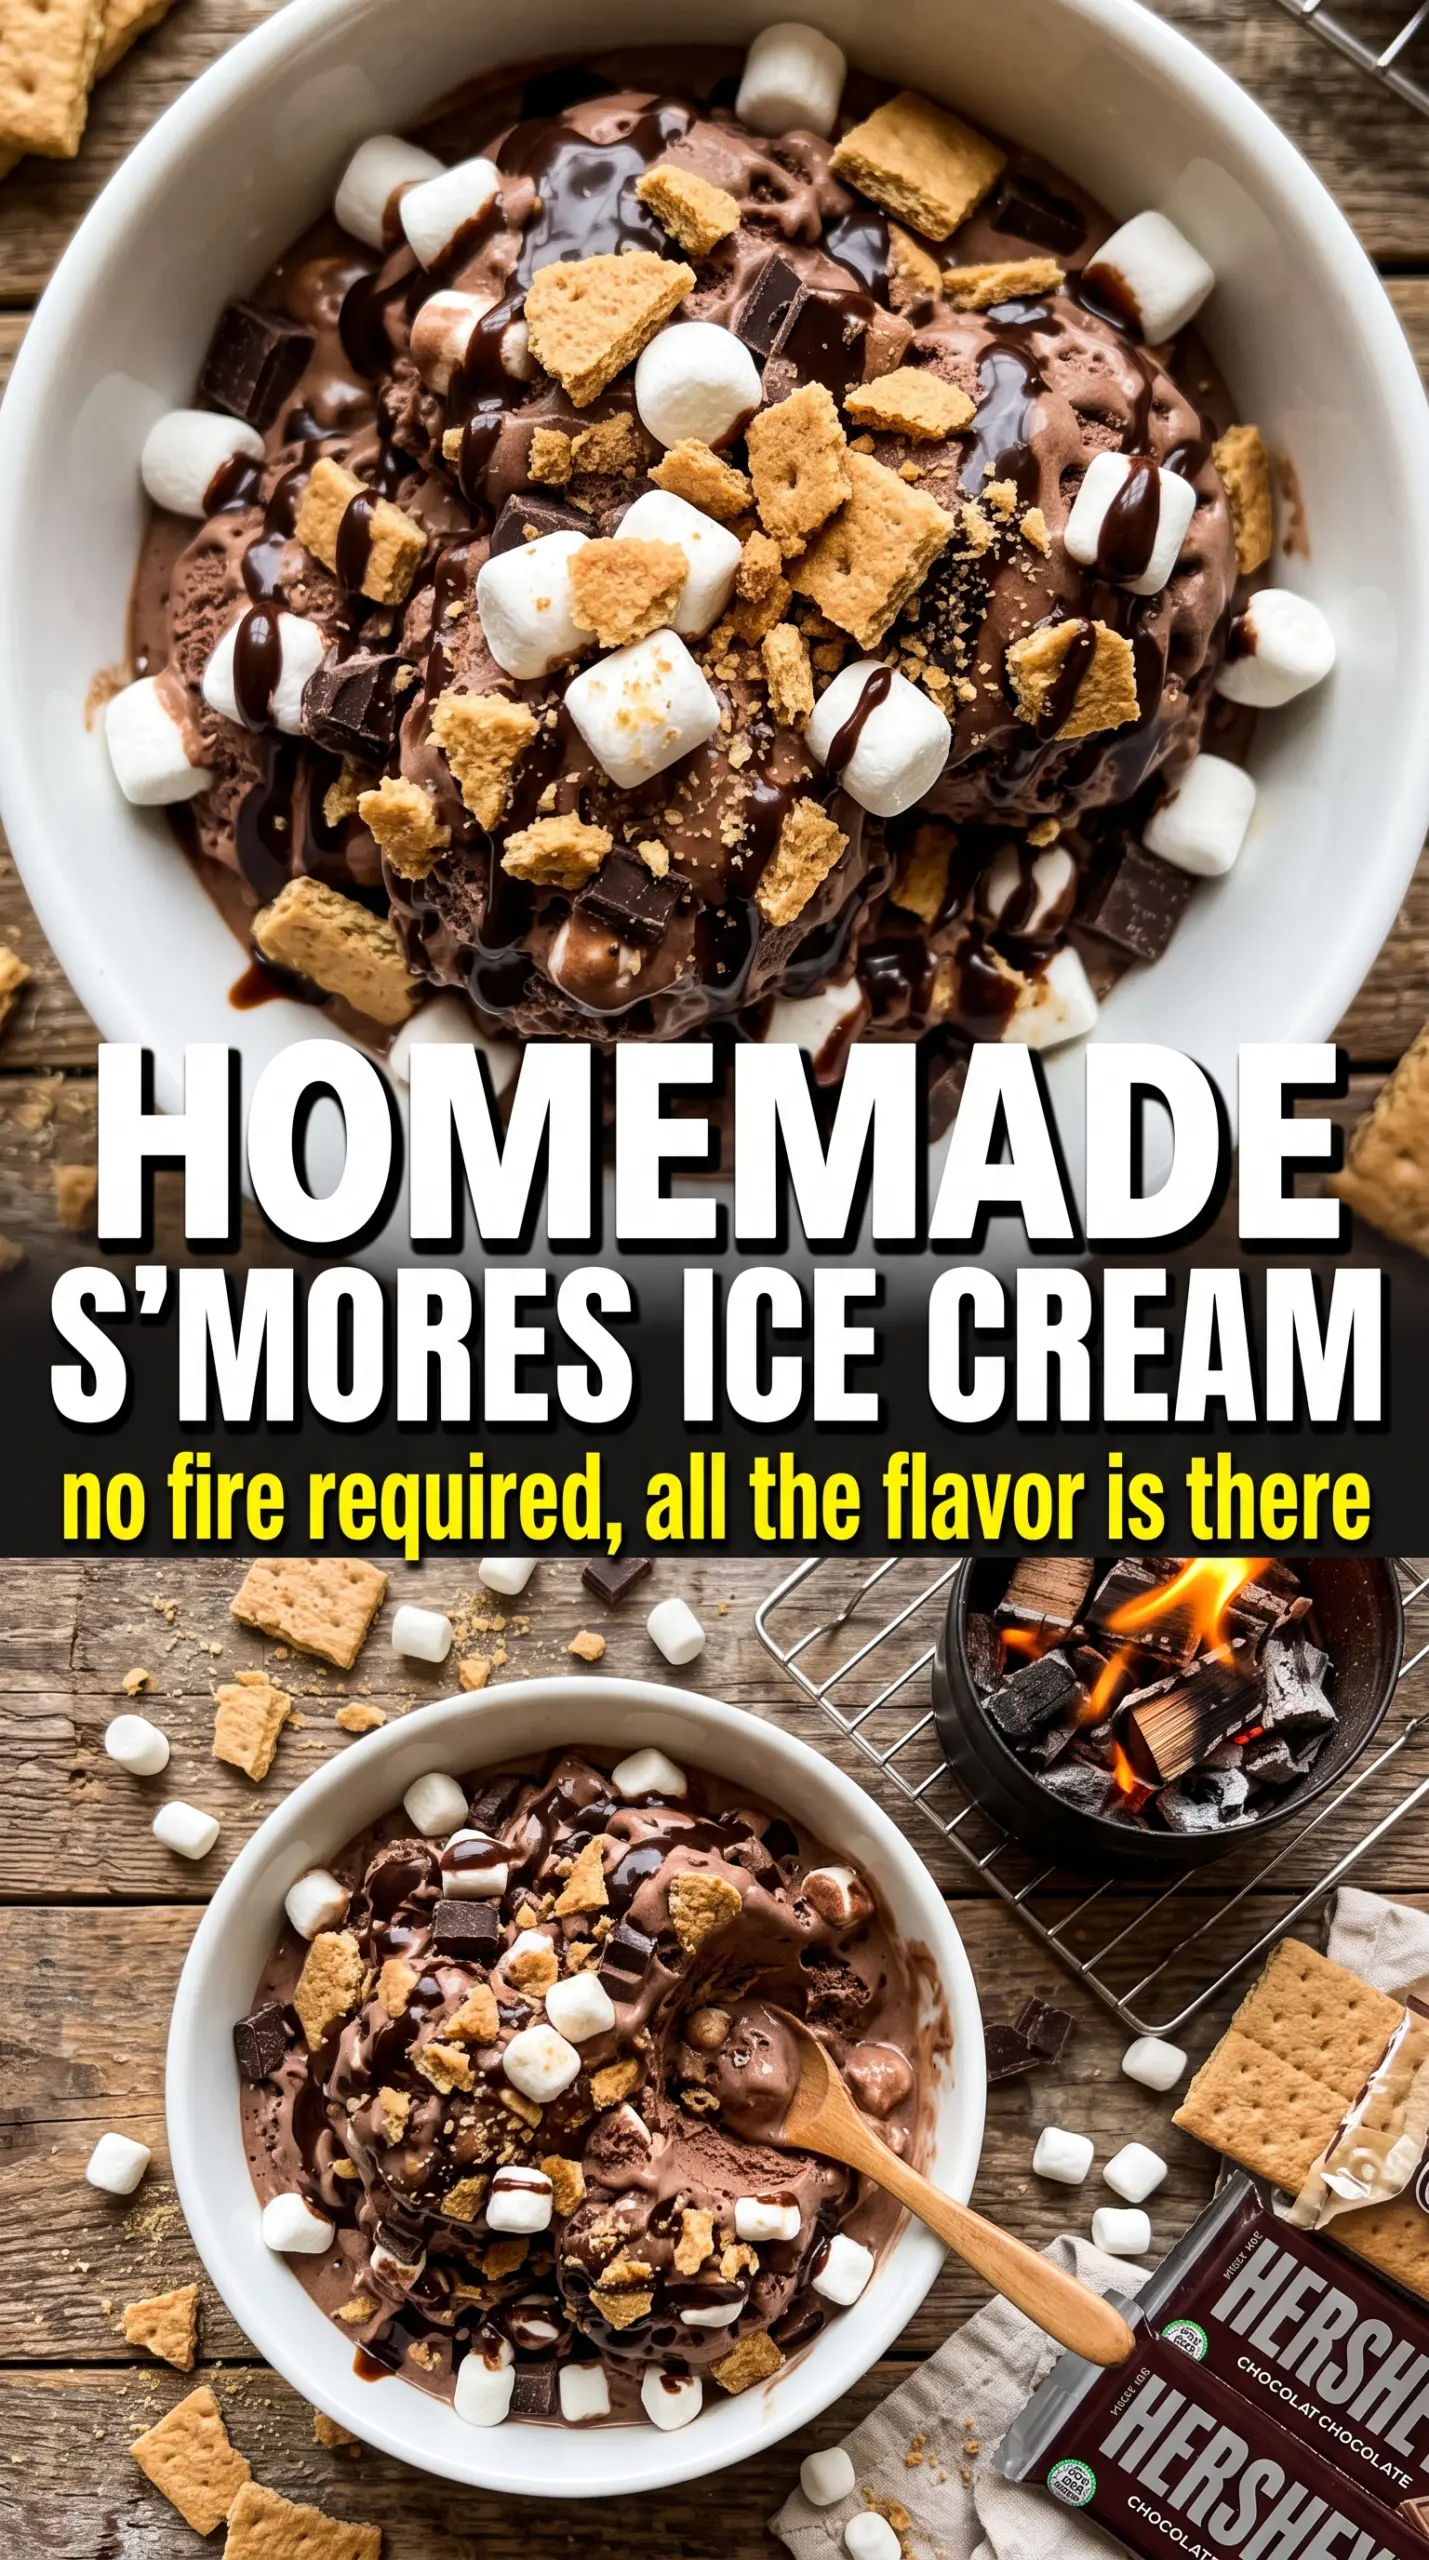
Fudgy chocolate ice cream, gooey toasted marshmallow swirls, and graham cracker crumbles give this homemade s’mores ice cream the full campfire effect without turning on an ice cream maker. The texture lands somewhere between soft scoop and frozen fudge ripple, with pockets of toasted marshmallow that stay pleasantly chewy instead of disappearing into the base.
The trick is balance. Cocoa powder brings the deep chocolate flavor, but the sweetened condensed milk keeps the base smooth and scoopable. Toasting the marshmallows before folding them in matters because it adds that smoky, caramelized edge you expect from real s’mores, and the graham crackers go in at the end so they keep some crunch instead of dissolving into the cream.
Below, I’ll show you how to keep the ice cream base light, how to get the marshmallows browned without burning them, and a couple of swaps if you want to make it dairy-free or even more chocolate-forward.
The marshmallows toasted up beautifully and stayed chewy in the ice cream instead of melting away. The hot fudge swirl made every scoop taste like a real s’more, and it set up perfectly after overnight freezing.
Save this toasted marshmallow and graham cracker s’mores ice cream for the nights when you want a no-churn dessert with real campfire flavor.
The Reason No-Churn S’mores Ice Cream Stays Creamy Instead of Icy
No-churn ice cream depends on fat, air, and sugar doing the work of a machine. The whipped cream gives the base its lift, and the sweetened condensed milk keeps it soft enough to scoop straight from the freezer instead of turning into a brick. If the base feels grainy or thin, it usually means the cream wasn’t whipped to stiff peaks or the cocoa wasn’t fully whisked in before folding.
The other thing that matters here is restraint. Too much stirring after the marshmallows and graham crackers go in will crush the texture and streak the base muddy brown. Fold just until the mix looks marbled and chunky, then stop. That’s what gives each scoop contrast instead of one flat chocolate note.
What Each Ingredient Is Actually Doing in the Bowl
- Heavy cream — This is what makes the ice cream light and scoopable without a machine. Whip it to stiff peaks so it can hold the mix-ins without collapsing. A lower-fat cream won’t trap enough air, and the texture ends up dense.
- Sweetened condensed milk — This gives the base sweetness and keeps it from freezing hard. There isn’t a good direct substitute if you want the same no-churn texture, because it brings both sugar and body. If you use less, the ice cream freezes firmer.
- Unsweetened cocoa powder — This is the deep chocolate backbone. Use a good cocoa here, because it’s the main flavor in the base. Dutch-process cocoa gives a darker, smoother result, while natural cocoa tastes a little sharper.
- Mini marshmallows — Toasting them first gives you that campfire edge and helps them hold up better in the freezer. Don’t skip the broiler step, or the ice cream loses the s’mores character fast. Watch them closely because they go from golden to burnt in a blink.
- Graham cracker crumbles — These add the sandy, buttery crunch that makes the whole dessert read as s’mores. Crush them fine enough to fold in cleanly, but leave a few larger pieces for texture. If they’re too fine, they turn soft instead of giving you contrast.
- Hot fudge sauce — This creates the ripple that makes the ice cream taste richer and more layered. Warm it just enough to drizzle easily; if it’s too hot, it melts the base and smears through instead of staying in ribbons.
Building the Swirl Without Sinking the Texture
Toast the Marshmallows First
Spread the mini marshmallows in a single layer and broil them just until the tops turn golden brown with a few darker spots. Stay right there, because they can go from toasted to burnt in seconds. Let them cool for a minute before folding them in so they don’t immediately melt the whipped cream and streak the base.
Whip the Base to the Right Thickness
Whip the cream until it holds stiff peaks that stand up when you lift the beaters. That structure is what keeps the ice cream fluffy after freezing. If the cream is only at soft peaks, the finished dessert turns heavy and a little icy around the edges.
Fold, Layer, and Swirl
Stir the cocoa, condensed milk, vanilla, and salt together until smooth before folding them into the whipped cream. Use a spatula and work gently from the bottom up so you keep the air in the cream. Add the toasted marshmallows and graham cracker crumbles last, then layer the mixture with hot fudge in the loaf pan and drag a knife through once or twice for visible ribbons, not a fully mixed chocolate base.
Freeze Until Firm
Cover the pan and freeze for at least 6 hours, though overnight gives the cleanest scoop. If you try to serve it too early, the center will still be soft and the fudge will smear instead of setting into ribbons. Let it sit at room temperature for 5 to 10 minutes before scooping so the marshmallow swirls loosen up.
Three Ways to Adjust This S’mores Ice Cream Without Losing the Point
Make it dairy-free
Use full-fat coconut cream instead of heavy cream and a dairy-free sweetened condensed milk if you can find one. The texture stays rich, but you’ll get a faint coconut note that works well with the chocolate and graham crackers. It won’t taste exactly like classic s’mores, but it still freezes creamy and scoops well.
Make it extra chocolate-heavy
Add 1/4 cup mini chocolate chips or a few tablespoons of finely chopped chocolate with the graham crackers. That gives you more texture and a deeper chocolate bite without changing the freezing behavior. Don’t add too much, or the mix becomes dense and loses the soft scoop.
Make it gluten-free
Use gluten-free graham-style crackers and crush them the same way you would the regular ones. The texture and layering stay the same, so this is an easy swap with almost no downside. Check the hot fudge label too if you’re serving someone with celiac disease.
Storage and Reheating
- Refrigerator: Don’t store this in the fridge; it melts fast and won’t reset with the right texture.
- Freezer: Keep it tightly covered in the loaf pan or transfer it to an airtight container. It’s best within 1 to 2 weeks before the graham crackers start softening.
- Reheating: There’s no reheating here. Let it sit on the counter for 5 to 10 minutes before scooping so the texture loosens without melting into puddles.
Answers to the Questions Worth Asking

Homemade S'mores Ice Cream
Ingredients
Equipment
Method
- Toast mini marshmallows under the broiler for 1-2 minutes until golden, watching closely to prevent burning. Stop when they look lightly browned and slightly puffed.
- Whip heavy cream to stiff peaks so it holds a trail when you lift the whisk. The mixture should look thick and glossy.
- Whisk sweetened condensed milk, unsweetened cocoa powder, vanilla extract, and salt together until smooth. Pour in a steady stream to remove cocoa lumps.
- Fold the condensed milk mixture into the whipped cream until no streaks remain. Stop once you see an even chocolate color.
- Fold in toasted mini marshmallows and graham cracker crumbles. You should see toasted marshmallow bits and crunchy graham crumbs throughout.
- Layer the mixture into a 9x5 loaf pan, drizzling hot fudge between layers and swirling with a knife. Create marbled streaks so they’re visible on the surface.
- Freeze at least 6 hours or overnight until firm enough to scoop. The center should feel completely set, not soft.


