Cold, creamy layers and a crunchy Oreo crust make this ice cream cake the kind of dessert people remember after the last slice is gone. The vanilla and strawberry layers stay distinct, the fudge ribbon cuts through with a little richness, and the whipped topping on top keeps each bite feeling celebratory without turning fussy. It looks like a bakery cake, but it eats like the best kind of homemade dessert: simple, nostalgic, and just substantial enough to serve at a birthday table.
The part that makes this version work is patience with the freezing. Each layer needs enough time to firm up before the next one goes in, or the colors and textures blur together and the slices slump. Slightly softened ice cream spreads cleanly, but it should still hold its shape when you lift a spoonful. The crust also matters more than people think. Press it in firmly and freeze it before adding the first layer so it sets into a base instead of turning sandy.
Below, I’ll walk through the little details that keep the layers clean, how to cut neat slices without a mess, and a few easy swaps if you want to change the flavors while keeping the same structure.
The Oreo crust held together perfectly, and freezing each layer made the slices come out clean instead of melting into one big scoop. My kids kept asking for “just one more sliver.”
Save this Oreo ice cream cake for birthdays, cookouts, and any day that calls for clean layers of vanilla, strawberry, and fudge.
The Freezing Schedule That Keeps the Layers Clean
The biggest mistake with ice cream cake is rushing the freeze time between layers. If the vanilla is still soft when the fudge goes on, the fudge sinks instead of staying in a ribbon. If the strawberry layer goes on before the fudge firms up, the whole cake starts to tilt and the slices lose that sharp, striped look.
Give each layer enough time to set before adding the next one. That is what keeps the cake sturdy enough to release from the springform pan in one piece. The other key detail is the texture of the ice cream itself: it should be spreadable, not melted. Soft enough to smooth, firm enough to hold a line when you drag a spatula across the top.
- Crust: The Oreo-and-butter base needs the butter to coat every crumb. That’s what lets it pack into a sliceable crust instead of a loose layer of cookie dirt.
- Ice cream: Slightly softened ice cream spreads without tearing the crust. If it gets soupy, it refreezes with icy pockets and the layers stop looking clean.
- Hot fudge: Let it cool for a few minutes before you pour it. Warm is fine; hot will melt into the vanilla layer instead of sitting between the two scoops.
What Each Layer Is Doing in This Ice Cream Cake
The Oreo crust gives this cake its best structural contrast. It’s the part that makes each slice feel like a real cake instead of a frozen pudding slab, so press it firmly and don’t skimp on the freezing time after it goes into the pan.
- Oreo cookies: Classic Oreos bring the right chocolate flavor and enough filling to help the crumbs bind. If you use a different sandwich cookie, expect a different level of sweetness and a looser or firmer crust depending on the filling.
- Butter: Melted butter is the glue here. You need just enough to make the crumbs clump when pressed in your hand, not so much that the crust turns greasy.
- Vanilla ice cream: This layer gives the cake its creamy center and a neutral base for the fudge. A good, full-fat vanilla holds shape better than a light version, which can freeze harder and taste icier.
- Strawberry ice cream: It adds color and a bright fruit note that cuts through the richness. If you want a sharper strawberry flavor, use a premium brand or a strawberry ice cream with real fruit pieces.
- Whipped topping or stabilized whipped cream: This finishing layer matters because it stays fluffy while the cake sits out briefly for slicing. Standard whipped cream works too, but stabilized cream holds its shape longer once the cake starts to soften.
Building the Cake Without Letting It Melt Into Itself
Pressing the Crust
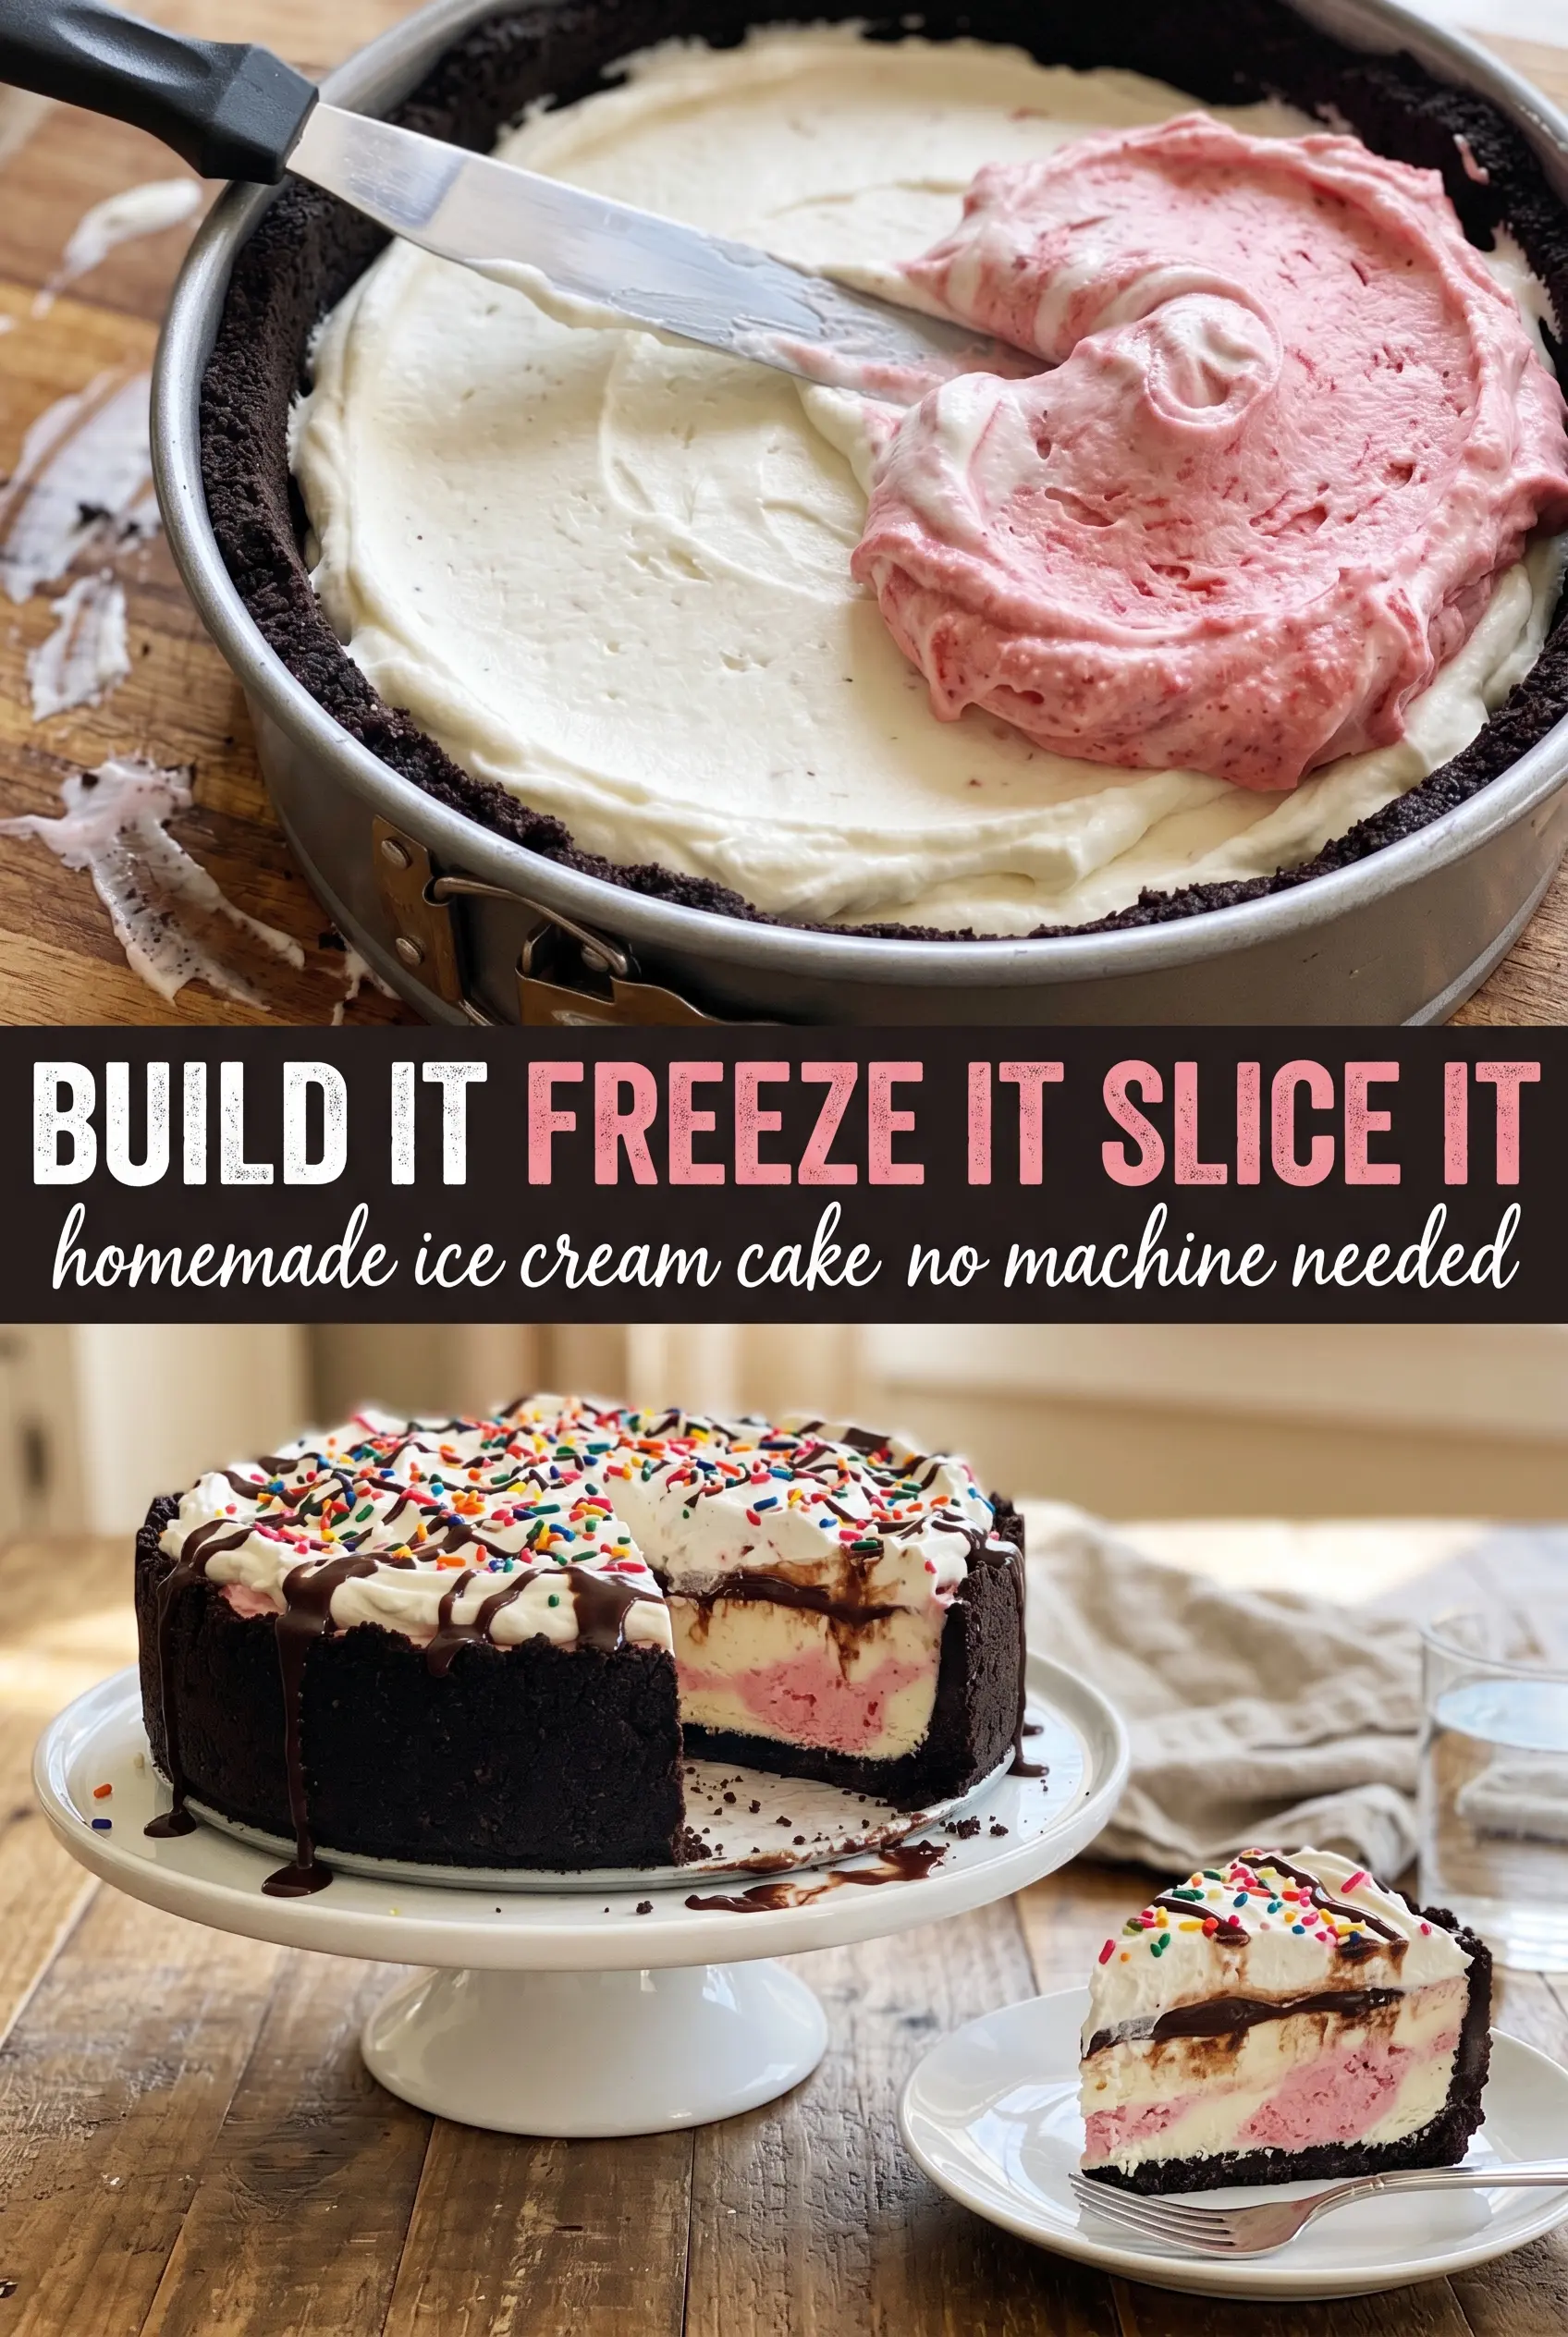
Mix the crushed Oreos with melted butter until every crumb looks damp, then press the mixture into the bottom of a 9-inch springform pan in an even layer. Use the bottom of a measuring cup to compact it tightly, especially around the edges. A loose crust crumbles when you cut the cake, while a firm one slices cleanly and supports the ice cream layers above it. Freeze it for 15 minutes so it sets before the first scoop goes on.
Setting the Vanilla Layer
Spoon the softened vanilla ice cream over the crust and spread it all the way to the edges. Work quickly and use a spatula dipped in warm water if the top starts sticking. Freeze it until firm, about an hour, because this layer has to act like a shelf for the fudge. If it’s still soft, the fudge will cut into it instead of staying on top.
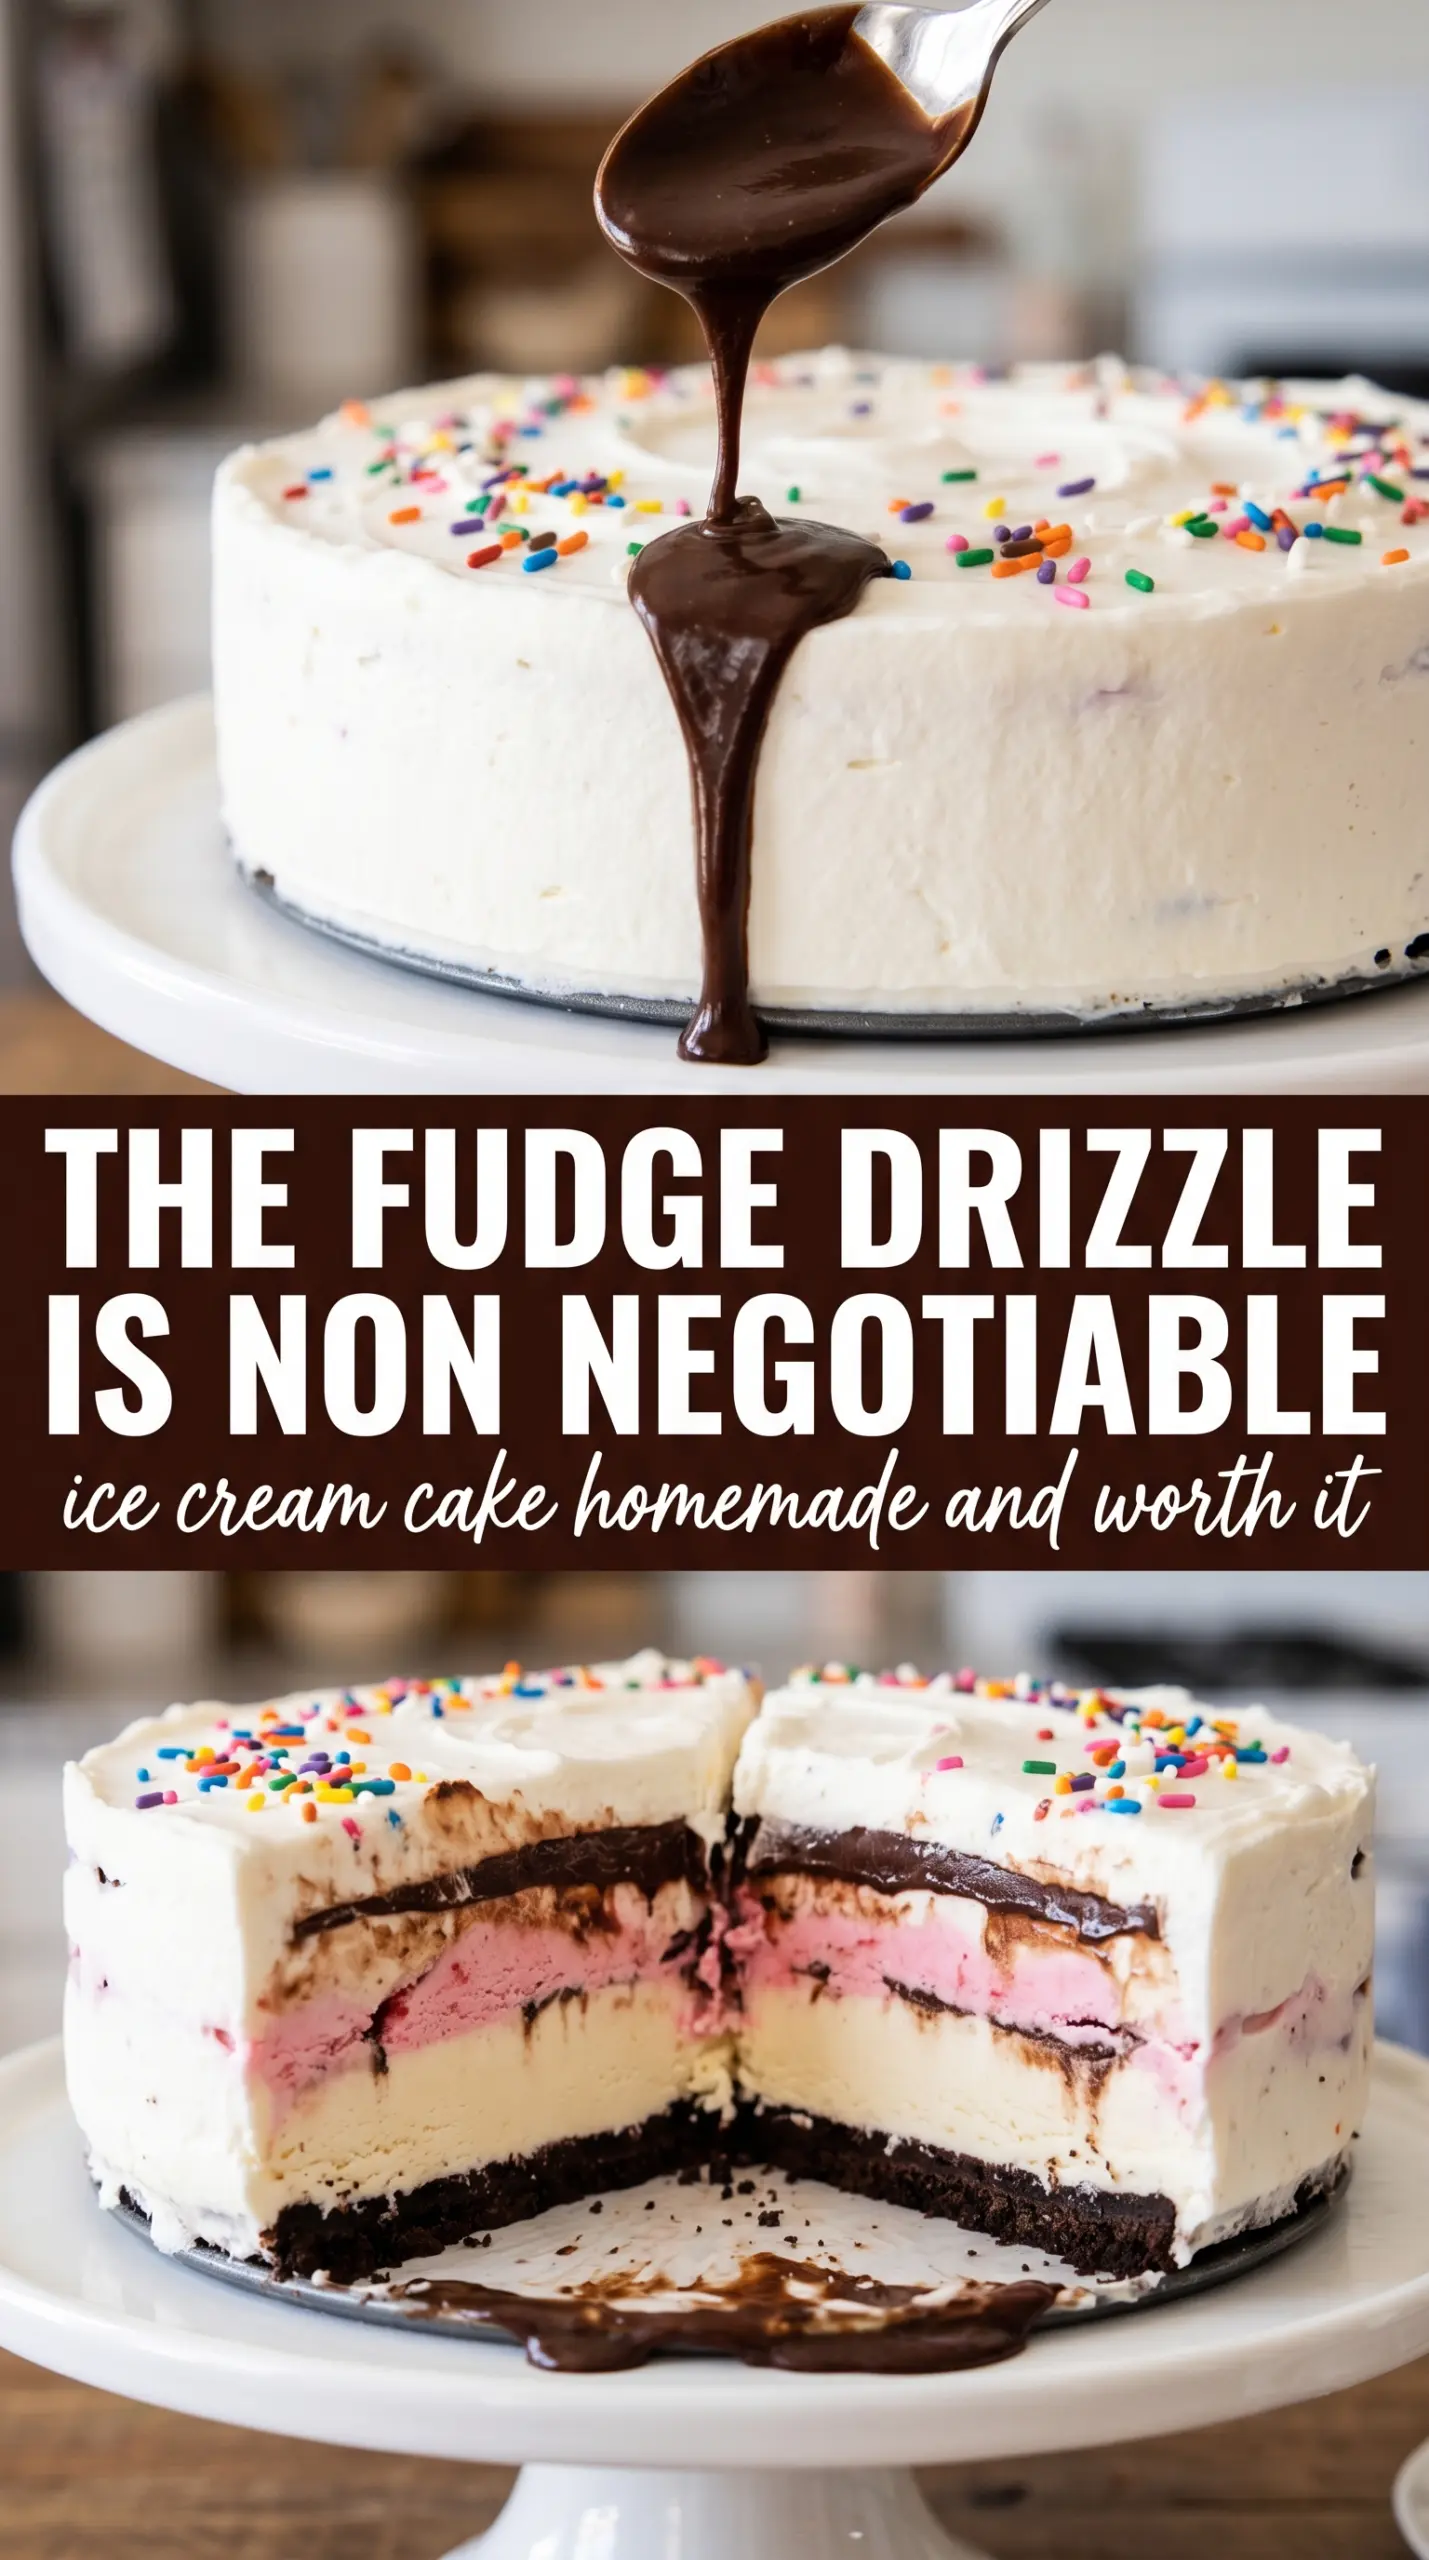
Adding the Fudge Ribbon
Drizzle the cooled hot fudge over the set vanilla layer in a loose spiral or wide stripes. You don’t need to cover every inch; a few generous bands are enough. Freeze it for 15 minutes before adding the strawberry ice cream so the fudge stays distinct. If the fudge is too warm, it will sink and disappear into the vanilla layer.
Finishing With Strawberry and the Top
Spread the strawberry ice cream over the chilled fudge layer and smooth the top as evenly as you can. Cover the pan tightly with plastic wrap and freeze it for at least 4 hours, though overnight gives the cleanest slices. When the cake is fully firm, run a warm knife around the edge before releasing the springform. Pipe the whipped cream swirls on top right before serving so they stay sharp, then add the sprinkles and cut with a hot knife for neat slices.
How to Adapt This Ice Cream Cake for Different Crowds
Dairy-Free Version
Use dairy-free ice cream, a plant-based whipped topping, and a butter substitute for the crust. The texture will be a little softer once sliced, so give it the full overnight freeze if you can. Some dairy-free ice creams freeze harder than dairy versions, so let the cake sit at room temperature for a few minutes before cutting.
Gluten-Free Oreo Swap
Use gluten-free chocolate sandwich cookies in place of regular Oreos. The flavor stays close, and the crust still packs well because the butter does the real structural work. Crush the cookies finely so the crust doesn’t crumble when you lift the first slice.
All-Chocolate Variation
Swap the strawberry ice cream for chocolate or cookies-and-cream and keep the fudge layer as written. You’ll get a deeper, more dessert-shop style cake with less fruit brightness, which works well if you want a richer slice for a crowd that loves chocolate.
Storage and Reheating
- Refrigerator: This cake doesn’t belong in the fridge for long. Once sliced, it softens quickly, so serve it straight from the freezer and return leftovers immediately.
- Freezer: Wrap the pan tightly with plastic wrap and then foil. It keeps well for up to 1 week, though the whipped topping looks best in the first 2 to 3 days.
- Reheating: There’s no reheating here. For clean slices, let the whole cake sit at room temperature for 5 to 10 minutes, then cut with a hot knife wiped clean between cuts.
Answers to the Questions Worth Asking
Ice Cream Cake
Ingredients
Equipment
Method
- Mix the crushed Oreos with the melted butter until evenly coated, then press firmly into the bottom of a 9-inch springform pan. Freeze for 15 minutes.
- Spread the slightly softened vanilla ice cream in an even layer over the Oreo crust, smoothing the top. Freeze for 1 hour until firm at freezer temperature.
- Drizzle the slightly cooled hot fudge sauce over the vanilla layer, aiming for an even ribbon. Freeze for 15 minutes to set.
- Spread the slightly softened strawberry ice cream over the fudge layer, smoothing the top for full coverage. Cover with plastic wrap and freeze for at least 4 hours or overnight.
- Run a warm knife around the edge, release the springform, and transfer the cake to a serving plate. Keep the cake cold until decorating.
- Pipe swirled whipped cream around the top edge, then scatter sprinkles across the center. Slice with a hot knife and serve immediately.