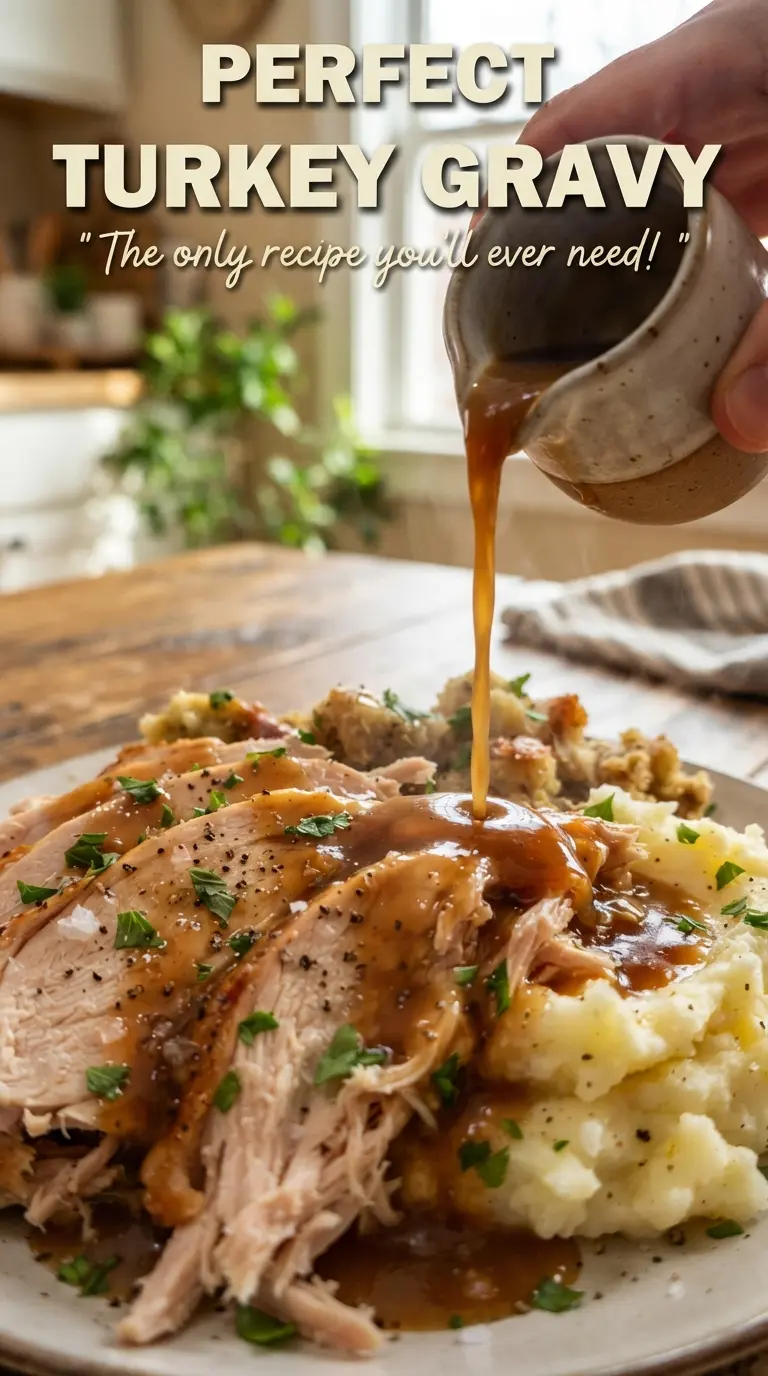
Silky turkey gravy turns a good roast into the kind of meal people remember. When it’s done right, it pours in a slow ribbon, coats mashed potatoes without turning pasty, and clings to slices of turkey with a glossy sheen. This version leans on the drippings from the pan, which gives it that deep roasted flavor you can’t fake with plain stock alone.
The key is building a roux that cooks long enough to lose the raw flour taste, then whisking in warm stock little by little so the gravy stays smooth. I also add a small splash of soy sauce, not to make it taste like soy sauce, but to deepen the color and round out the savory base when the drippings are a little light. If you’ve ever had gravy go lumpy, thin, or dull, the notes below will help you avoid all three.
The gravy thickened up perfectly, and the thyme plus soy sauce gave it that rich roasted flavor I usually only get at Thanksgiving dinner.
Keep this silky turkey gravy handy for roast dinners, mashed potatoes, and the moments when you need rich pan sauce fast.
The Reason Turkey Gravy Stays Smooth Instead of Turning Gluey
Gravy goes wrong when the flour never fully cooks or the liquid goes in too fast. Raw flour gives you that chalky taste, and a roux that hasn’t had a minute to brown enough can taste flat even if it thickens fine. The sweet spot is a golden roux and warm stock, added gradually, with constant whisking so the starch disperses before it clumps.
The pan juices matter here because they carry the browned bits from the roast, which is where the best flavor lives. If your roasting pan is stuck with fond, deglaze it with a splash of the warm stock and scrape every bit into the measuring cup. That’s what makes the gravy taste like turkey instead of just thickened broth.
What the Drippings, Stock, and Soy Sauce Are Each Doing
- Turkey pan drippings — This is the flavor base. The fat cooks the roux, and the browned juices underneath bring the roasted turkey character that butter alone can’t match. If you don’t have enough drippings, use butter for the fat and don’t skip the deglazed pan juices.
- Flour — All-purpose flour gives this gravy its body and classic finish. A cornstarch slurry will thicken it, but it won’t give the same round, savory depth. Cook the flour in the fat for 3 to 4 minutes so the raw edge disappears.
- Warm stock — Warm liquid is what keeps the roux smooth. Cold stock can seize the mixture and create little lumps that take longer to whisk out. Use turkey stock if you have it, chicken stock if you don’t.
- Fresh thyme — A little thyme lifts the gravy and keeps it from tasting heavy. Dried thyme works in a pinch, but use less because the flavor is more concentrated and can read dusty if overdone.
- Soy sauce — This is the quiet trick that deepens color and savory taste without making the gravy taste Asian or salty. Worcestershire can work too, but soy sauce stays cleaner and blends in better.
Building the Gravy So It Thickens Without Lumps
Cooking Out the Flour
Start with the measured fat in a saucepan over medium heat, then whisk in the flour until it looks smooth and sandy. Let it cook for 3 to 4 minutes, stirring often, until it turns light golden and smells nutty instead of raw. If it stays pale, the gravy can taste floury even after simmering. If it gets too dark, the flavor turns bitter and the gravy loses its clean turkey taste.
Whisking in the Liquid
Add the warm stock slowly at first, whisking hard after each pour so the roux can absorb it before the next addition. The mixture may look too thick for a moment, then loosen as the starch hydrates. Once the base is smooth, pour in the rest of the stock and the pan juices. If you dump everything in at once, the roux can clump before it has a chance to disperse.
Finishing the Flavor
Stir in the thyme and soy sauce, then simmer until the gravy coats the back of a spoon, about 8 to 10 minutes. Keep the heat at a gentle bubble; a hard boil can make it tighten too fast or take on a slightly cloudy look. Taste at the end and season with salt and pepper only after the gravy has reduced, since the stock and drippings already bring salt of their own. Strain it if you want a perfectly smooth finish for serving.
How to Adjust This Gravy for Different Dinners
No Pan Drippings
Use 1/4 cup butter in place of the drippings and keep the flour the same. You’ll lose a little roasted depth, so lean harder on the deglazed stock and don’t skip the soy sauce. The gravy will still be smooth and rich, just a touch less turkey-forward.
Gluten-Free Gravy
Swap the flour for a gluten-free all-purpose blend that’s meant for thickening, or use cornstarch at the end instead of a roux. Cornstarch gives a shinier, lighter gravy, but it won’t taste as deep or hold as well on the stove. If using cornstarch, whisk it into cold stock first and simmer just until thickened.
Make-Ahead Turkey Gravy
This gravy holds up well for a day or two in the fridge. Rewarm it gently over low heat with a splash of stock if it thickens too much, because gravy often tightens as it cools. The biggest mistake is blasting it in a hot pan and letting the starch seize into a paste.
Storage and Reheating
- Refrigerator: Store in an airtight container for up to 4 days. It will thicken as it chills.
- Freezer: It freezes well for up to 2 months, though it may need a good whisk after thawing to bring it back together.
- Reheating: Warm it over low heat and whisk in a splash of stock as needed. Don’t boil it hard or the texture can turn pasty before you’ve had a chance to loosen it.
Answers to the Questions Worth Asking
Perfect Turkey Gravy
Ingredients
Equipment
Method
- Pour the roasting pan drippings into a measuring cup and let the fat rise to the top for a few minutes so it separates from the juices.
- Spoon 1/4 cup of the fat into a saucepan over medium heat and whisk in the all-purpose flour to form a roux.
- Cook the roux for 3-4 minutes, whisking constantly, until golden brown with a smooth paste.
- Gradually whisk in the warm turkey or chicken stock (including deglazed pan juices) until the mixture is smooth and lump-free.
- Add the fresh thyme leaves and soy sauce, then simmer for 8-10 minutes, whisking occasionally, until thick enough to coat a spoon.
- Season with salt and black pepper to taste, strain if desired, and serve hot.