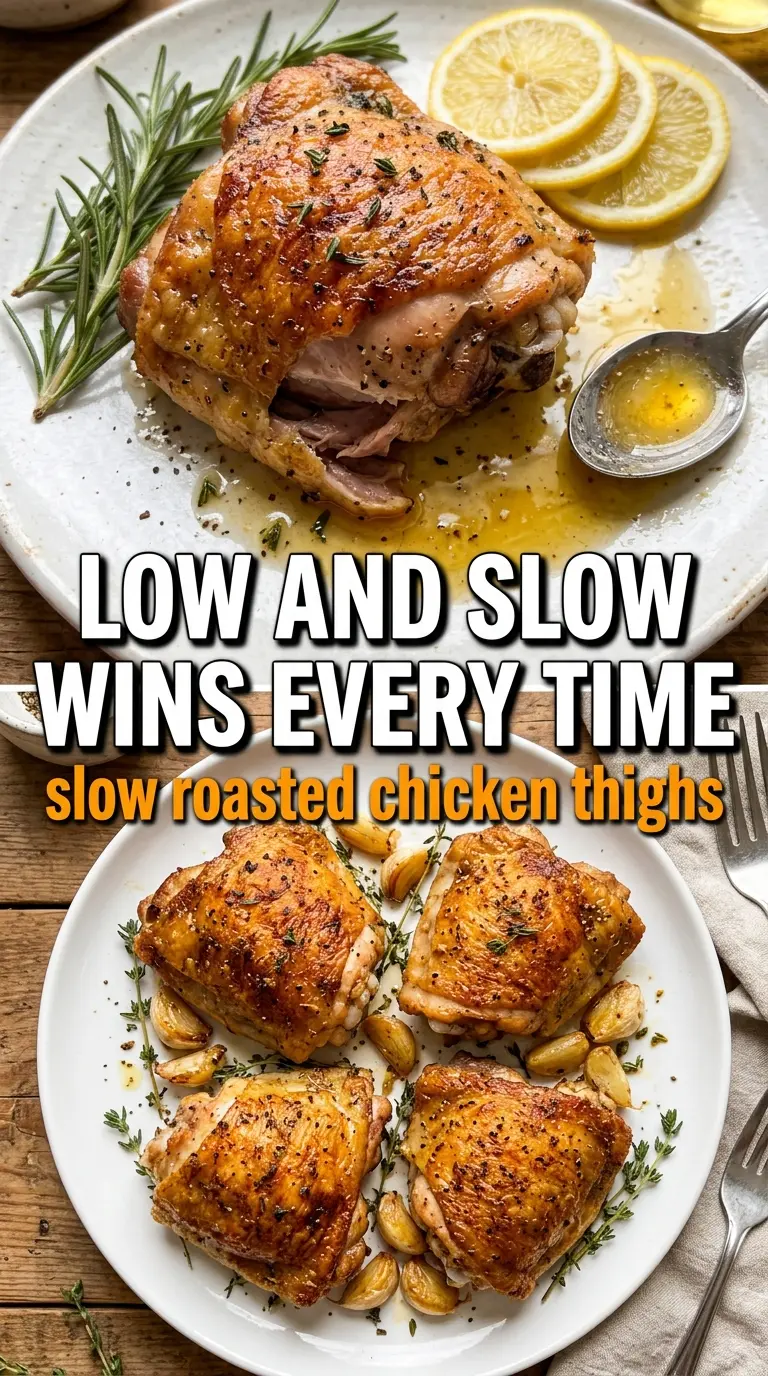
Slow roasted chicken thighs come out with skin that turns deeply golden and crisp while the meat underneath stays plush, juicy, and almost spoon-tender. The low oven does the heavy lifting here. It gives the fat time to render out of the skin and lets the dark meat soften all the way through without drying out.
Bone-in, skin-on thighs are the right cut for this kind of treatment because they stay forgiving over a long cook. The seasoning also matters: smoked paprika, thyme, garlic powder, and onion powder build a savory crust without burning, and the halved garlic head softens into something sweet enough to squeeze over the finished chicken. A blast of high heat at the end is what gives you that last bit of skin crackle.
Below, I’ll walk through the timing that keeps the chicken tender instead of stringy, the ingredient choices that make the flavor taste round and finished, and the small detail that keeps the skin from steaming in the pan.
The skin got crisp even after the long roast, and the meat was falling off the bone without turning dry. I squeezed the roasted garlic over the top like you suggested and it made the whole dish taste richer.
Save these slow roasted chicken thighs for the night you want crisp skin, tender meat, and roasted garlic without standing over the stove.
The Skin Won’t Crisp If the Chicken Steams
The biggest mistake with slow roasted chicken thighs is crowding them into a dish that traps moisture. If the thighs sit in a tight layer, the skin softens in its own steam instead of drying and rendering. Give them a little space, and start with completely dry skin; that first pat-down matters more than the spice mix.
The other thing people miss is the finish. Low heat gets the meat tender, but it won’t give you the crackly top you want. That last burst at 425F turns the rendered skin from soft and greasy into properly crisp, and it does it fast enough that the meat doesn’t have time to overcook.
- Dry skin first — Moisture is the enemy of browning. Paper towels and a few extra seconds here pay off at the end.
- Bone-in, skin-on thighs — Boneless thighs cook faster, but they don’t hold up the same way over a long roast. The bone helps protect the meat from drying out.
- Low oven, high finish — The slow roast renders fat and tenderizes the meat; the hot finish crisps the skin.
- Garlic under the chicken — Halved garlic placed cut-side down roasts gently and perfumes the pan juices without burning on top.
What Each Ingredient Is Actually Doing in the Pan
- Chicken thighs — This cut is built for a long roast. The higher fat content keeps the meat juicy, and the skin gives you the best chance at a crisp finish.
- Olive oil — It helps the spices cling and encourages the skin to brown. You don’t need much, just enough to coat the surface lightly.
- Garlic powder, onion powder, smoked paprika, and thyme — This blend gives the chicken a savory crust without relying on a wet marinade that would slow down browning. Smoked paprika adds color and depth, while thyme keeps it earthy.
- Whole garlic head — Roasting the garlic whole turns it sweet and spreadable. A peeled clove will scorch; the halved head softens slowly and makes its own built-in sauce when squeezed over the chicken.
- Fresh thyme and lemon — These finish the dish with brightness. The lemon cuts through the richness, which matters after a long roast with rendered chicken fat.
How to Build Tender Meat and Crisp Skin in One Roast
Start with a dry, seasoned surface
Preheat the oven to 300F before you touch the chicken. Pat the thighs dry until the skin feels tacky instead of damp, then rub them with olive oil and all the seasonings, getting some of that mixture under the skin where you can. That under-skin seasoning is what keeps the meat flavorful all the way through, and it also helps the skin brown from underneath instead of tasting flat on top.
Roast low until the fat renders
Set the thighs skin-side up in a baking dish with the garlic halves cut-side down. Roast until the skin turns deep gold and the juices bubbling in the pan look clear and glossy, not cloudy. At this point the meat should already be very tender; if it still feels tight near the bone, it needs more time, not more heat.
Use the hot finish to lock in texture
Turn the oven up to 425F for the last 15 minutes. This is where the skin goes from soft and richly roasted to properly crisp, so don’t skip it unless you want a softer result. Pull the chicken out and rest it for 10 minutes before serving, then squeeze the roasted garlic over the top and finish with thyme and lemon. Resting keeps the juices in the meat instead of running across the plate the second you cut in.
Three Ways to Work This Roast Into Your Kitchen Routine
Dairy-Free and Naturally Gluten-Free
This recipe already fits both needs as written. The only thing to watch is your serving side dishes or any pan sauce you build afterward. The chicken itself gets its body from rendered fat and roasted garlic, not butter or flour.
Use Chicken Breasts Only If You Shorten the Roast
Boneless chicken breasts won’t handle a two-hour roast the way thighs do. If that’s what you have, use a much shorter cook and skip the long low-and-slow method. You won’t get the same rendered skin or deep richness, but you will avoid dry meat.
Add Potatoes or Carrots to Make It a One-Pan Dinner
Add sturdy vegetables around the chicken, not underneath it, so they can roast in the drippings without steaming. Cut them into larger pieces because the chicken needs a long cook and tiny vegetables will collapse before the thighs are done. Toss them lightly in oil and salt first so they brown instead of drying out.
Storage and Reheating
- Refrigerator: Store leftovers in an airtight container for up to 4 days. The skin softens in the fridge, but the meat stays juicy.
- Freezer: Freeze cooked thighs for up to 2 months, wrapped tightly and sealed well. Thaw overnight in the fridge for the best texture.
- Reheating: Reheat in a 350F oven until hot through, then give the skin a few minutes under the broiler if you want some crispness back. The common mistake is microwaving on high, which turns the skin rubbery and the meat stringy.
Answers to the Questions Worth Asking

Slow Roasted Chicken Thighs
Ingredients
Equipment
Method
- Preheat the oven to 300F, then pat the chicken thighs completely dry with paper towels.
- Rub the chicken with olive oil, garlic powder, onion powder, smoked paprika, dried thyme, salt, and black pepper, including under the skin.
- Place the chicken skin-side up in a baking dish with the garlic head halves cut-side down.
- Roast at 300F for 1.5–2 hours until the skin is deeply golden, the fat is fully rendered, and the meat is falling-off-the-bone tender.
- Increase the oven to 425F and roast for 15 minutes more, until the skin is completely crisp.
- Rest the chicken for 10 minutes, then squeeze the roasted garlic over the chicken and serve with fresh thyme and lemon.