Shatteringly crisp skin and juicy dark meat are the payoff here. These air fryer chicken thighs land with that fried-chicken crunch on the outside, but the meat underneath stays tender and deeply savory. The baking powder doesn’t just help the skin brown; it dries the surface a little more and pushes the coating toward that crackly, lacquered finish that makes people reach for a second piece before they’ve finished the first.
The real trick is starting with chicken that’s completely dry and giving the seasoning enough time to cling to every curve of the skin. Bone-in, skin-on thighs are the right cut because they can handle the high heat without drying out, and the skin has enough fat to render into crispness instead of tightening into something rubbery. The air fryer does its best work when the chicken has room around it, so the skin can actually dehydrate and blister instead of steaming in its own moisture.
Below, I’ll show you the small things that matter here: why the chicken goes skin-side down first, how to know when the skin is crisp enough, and what to do if you want to change the seasoning without losing that crunchy finish.
The skin came out crackly all over, and the baking powder really did make a difference. I followed the timing exactly and the thighs were juicy with that deep golden crunch on top.
Save these super crispy air fryer chicken thighs for the night you want shatteringly crunchy skin without heating up the oven.
The Baking Powder Coating Is What Gets You That Fried-Chicken Skin
Most air fryer chicken turns out fine on flavor and a little soft on the skin because moisture hangs around too long. Baking powder changes that. It raises the surface pH, which helps the skin brown faster and crisp harder, and it gives the seasoning a drier, more textured coating that the hot air can really work on.
The other part people miss is the dry skin. If the thighs go into the bowl even a little damp, the spice mixture turns pasty and the skin steams before it crisps. That’s why the first step matters more than any spice blend: pat them until the skin feels tacky, not wet. From there, the oil helps the seasonings spread evenly, and the baking powder does its quiet little magic.
- Chicken thighs — Bone-in, skin-on thighs are the cut that holds up best here. Boneless thighs cook faster, but you lose the rendered fat and the thick skin that turns crisp instead of leathery.
- Baking powder — Use aluminum-free if that’s what you keep in the pantry, but either kind works. Don’t swap in baking soda; that’s too aggressive and can leave the chicken tasting alkaline.
- Olive oil — Just enough to help the seasoning cling and encourage browning. Too much oil works against crisping, so keep it at a light coating.
- Smoked paprika — This gives the skin a deeper color and a little smoky edge that reads fried even though the chicken came from the air fryer. Regular paprika works, but you lose that extra layer of flavor.
What Each Ingredient Is Actually Doing in This Chicken Thigh Recipe

- Chicken thighs (pat dry for browning) — Thighs are more forgiving than breasts. Pat dry so they brown properly instead of steam.
- Oil or butter (the browning medium) — High-heat oil essential for proper searing. Creates deep pan flavor through browning.
- Seasonings (salt, pepper, spices) — Build flavor boldly. Thighs carry flavor better than white meat.
- Aromatics (garlic, onion, ginger, herbs) — Cook with oil to bloom flavors. These become the foundation of the dish.
- Sauce or braising liquid (soy, honey, wine, or broth) — This keeps thighs moist and adds flavor. Thighs stay juicy even if slightly overcooked.
- Vegetables (if using potatoes, carrots, or others) — Layer by cooking time so everything finishes together.
- Acid (vinegar, wine, citrus, or soy) — This brightens sauce and prevents heavy thigh flavor from becoming monotone.
- Proper doneness (165°F internal temperature) — Thighs stay juicy at this temp. Thermometer ensures accuracy without guessing.
Skin-Side Down First, Then the Flip That Finishes the Crunch
Seasoning the Thighs Evenly
Mix the baking powder with the garlic powder, smoked paprika, onion powder, salt, and pepper before it touches the chicken. That keeps the coating even instead of clumping in one spot. Rub it all over the thighs, including under the edges of the skin where you can reach. If the mixture looks a little dusty, that’s right; it should coat, not paste.
Starting Skin-Side Down
Preheat the air fryer to 400°F, then lay the thighs skin-side down for the first 10 minutes. That first stretch renders some fat and helps the skin tighten before direct top heat hits it. If you start skin-side up, the top can brown before the skin has a chance to dry out underneath, which leaves you with pretty color and mediocre crunch.
Flipping for the Final Crisp
Turn the thighs skin-side up and cook 12 to 14 minutes more, until the skin is deeply golden and the thickest part of the meat reaches 165°F. You’re looking for a skin that looks blistered, taut, and almost glassy at the edges. If the skin isn’t crisp yet but the chicken is done, give it another 2 minutes and check again; the extra air contact is what finishes the job.
Resting Without Losing the Crunch
Let the thighs rest for 5 minutes before serving. The juices settle back into the meat, and the skin keeps crisping as steam fades off the surface. Put them on a rack or a plate without covering them; wrapping hot chicken traps moisture and softens the crust you just worked for.
How to Change the Seasoning Without Losing the Crunch
Garlic-Herb Version
Swap the smoked paprika for dried thyme, oregano, or Italian seasoning. The skin stays crisp because the baking powder and airflow are doing the technical work; the herbs just pull the flavor in a fresher direction. Use dried herbs instead of fresh so the coating stays dry.
Spicy Cajun Style
Add cayenne and a little extra paprika, then lean into black pepper for a sharper finish. This version browns fast, so watch the last few minutes closely; darker seasoning can make the skin look done before it’s actually crisp. The heat reads best with a squeeze of lemon at the end.
Dairy-Free and Gluten-Free by Default
This recipe already fits both, as long as your baking powder is gluten-free. That’s one reason it’s such a dependable weeknight dinner: the texture comes from technique, not flour, crumbs, or a breading station.
Storage and Reheating
- Refrigerator: Store for up to 4 days. The skin softens, but the flavor stays strong.
- Freezer: It freezes well for about 2 months. Cool completely first, then wrap tightly and freeze in a single layer if you can.
- Reheating: Reheat in the air fryer at 375°F for 4 to 6 minutes until hot and re-crisped. Don’t use the microwave if you want the skin to stay crunchy; it turns the crust soft fast.
Questions I Get Asked About This Recipe
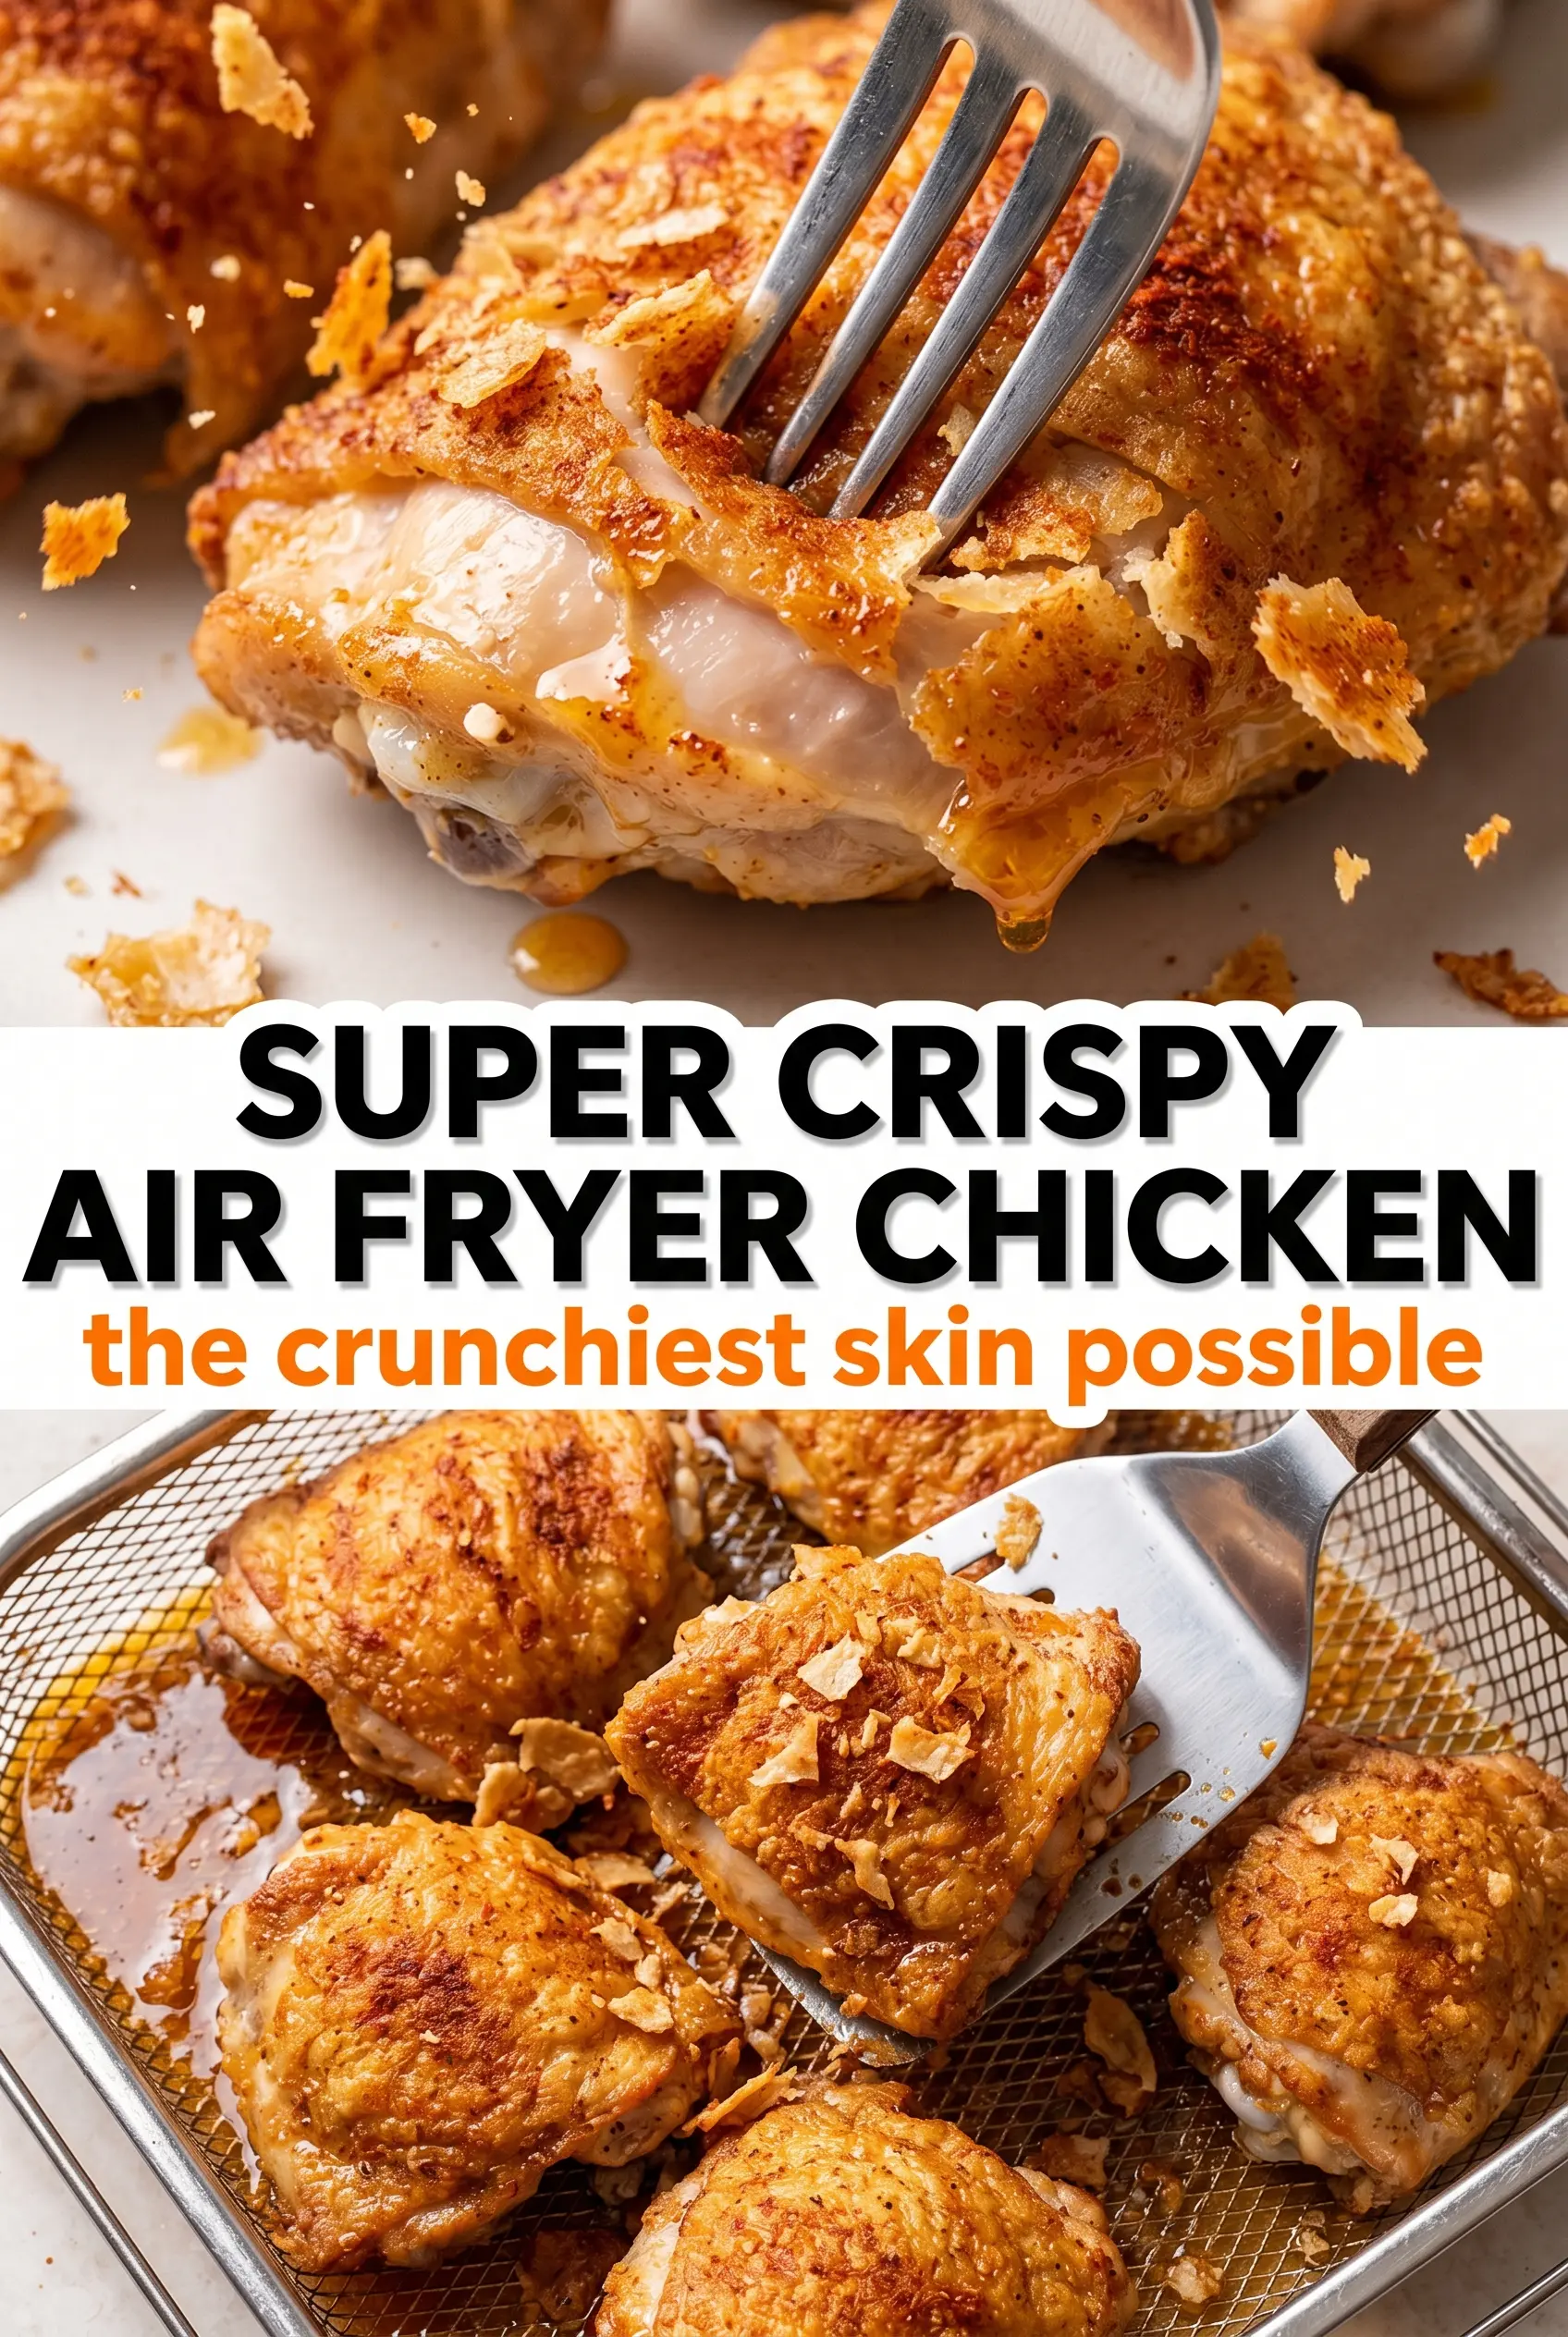
Super Crispy Air Fryer Chicken Thighs
Ingredients
Equipment
Method
- Pat the chicken completely dry with paper towels so the skin can crisp instead of steam.
- Rub the chicken with olive oil, then mix baking powder with garlic powder, smoked paprika, onion powder, salt, and black pepper and rub thoroughly all over the chicken.
- Preheat the air fryer to 400°F.
- Place the chicken skin-side down first in the air fryer and air fry for 10 minutes.
- Flip to skin-side up and air fry for 12–14 more minutes, until the skin is deeply golden and incredibly crispy and the internal temperature reaches 165°F.
- Rest the chicken for 5 minutes so the skin continues to crisp as it rests, then serve with lemon and parsley.


