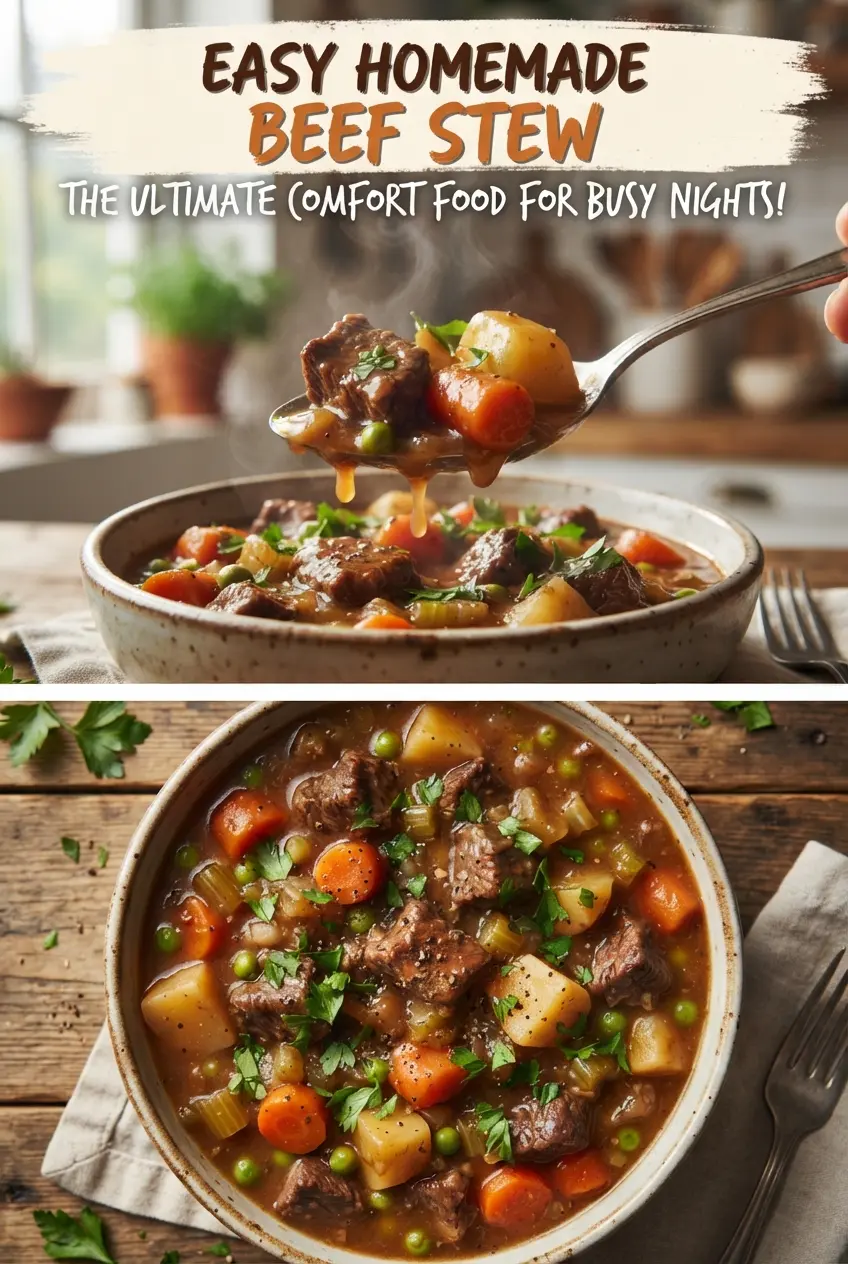
Deep, beefy stew with tender chunks of meat, soft potatoes, and carrots that hold their shape is the kind of dinner that earns a spot in the regular rotation. The broth turns rich and savory as it simmers, and the flour on the beef gives the pot just enough body to feel full and satisfying without tasting heavy or muddy.
What makes this version work is the layering. The beef gets browned first, which builds flavor before a drop of broth goes in, and the tomato paste cooks with the onions long enough to lose its raw edge. The stew simmers low and slow, which keeps the meat tender instead of stringy, then the potatoes and carrots go in later so they don’t collapse into the broth.
Below, I’ve included the little details that keep the broth clear, the beef tender, and the vegetables from overcooking. If you’ve ever had stew that tasted flat or turned thick in the wrong way, the notes here will help you steer around that.
The broth thickened up beautifully and the beef was fork-tender after the full simmer. I added the potatoes later like you said, and they stayed intact instead of turning mushy.
Save this beef stew for a slow-simmered dinner with tender meat, rich broth, and vegetables that stay intact.
The Step That Keeps the Beef Tender Instead of Chewy
The biggest mistake with stew is rushing the meat. If the pot boils hard, the beef tightens up before the collagen has time to soften, and you end up with dry chunks in a broth that tastes fine but never quite feels finished. Keep the simmer low enough that you see only the occasional lazy bubble. That gentle heat is what turns stew meat from tough to spoon-tender.
Flouring the beef before browning does two jobs here. It helps the meat take on a deeper crust, and it gives the broth a little natural body as the stew cooks. Don’t dump all the beef in at once, or the pan will cool and the meat will steam instead of sear. Brown it in batches and leave the dark bits on the bottom of the pot. That’s the flavor base for the whole stew.
What Each Ingredient Is Doing in the Pot
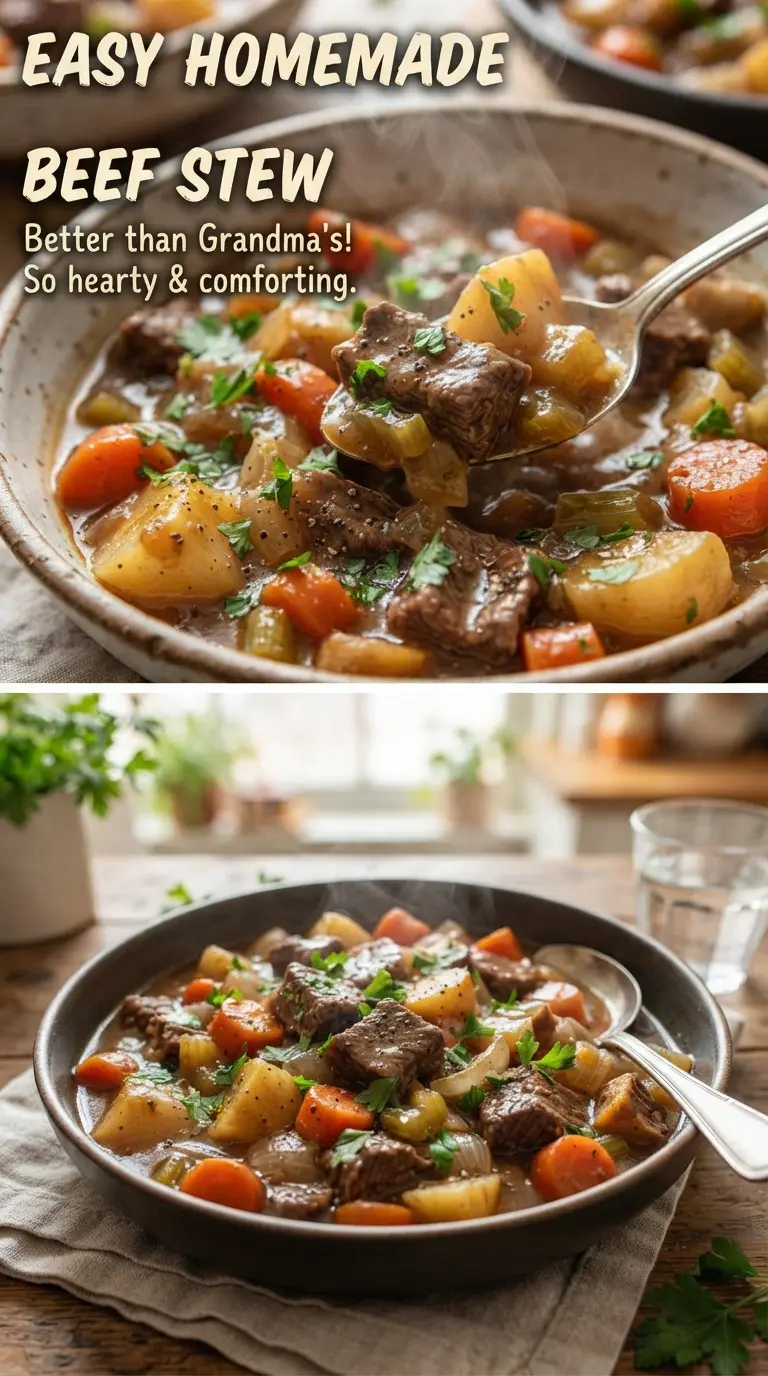
- Beef stew meat — Use chuck if you can find it, even if it’s labeled for stew. It has enough connective tissue to turn tender during the long simmer. Leaner cuts cook up drier and don’t give the broth the same body.
- Flour — This lightly coats the beef and thickens the stew as it cooks. All-purpose flour works best here. If you need gluten-free, use a 1:1 gluten-free flour blend and brown the beef the same way.
- Tomato paste — This adds depth and a quiet acidity that keeps the broth from tasting flat. Let it cook with the onions before adding liquid so it loses that raw, metallic edge.
- Worcestershire sauce — A small amount gives the stew a savory backbone. There isn’t a perfect substitute, but soy sauce can stand in if that’s what you have; use a little less because it’s saltier.
- Potatoes and carrots — Add them later so they keep their shape. Waxy potatoes hold up better than starchy ones, but regular potatoes still work if you don’t overcook them.
Building the Stew in the Right Order
Browning the Beef First
Toss the beef with flour, salt, and pepper until every piece looks lightly coated, then brown it in hot oil in batches. You’re looking for a deep brown crust, not a gray exterior. If the pan looks crowded, pause and do another round. Crowding drops the temperature and robs you of the browned bits that make the broth taste like actual stew.
Softening the Onion Base
Cook the onion in the same pot until it turns translucent and starts to pick up the browned residue from the bottom. That fond dissolves into the onions and keeps the flavor from feeling one-note. Add the garlic only for the last 30 seconds, just until fragrant. If garlic cooks too long, it turns bitter and gets lost under the beef.
Simmering Until the Beef Gives In
Once the broth, tomato paste, Worcestershire, thyme, and bay leaf go in, scrape the bottom well and bring everything to a gentle simmer. Return the beef, cover the pot, and keep the heat low. The stew should barely move. After about 1 1/2 hours, the meat should start to feel tender when pressed with a spoon, but not fall apart yet.
Adding the Vegetables at the End
Stir in the potatoes and carrots after the beef has had its head start. They need enough time to turn tender, but not so much that the potatoes break down and thicken the broth into mash. Simmer until the carrots are soft at the edges and the potatoes cut cleanly with a spoon. Pull out the bay leaf before serving and finish with parsley for brightness.
How to Adjust This Stew for Different Kitchens and Schedules
Make It Gluten-Free
Swap the all-purpose flour for a gluten-free 1:1 blend and coat the beef the same way. The stew will still thicken as it simmers, though the broth may look a touch looser until it cools slightly. Use a blend that includes xanthan gum for the closest texture.
Swap the Potatoes for Parsnips or Turnips
If you want a lower-starch version, use peeled parsnips or turnips in place of the potatoes. Parsnips bring a sweeter edge, while turnips stay a little firmer and more savory. Cut them into the same size as the potatoes so they cook at the same pace.
Stretch It for a Bigger Crowd
You can double the recipe in a larger heavy pot, but brown the beef in the same number of batches. That part doesn’t scale neatly. If you rush the browning, the whole pot tastes flatter. Add a little extra broth only if needed at the end, since the stew thickens as it rests.
Storage and Reheating
- Refrigerator: Store in an airtight container for up to 4 days. The stew gets even better on day two as the flavors settle.
- Freezer: It freezes well for up to 3 months. Cool it completely first, then freeze in portions so the potatoes don’t get crushed during thawing.
- Reheating: Warm gently on the stove over low heat, adding a splash of broth if it has thickened too much. A hard boil can break the potatoes and make the beef stringy.