Conchas bake up with a tender, pillowy crumb and that unmistakable sugary shell on top that cracks just a little when you bite in. The dough stays soft for days if you don’t overbake it, and the topping gives each bun a light cookie-like finish that keeps the sweetness balanced instead of cloying. It’s the kind of bread that disappears fast from a breakfast table, but it also holds up nicely with coffee or warm milk later in the day.
What makes conchas work is the contrast: a rich, slightly sweet yeast dough under a buttery topping that firms up just enough to hold the shell design. The dough needs a full knead so the buns rise with a fine, even crumb, and the topping needs to be soft enough to press into shape without melting into the dough before baking. If the topping gets too warm, the pattern blurs; if the buns overproof, they lose the rounded shape that makes conchas look right.
Below you’ll find the little details that matter most, from shaping the buns so they bake evenly to scoring the topping without tearing it. I’ve also included the swaps that keep the texture close to traditional conchas when you need a dairy-free version or want to change the color without changing the dough.
The dough rose right on schedule and the topping stayed put with those pretty shell lines instead of melting off in the oven. My kids said the centers were softer than the bakery ones and asked for them again the next morning.
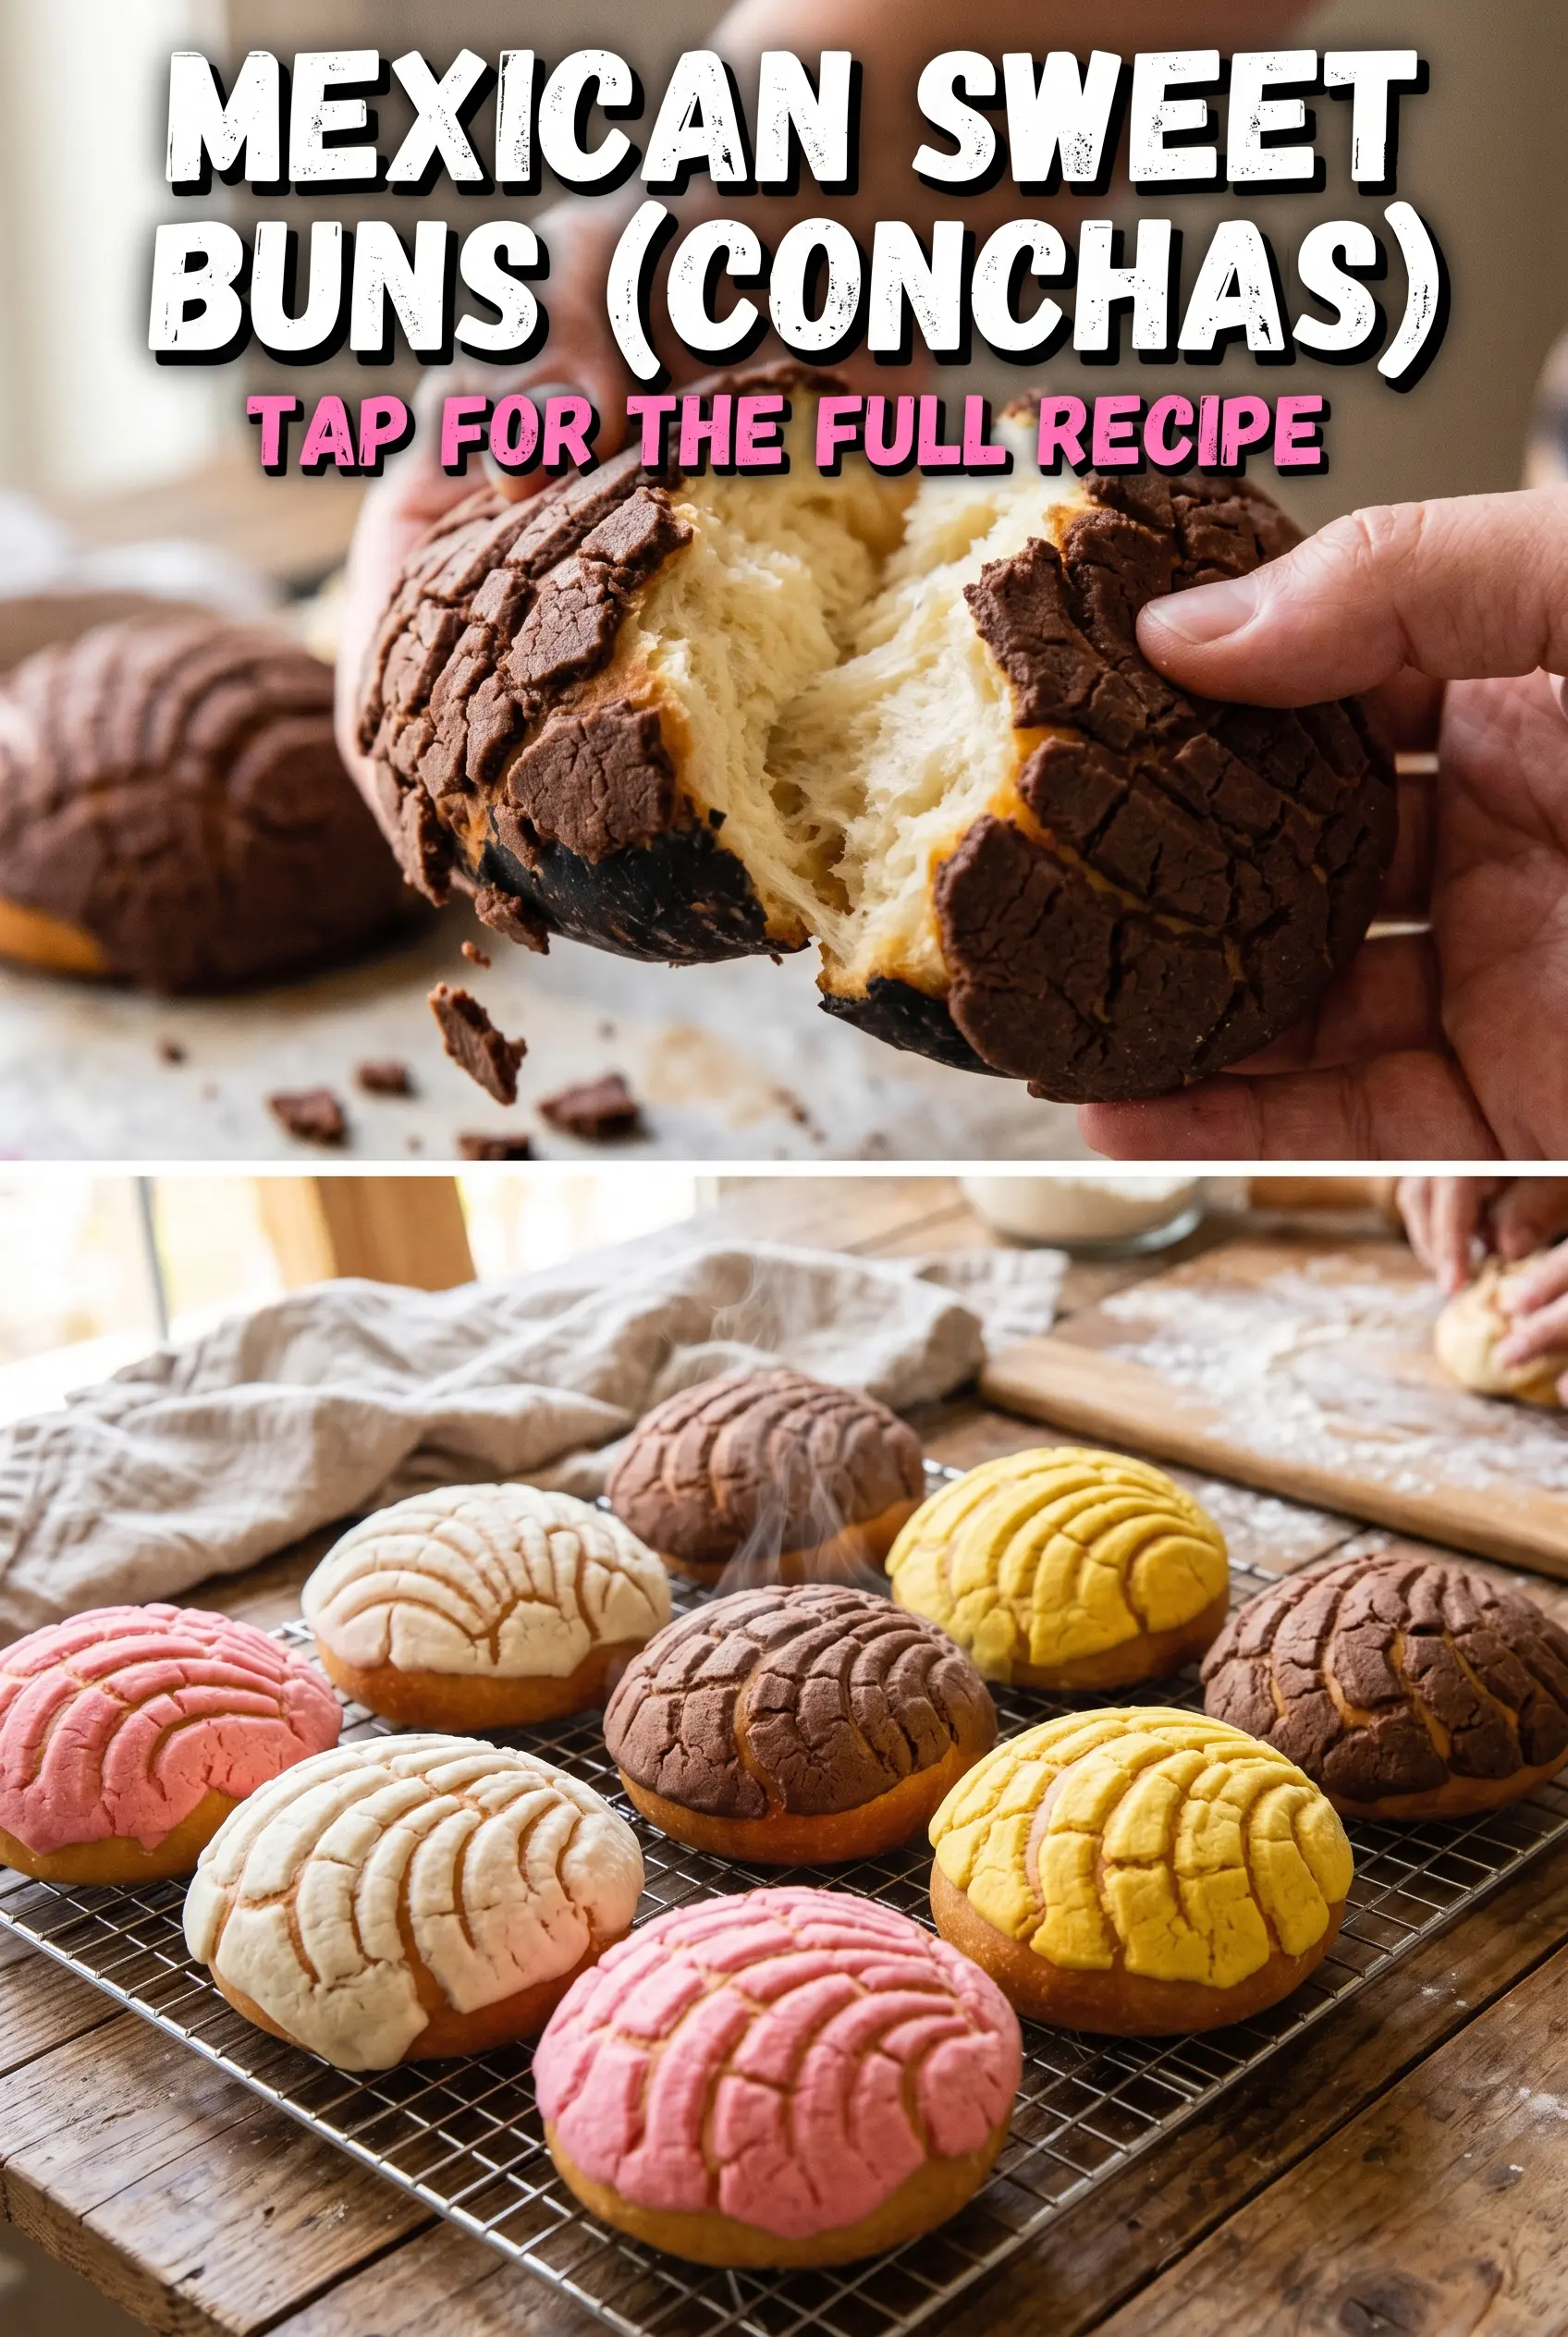
These pastel-topped conchas are worth saving for the next breakfast that needs something soft, sweet, and beautiful on the table.
The Shell Topping Needs to Stay Cool, Not Melty
The most common mistake with conchas is treating the topping like frosting. It isn’t. The topping should be soft and pliable, but still cool enough to roll and cut cleanly. If it warms up too much, it spreads in the oven and the shell pattern disappears into a shiny patch instead of staying crisp and decorative.
The other place people lose the look is during scoring. You’re not cutting through the bun. You’re pressing a shallow pattern into the topping so it bakes with those ridges and lines intact. A sharp knife or scoring blade works best here, and the motion should be decisive. Dragging the blade back and forth smears the surface and makes the topping patchy.
What Each Ingredient Is Actually Doing in This Dough
Warm milk gives the dough a softer, richer crumb than water would. It also helps the instant yeast wake up and spread evenly through the dough. Use milk that feels warm, not hot; too much heat can slow the yeast or damage it.
- Butter — Butter shows up in both the dough and the topping, and it matters in both places. In the dough, it keeps the crumb tender. In the topping, it creates that sandy-cookie texture once it bakes. If you swap in margarine, the texture gets softer and the topping can lose its clean shell shape.
- Eggs — The eggs give the dough structure and keep the buns from baking up dry. They also add richness without making the bread heavy. Bring them close to room temperature so they blend into the milk mixture without seizing the butter.
- Instant yeast — Instant yeast keeps this dough moving on schedule, especially since the dough is enriched with sugar, butter, and eggs. Active dry yeast will work, but dissolve it in the warm milk first and give the rise a little more time if the kitchen is cool.
- Powdered sugar — This is what makes the topping fine and tender instead of gritty. Granulated sugar won’t behave the same way here. If you want a smoother top layer, sift it before mixing so there are no little lumps to fight later.
- Food coloring — The color is cosmetic, but it helps separate the topping visually from the bun and gives conchas their signature look. Gel color is best because it won’t thin the dough. Liquid coloring works in a pinch, but use only a tiny amount so the topping doesn’t get sticky.
Getting the Dough Light Before the Oven Does the Rest
Mixing Until the Dough Comes Together
Start by combining the wet ingredients until the butter is mostly dispersed, then add them to the dry mixture and stir until you get a soft, shaggy dough. It should look slightly tacky but not wet enough to smear all over the bowl. If the dough feels stiff at this stage, it will bake up tight and dry, so resist adding extra flour unless it’s truly too sticky to handle.
Kneading for a Smooth, Elastic Finish
Knead long enough for the dough to turn satiny and spring back when you poke it lightly. That usually takes 8 to 10 minutes by hand or a bit less in a mixer. The dough should clear the bowl and feel bouncy. If it tears easily, keep kneading. That’s the sign the gluten hasn’t developed enough to hold the rise.
Shaping, Rising, and Topping the Buns
Divide the dough evenly so the buns bake at the same pace. Roll each piece into a smooth round and place them with enough space for expansion, because crowded buns spread into each other before they set. After the second rise, press the topping over each bun and score the shell pattern gently. Bake until the tops are golden and the buns sound hollow when tapped underneath; overbaking is what turns conchas from soft and tender into dry and bready.
How to Adapt These Conchas Without Losing the Texture
Dairy-Free Conchas
Swap the milk for unsweetened oat milk or soy milk and use a plant-based butter that bakes firmly. You’ll still get a soft crumb and a workable topping, but the flavor will be a little less rich than the classic version. Choose a dairy-free butter with a higher fat content so the topping still holds its shell shape.
Vanilla or Cinnamon-Tinted Topping
Leave the topping plain and add a little extra vanilla, or stir in a small pinch of cinnamon for a warmer bakery-style finish. Cinnamon changes the look slightly because it darkens the topping and mutes pastel colors, but the flavor is lovely with coffee. Keep the amount modest so the topping stays tender instead of becoming sandy.
Make the Buns a Little Bigger for Bakery-Style Conchas
Divide the dough into 10 portions instead of 12 for larger buns with a more dramatic topping pattern. Add a couple of minutes to the bake time and watch for the same cues: golden tops and a soft but set crumb. Bigger buns need a little more spacing on the sheet so they don’t merge as they rise.
Storage and Reheating
- Refrigerator: Store in an airtight container for 3 days. The topping softens a bit, but the buns stay tender if they’re sealed well.
- Freezer: Freeze baked conchas for up to 2 months, wrapped individually. Thaw at room temperature so the topping doesn’t turn sticky from condensation.
- Reheating: Warm in a 300°F oven for 5 to 7 minutes. Skip the microwave if you want the topping to keep its texture, because microwaving makes the bread chewy and the shell topping soggy.
Answers to the Questions Worth Asking
Mexican Sweet Buns (Conchas)
Ingredients
Equipment
Method
- Combine warm milk, granulated sugar, softened butter, eggs, and vanilla extract in a bowl until smooth.
- Whisk all-purpose flour, instant yeast, and salt in a separate bowl.
- Mix wet ingredients into dry ingredients until a soft dough forms.
- Knead the dough for 8-10 minutes until smooth and elastic, using a firm press-and-fold motion to build structure.
- Place the dough in a bowl, cover, and let rise for 1 hour until doubled in size (about tripled volume is a good visual cue).
- Divide the dough into 12 portions and shape each into a round bun.
- Place the buns on a sheet pan and cover lightly.
- Let the buns rise for 30 minutes until puffy and slightly expanded.
- Mix softened butter, powdered sugar, and all-purpose flour to form a thick topping paste.
- Divide the topping and tint each portion with food coloring, aiming for pastel shades with even color throughout.
- Roll each colored topping between plastic wrap and cut shell shapes.
- Place the shell-pattern topping on each bun and gently press to adhere.
- Use a knife to score the tops to create the shell pattern lines.
- Bake at 375°F for 16-18 minutes until golden, watching for deep golden edges and set topping texture.