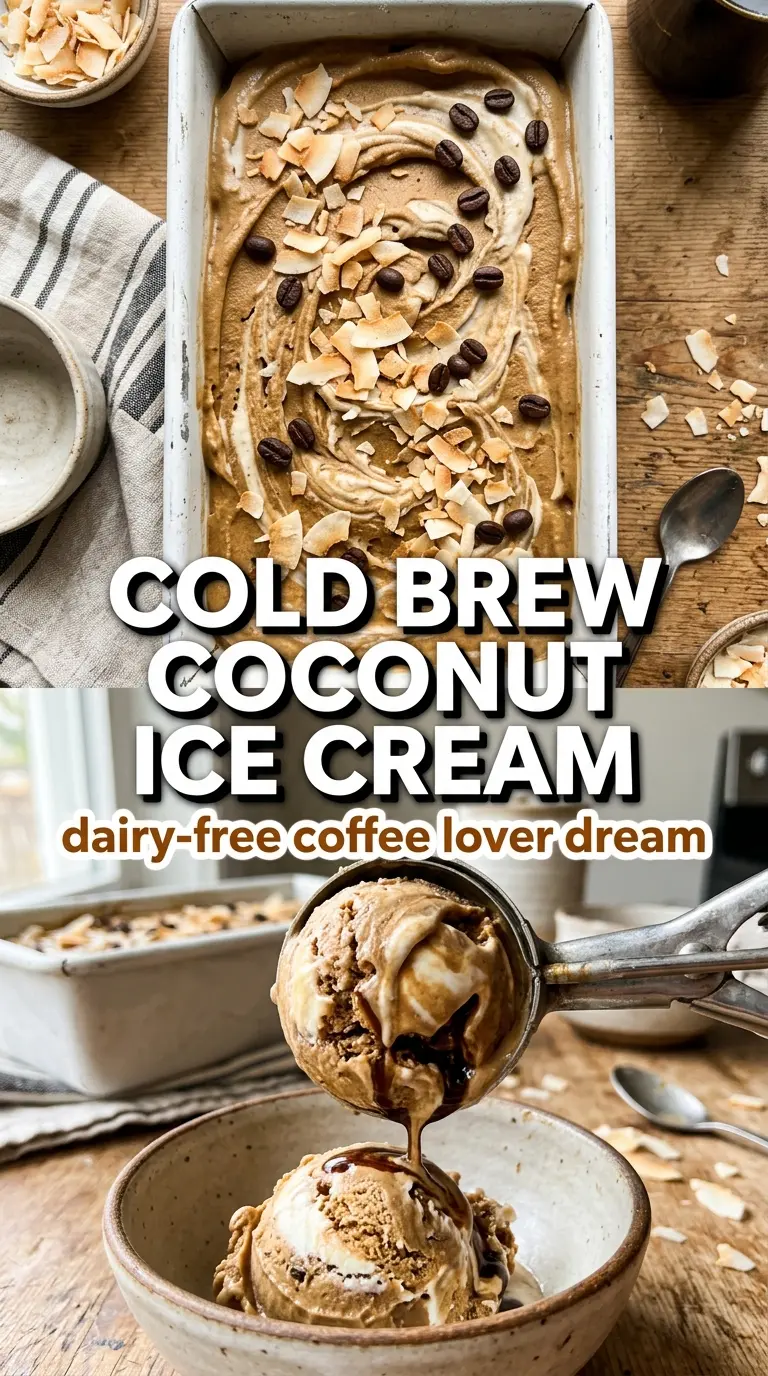
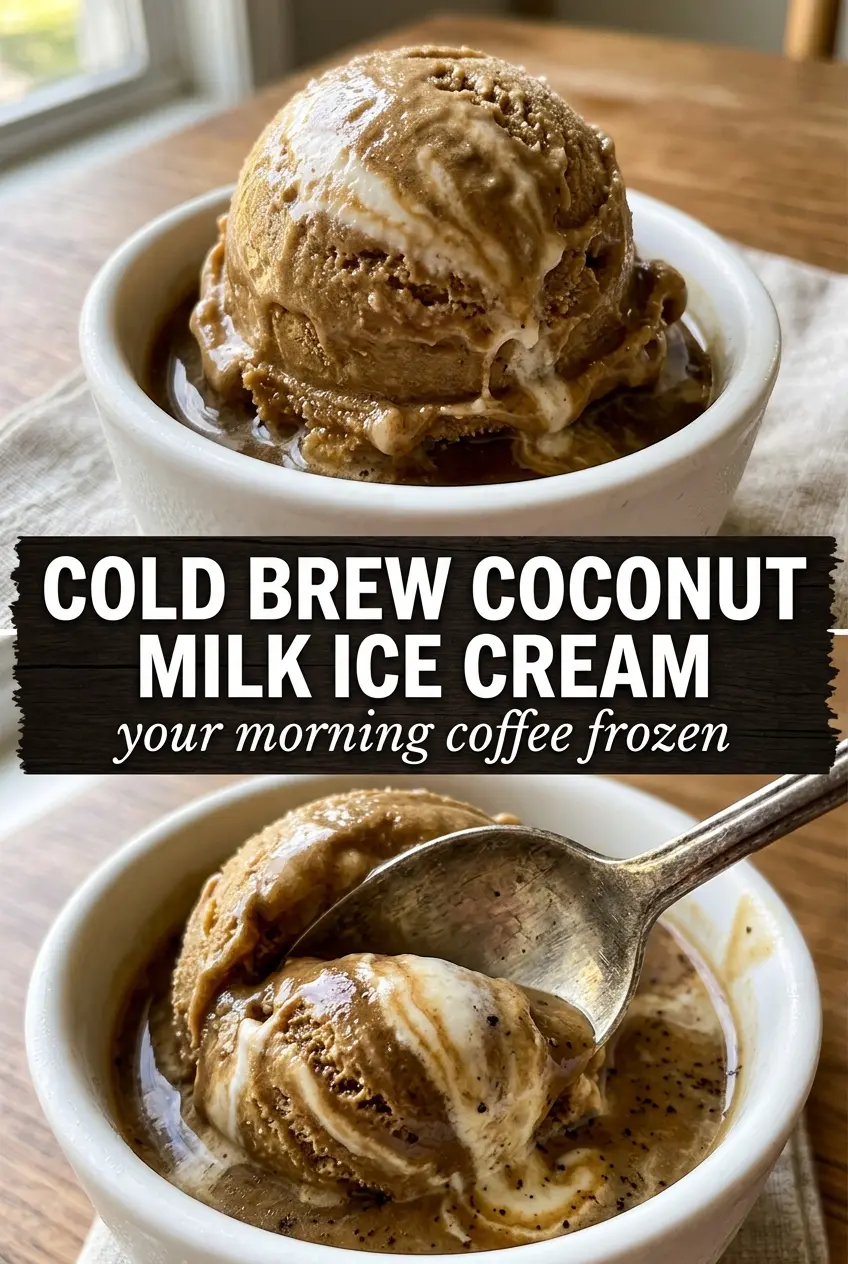
Deep coffee flavor and coconut milk make an ice cream that tastes bold without feeling heavy. The first spoonful is cold, creamy, and a little bit surprising in the best way: the roasted edge of the cold brew lands first, then the coconut milk comes through with a soft, almost tropical finish. It’s the kind of dessert that coffee drinkers keep going back for because it tastes grown-up and clean, not sugary or flat.
The trick is treating this more like a custard base without eggs. A little starch gives the mixture enough body to churn into something scoopable, and full-fat coconut milk keeps the texture smooth instead of icy. If the base doesn’t thicken slightly before chilling, the finished ice cream can turn thin and hard in the freezer, so that brief stovetop step matters more than it looks.
Below, I’ll walk through the one part that keeps this from turning grainy, plus the easiest way to adjust the sweetness if your cold brew concentrate is especially strong.
The base thickened just enough on the stove, and after churning it came out silky with no icy bits. My husband kept sneaking spoonfuls from the freezer because the coffee flavor stayed strong even after freezing.
Save this cold brew coconut milk ice cream for the nights when you want a bold coffee dessert with a silky dairy-free finish.
The Small Stovetop Step That Keeps This Ice Cream Scoopable
Cold brew ice cream can go wrong in two directions: it can freeze into a hard brick, or it can taste watery and thin because the base never had enough structure. This version avoids both problems by cooking just long enough to dissolve the sugar and activate the starch. You’re not trying to make pudding. You’re just giving the base enough thickness that it churns into something smooth instead of icy.
The other thing that matters is the coconut milk. Full-fat canned coconut milk brings the fat you need for a creamy texture, and it behaves much better than carton coconut milk here. If your cold brew concentrate is extremely strong, the coffee flavor can take over after freezing, so taste the mixture before chilling and adjust the sweetness only if it needs a touch more balance.
- Full-fat coconut milk — This is the backbone of the recipe. Shake the cans well before opening, and use the thick, canned kind, not the beverage from the dairy case. Lower-fat coconut milk will churn up more icy and less rich.
- Cold brew coffee concentrate — Concentrate gives the ice cream its bold coffee flavor without watering down the base. If you only have ready-to-drink cold brew, reduce it first on the stove or the finished ice cream will taste diluted.
- Arrowroot or cornstarch — This is what helps the base thicken lightly on the stove and stay scoopable after freezing. Arrowroot gives a slightly silkier finish, while cornstarch is the more common pantry swap and works well as long as you whisk constantly.
- Maple syrup instead of sugar — Maple syrup adds a softer, deeper sweetness that plays well with coffee and coconut. Sugar gives you a cleaner coffee flavor and a slightly firmer set, so either works; just keep the measurement the same.
- Vanilla extract — Vanilla rounds out the coffee and keeps the coconut from tasting one-note. It won’t stand out on its own, but you’ll notice when it’s missing.
What Each Ingredient Is Actually Doing in This Frozen Dessert
- Base ingredient (cream, milk, or non-dairy) — This provides the foundation and richness. Quality matters.
- Sweetener (sugar, honey, or other) — This sweetens and prevents ice crystals. The ratio is critical.
- Flavor element (vanilla, fruit, or other) — This defines the ice cream personality. Use quality ingredients.
- Stabilizers (egg yolks, cornstarch, or gelatin) — These prevent melting and large ice crystals. Optional but helpful.
- Churning (if using ice cream maker) — This incorporates air and prevents ice crystals. Critical for smooth texture.
- Freezing temperature and time — Proper freezing prevents rock-hard texture. Store at 0°F or below.
- Mix-ins (chocolate, cookies, or fruit) — These add texture and prevent monotone flavor. Add near end of churning.
- No-churn method (if using whipped cream or condensed milk) — This creates creamy texture without ice cream maker. Freezing time is longer.
Cooking the Base Until It Thickens, Not Boils
Whisk Everything Together First
Start with the coconut milk, cold brew concentrate, sugar, starch, vanilla, and salt all in one saucepan. Whisk until the starch disappears and the mixture looks smooth before you turn on the heat. If you leave starch clumps behind at this stage, they won’t dissolve later, and you’ll feel them in the finished ice cream.
Heat It Just Enough to Thicken Slightly
Cook over medium heat, whisking constantly, until the sugar dissolves and the mixture looks slightly glossy and thickened, about 5 minutes. You’re looking for a texture that coats the whisk a little, not a simmering pot. If it boils hard, the coconut milk can separate and the starch can go past its ideal point.
Chill It Completely Before Churning
Set the pan over an ice bath and cool the base all the way down, then refrigerate it for at least 4 hours. A cold base churns faster and traps air better, which gives you a smoother texture. If you pour in a warm base, the machine has to work too hard and the ice cream often ends up loose and grainy.
Churn and Freeze to Finish
Churn according to your machine’s instructions until it looks like soft-serve with a dense, creamy body. Transfer it to a freezer container and freeze until scoopable. If it feels too firm straight from the freezer, let it sit on the counter for 5 to 10 minutes; that’s normal for a dairy-free ice cream with coffee in it.
How to Adjust This Cold Brew Ice Cream Without Losing the Creamy Texture
Make it even richer with a little extra coconut fat
If you want a denser, more decadent ice cream, add a few spoonfuls of the thick coconut cream from the top of the cans. That boosts body without changing the method, and it helps the ice cream stay softer in the freezer.
Use maple syrup for a vegan coffee dessert with deeper flavor
Maple syrup works beautifully here if you want a more rounded sweetness and a slightly more caramel-like finish. It keeps the recipe fully dairy-free and vegan, though the final ice cream will set a touch softer than the sugar version.
Swap the starch if that’s what you have
Arrowroot and cornstarch both work, so use whichever is in your pantry. Cornstarch gives dependable thickness and a classic frozen-dessert texture, while arrowroot tends to feel a little lighter. Use the same amount either way and whisk well so it doesn’t clump.
Storage and Reheating
- Refrigerator: The base can be chilled up to 2 days before churning. After churning, the ice cream should stay frozen; it won’t hold properly in the fridge.
- Freezer: Freezes well for about 2 weeks in a sealed container with parchment pressed on top. After that, the texture gets icier and the coffee flavor starts to dull.
- Reheating: Let frozen ice cream sit at room temperature for 5 to 10 minutes before scooping. Don’t microwave it; that melts the edges and turns the center slushy before the scoop is ready.
Answers to the Questions Worth Asking
Cold Brew Coffee and Coconut Milk Ice Cream
Ingredients
Equipment
Method
- Whisk the coconut milk, cold brew concentrate, sugar (or maple syrup), arrowroot (or cornstarch), vanilla, and salt together in a saucepan until smooth.
- Heat over medium heat, whisking constantly, until the mixture thickens slightly and the sugar dissolves—about 5 minutes.
- Cool the mixture completely over an ice bath, stirring occasionally so it drops quickly in temperature.
- Refrigerate at least 4 hours until very cold.
- Churn the chilled mixture in an ice cream maker according to the manufacturer’s instructions until it reaches soft-serve consistency.
- Freeze until scoopable, then serve with an extra drizzle of cold brew concentrate.


