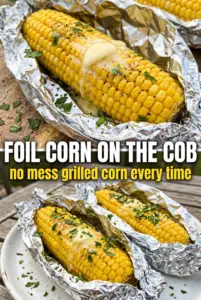
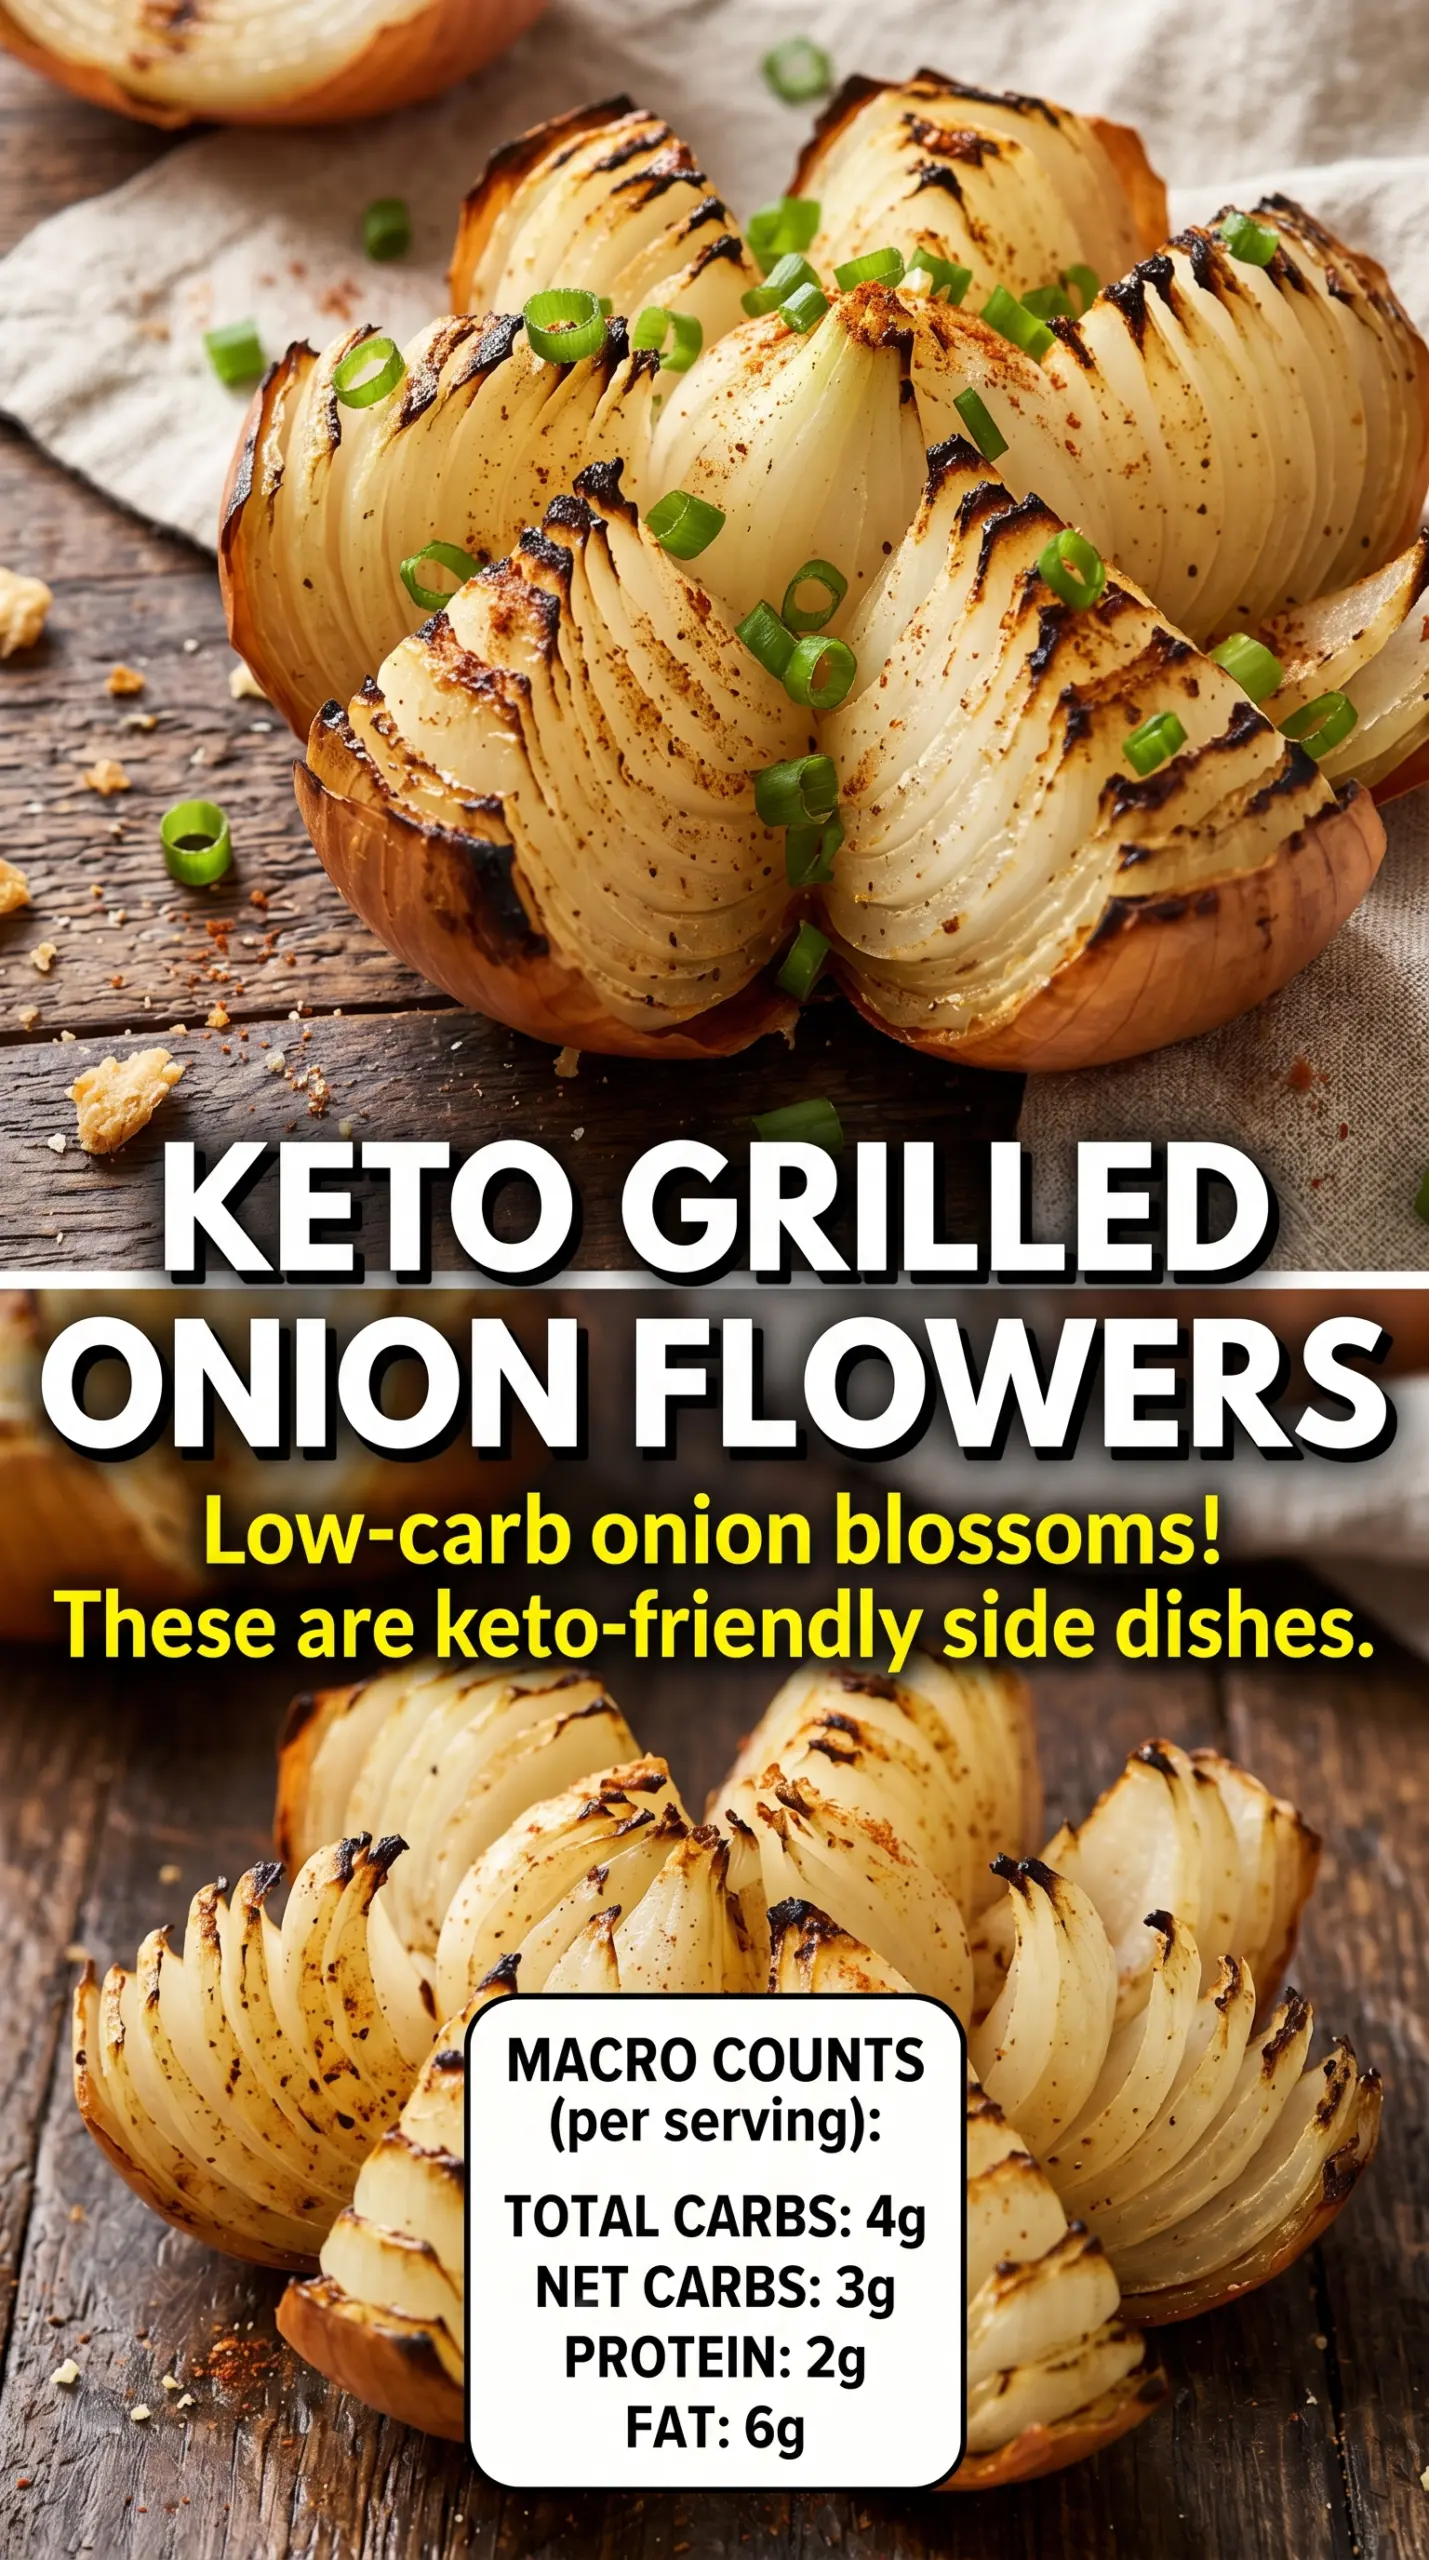
Grilled onion blossoms turn a humble sweet onion into something smoky, tender, and just a little bit dramatic. The outer edges char and caramelize while the center stays soft enough to pull apart with a fork, and the whole thing lands on the table looking like you worked much harder than you did. It’s the kind of appetizer that disappears fast because every bite gets a little crisp edge, a little sweetness, and a hit of spice.
The trick is keeping the root intact so the onion opens up like a flower instead of falling apart on the grill. Foil does the heavy lifting here: it traps heat, keeps the seasoning in place, and lets the onion steam and soften before the sugars on the edges start to caramelize. The spice blend is simple, but paprika, garlic powder, onion powder, and cayenne give the onion enough backbone that it tastes intentional, not just like a dressed-up vegetable.
Below, I’ll walk through the cut that keeps the blossom together, the seasoning balance that works with sweet onions, and a few variations if you want to change the heat level or serve these with something other than ranch.
The onions turned soft in the middle and caramelized at the edges just like you said, and the foil kept them from drying out on the grill. We ate the whole pan before dinner even started.
Like these smoky grilled onion blossoms? Save them to Pinterest for your next BBQ appetizer spread.
The Cut That Keeps the Blossom Intact on the Grill
The whole recipe hinges on the root. Leave it on, and the onion stays connected in one piece while the wedges open into a bloom; cut through it, and you end up with loose segments that cook unevenly and lose that blossom look. The vertical cuts should stop just before the root, not just near it. That tiny bit of restraint is what keeps the onion from collapsing once it softens over heat.
Foil also matters more than people think. It creates a small steam pocket at the start, which softens the onion before the edges dry out, and it keeps the seasoning clinging to the petals instead of falling through the grill grates. Once the onion is tender, the heat starts to brown the exposed edges and the natural sugars take over.
- Sweet onions — These are the right choice because they soften fast and caramelize well without getting harsh. Yellow onions will work, but they taste sharper and read more like a side dish than an appetizer.
- Olive oil — This carries the spices and helps the outer petals brown instead of drying out. Melted butter can be used, but it burns more easily on the grill and doesn’t coat as evenly.
- Cayenne — This gives the onions a little heat so the flavor doesn’t go flat. Cut it back if you want a milder appetizer, but don’t skip spice altogether unless you plan to serve a punchier sauce.
What Each Seasoning Is Actually Doing Here
The paprika brings color and a little smoky warmth, while the garlic and onion powders build a savory base that sticks to the onion petals better than fresh aromatics would. Fresh garlic can burn over the grill in this kind of setup, so the powdered version earns its place. It gives the onion a seasoned crust without turning bitter.
Salt is doing the obvious work, but it also helps draw a little moisture to the surface, which then mixes with the oil and spices to make a paste-like coating. That coating is what seasons each layer as the onion opens. If you under-salt the outside, the center tastes fine but the blossom as a whole feels flat.
- Paprika — Use regular paprika for color and mild smoke, or smoked paprika if you want a deeper grilled flavor without adding liquid smoke.
- Garlic powder and onion powder — These give the blossom a savory backbone and stay stable at grill heat. Fresh minced garlic doesn’t behave the same way here.
- Ranch or comeback sauce — A cool, tangy dip balances the sweetness of the onion. Something creamy works best because it clings to the petals instead of sliding off.
- Fresh parsley — This is more than garnish; it brightens the finished dish and cuts through the richness. Chop it right before serving so it stays fresh and fragrant.
The 30 Minutes That Turn a Raw Onion Into an Appetizer
Cutting the Blossom Shape
Slice off the top of each onion, peel away the papery skin, and leave the root end intact. Make vertical cuts from the top down, stopping just before the root so the onion stays attached. If the cuts are too shallow, the center won’t open up; if they go too deep, the petals break free and cook unevenly.
Seasoning Between the Petals
Gently separate the wedges with your fingers and brush the onion all over with olive oil. Work a little seasoning into the gaps as you go so it doesn’t just sit on the outside. The oil should coat the onion, not puddle under it; too much oil makes the seasoning slide off when it heats.
Grilling in Foil
Wrap each onion in foil and set it over medium heat for 25 to 30 minutes. You’re looking for onions that feel tender when pressed with tongs and petals that have started to caramelize at the tips. If the grill runs hot, move the packet to a cooler spot after the first 15 minutes so the outside doesn’t scorch before the center softens.
Finishing and Serving
Unwrap the onions carefully because hot steam will rush out. Sprinkle on the parsley and serve them right away with ranch or comeback sauce. They’re at their best when the petals are still hot and soft enough to pull apart cleanly, so don’t let them sit exposed for long before serving.
How to Adjust the Heat, Smoke, and Serving Style
Milder Blossoms for a Crowd
Leave out the cayenne and add a little extra paprika for color. You’ll still get a seasoned, smoky onion, but the heat stays low enough that more people will go back for seconds without hesitation.
Dairy-Free Serving Option
Use a dairy-free ranch or a vinaigrette-style dipping sauce instead of classic ranch. The onion itself is already dairy-free, so the main thing to watch is the dip, which can add creaminess without changing the grilled flavor of the blossom.
Extra Smoky Grilled Flavor
Swap part of the paprika for smoked paprika and keep the onions over steady medium heat so the sugar can brown instead of blacken. That gives the blossoms a deeper barbecue note without making them taste burnt.
Storage and Reheating
- Refrigerator: Store leftovers in an airtight container for up to 3 days. The petals soften more after chilling, but the flavor holds up well.
- Freezer: I don’t recommend freezing these. The onion texture turns watery once thawed, and the blossom shape doesn’t survive the freeze well.
- Reheating: Warm the onions on a sheet of foil in a 350°F oven until heated through. The biggest mistake is microwaving them hard, which makes them rubbery and wipes out the caramelized edges.
Questions I Get Asked About This Recipe
Grilled Onion Blossoms
Ingredients
Equipment
Method
- Cut off the top of each onion and peel away the papery skin, leaving the root intact. Keep the root connected so the wedges stay attached.
- Make vertical cuts from the top down, stopping before the root, creating 8-12 wedges that remain attached. Go evenly so the blossom opens in a uniform pattern.
- Gently separate the wedges to create a blossom shape. Open it just enough to see the wedge layers without tearing the base.
- Brush the onions with olive oil, coating all the separated wedge surfaces. Use a light, even layer so seasoning clings.
- Sprinkle paprika, garlic powder, onion powder, cayenne pepper, salt, and pepper over the onions. Ensure seasoning lands between the wedges as well.
- Wrap each onion in foil and grill over medium heat for 25-30 minutes until tender and caramelized. You should see browned edges and a soft, easily pierced center.
- Unwrap the onions and let them rest briefly so they hold their shape. The blossom should look charred and opened with seasoning visible.
- Garnish with fresh parsley and serve immediately with ranch or comeback sauce for dipping. Serve alongside the onion so the dipping sauce is ready to go.