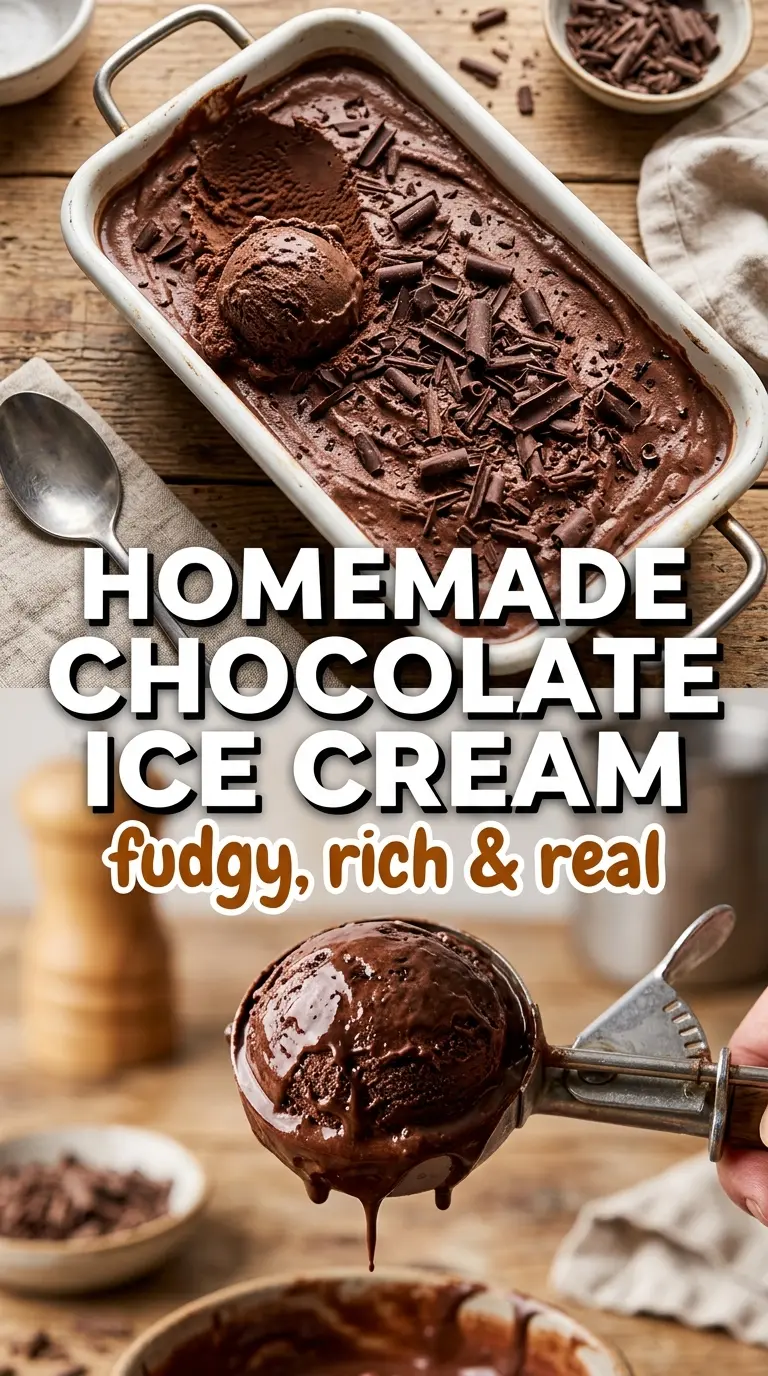
Deep chocolate ice cream should taste like more than frozen sweetness. The good batches hit with cocoa first, then melt into a dense, velvet-smooth custard that coats the spoon before it ever reaches the cone. This version does exactly that. It leans on both cocoa powder and dark chocolate, which gives you a darker color and a fuller chocolate finish than recipes built on just one or the other.
The custard base matters here. Egg yolks give the ice cream body, but the real trick is cooking the mixture just long enough to thicken without scrambling the yolks. You’ll also whisk the cocoa with part of the sugar before it goes into the cream, which keeps it from clumping and helps it bloom into a deeper, less dusty chocolate flavor. Once it’s strained and chilled, the churn does the rest.
Below you’ll find the one temperature cue that saves a custard from turning grainy, plus a few smart swaps for when you want this a little darker, a little lighter, or dairy-free without wrecking the texture.
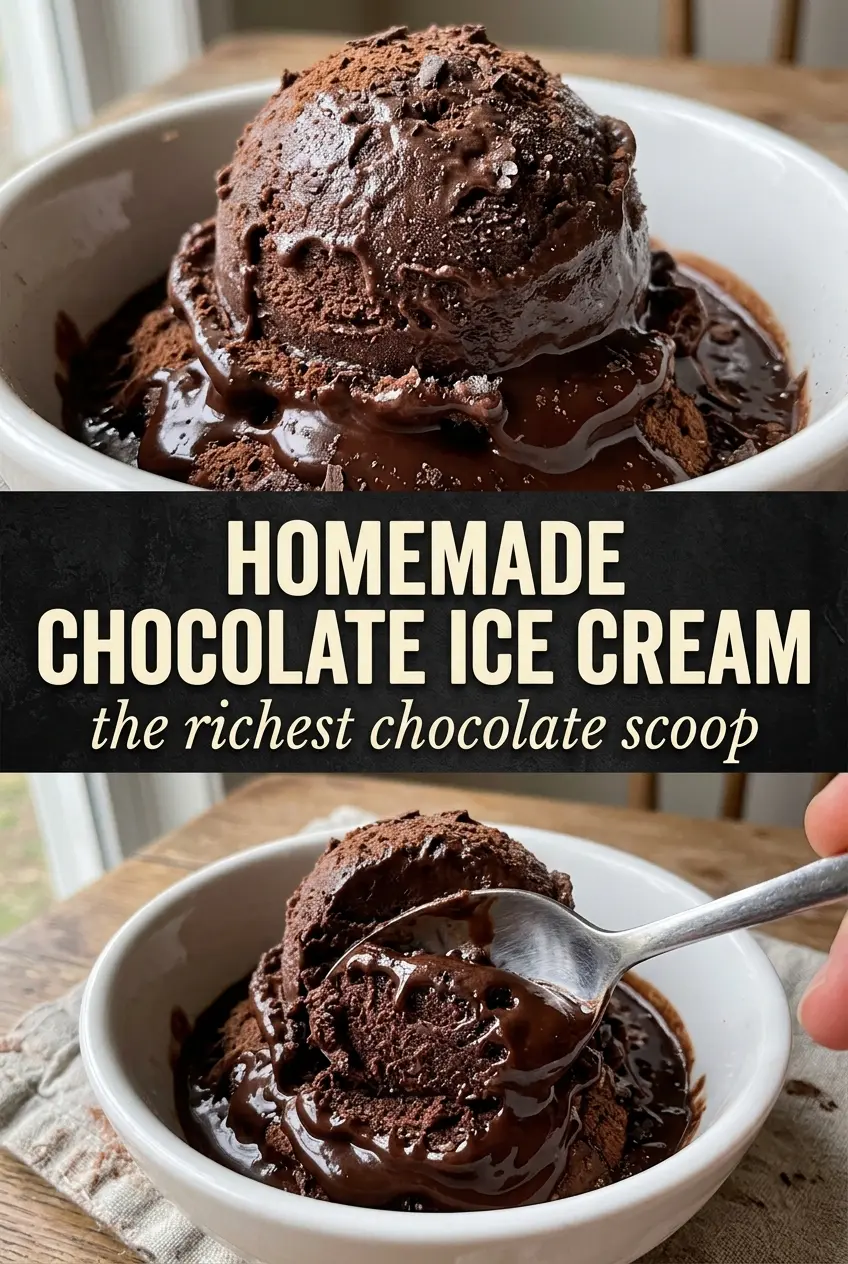
The custard turned out silky and the chocolate stayed bold even after freezing. I loved that it churned up thick, and the texture was still scoopable straight from the freezer.
Save this homemade chocolate ice cream for the nights when you want a dark, custardy scoop with real cocoa depth.
The Custard Is What Gives This Ice Cream Its Dense, Scoopable Body
A lot of homemade chocolate ice cream ends up icy because the base never had enough fat, enough sugar balance, or enough structure before it went into the machine. Egg yolks fix that. They thicken the base just enough to give you a tighter freeze and a creamier melt, which is why this tastes richer than a quick no-cook version.
The other thing that matters is heat control. If the custard gets too hot, the yolks curdle and you end up with tiny bits instead of a smooth base. Pulling it at 175F gives you a spoon-coating custard without pushing it into scrambled-egg territory. Straining it after cooking catches any little bits before they turn into a textural problem in the freezer.
- Heavy cream gives the ice cream its lush body and soft texture. You need the fat here; swapping it for half-and-half makes the finished ice cream colder-tasting and a little harder in the freezer.
- Whole milk keeps the base from becoming too rich and heavy. Lower-fat milk works in a pinch, but the ice cream won’t churn as smoothly and it may freeze denser.
- Unsweetened cocoa powder is what builds that deep chocolate backbone. Dutch-process cocoa will give you a darker, smoother flavor, while natural cocoa brings a sharper edge. Either works, but don’t skip the step of whisking it with sugar first or it can clump.
- Dark chocolate adds the fudgy note that cocoa alone can’t give. Choose a bar you’d happily eat on its own, since the flavor stays front and center after freezing.
- Egg yolks create the custard. There isn’t a direct substitute that gives the same result, but if you need an egg-free version, you’d need a completely different base built with starch or another stabilizer.
What Each Ingredient Is Actually Doing in This Frozen Dessert
- Base ingredient (cream, milk, or non-dairy) — This provides the foundation and richness. Quality matters.
- Sweetener (sugar, honey, or other) — This sweetens and prevents ice crystals. The ratio is critical.
- Flavor element (vanilla, fruit, or other) — This defines the ice cream personality. Use quality ingredients.
- Stabilizers (egg yolks, cornstarch, or gelatin) — These prevent melting and large ice crystals. Optional but helpful.
- Churning (if using ice cream maker) — This incorporates air and prevents ice crystals. Critical for smooth texture.
- Freezing temperature and time — Proper freezing prevents rock-hard texture. Store at 0°F or below.
- Mix-ins (chocolate, cookies, or fruit) — These add texture and prevent monotone flavor. Add near end of churning.
- No-churn method (if using whipped cream or condensed milk) — This creates creamy texture without ice cream maker. Freezing time is longer.
How to Keep the Chocolate Base Smooth Instead of Grainy
Blooming the Cocoa
Start by whisking the cocoa powder with part of the sugar before adding the dairy. That step breaks up dry clumps and helps the cocoa dissolve into the cream instead of floating in little dusty pockets. Heat the mixture only until steaming, not boiling, because aggressive heat can scorch the cocoa and give the ice cream a flat, bitter edge.
Tempering the Yolks
Whisk the yolks with the remaining sugar until they look pale and a little thicker. Then add the hot chocolate cream slowly while whisking constantly. If you dump it in too fast, the yolks can seize and turn lumpy. Slow streaming is what raises the yolks’ temperature gently so they blend back into the pot instead of cooking on contact.
Cooking to the Spoon-Coating Point
Return everything to the saucepan and stir over medium-low heat. You’re looking for the custard to coat the back of a spoon and leave a clean line when you run a finger through it. If it looks thin, keep going; if it starts steaming hard or bubbling, the heat is too high. The difference between silky and grainy happens in this minute, not after the churn.
Chilling Before Churning
Strain the custard, stir in the vanilla and salt, then cool it over an ice bath before it goes into the fridge. Churning a warm base gives you softer, icier ice cream because the machine has to work too long to freeze it. The base should feel fully cold to the touch before it goes into the ice cream maker. Four hours is the minimum, but overnight gives the cleanest churn and the best texture.
How to Make This Dark Chocolate Ice Cream Fit Your Kitchen
Make it extra dark
Use Dutch-process cocoa and a 70% dark chocolate bar for a deeper, less sweet finish. The ice cream will taste more intense and a little more bittersweet, which is great if you want it to stand up to hot fudge or brownies.
Dairy-free version
Swap in full-fat coconut milk for both the cream and milk, and use a dairy-free dark chocolate. The texture will be slightly softer and carry a faint coconut note, but it still churns into a rich, scoopable ice cream.
No ice cream maker
You can freeze the chilled base in a shallow pan and stir it every 30 minutes until firm, but the texture won’t be as smooth. It works in a pinch, though the churned version stays lighter and creamier because it traps more air.
Storage and Reheating
- Refrigerator: Store the cooked base up to 2 days before churning. It actually benefits from a long chill, and the flavor deepens as it rests.
- Freezer: The churned ice cream keeps well for about 2 weeks in a tightly sealed container with parchment pressed on top. After that, it can start picking up ice crystals and lose some of its smoothness.
- Reheating: Let the container sit at room temperature for 5 to 10 minutes before scooping. If it’s rock hard, the first scoop shatters the top instead of cutting through cleanly.
Answers to the Questions Worth Asking
Homemade Chocolate Ice Cream
Ingredients
Equipment
Method
- Whisk unsweetened cocoa powder with 1/4 cup of the granulated sugar, then combine with the heavy cream and whole milk in a saucepan. Heat over medium, whisking constantly, until steaming and the cocoa looks fully dissolved.
- Add the finely chopped dark chocolate and whisk until fully melted and smooth. Keep the mixture hot but not boiling, so it stays silky.
- Whisk the egg yolks with the remaining 1/2 cup granulated sugar until pale. This should look lighter and thicker than when you started.
- Slowly whisk the steaming chocolate cream into the yolks in a thin stream. Stream in gradually while whisking to prevent scrambling.
- Return everything to the saucepan and cook over medium-low heat, stirring constantly, until the custard coats the back of a spoon at 175°F. You’ll see a clear trail when you run a finger through the coating.
- Strain the custard through a fine mesh sieve, then stir in vanilla extract and salt. Aim for a smooth, uniform texture with no lumps.
- Cool the custard completely using an ice bath, stirring occasionally so it chills evenly. Stop when the surface feels cool to the touch.
- Refrigerate at least 4 hours or overnight until thoroughly cold. The colder the base, the better the churn.
- Churn the chilled custard in an ice cream maker, then freeze until firm. Stop churning when the texture looks like soft-serve.


