Old Fashioned Beef Stew lands in the bowl with the kind of deep, slow-cooked comfort that only happens when the beef gets properly browned and the broth has time to turn rich and glossy. The chunks stay tender, the potatoes soak up the gravy, and the carrots and pearl onions bring just enough sweetness to balance all that savory depth. It’s the sort of stew that tastes even better on the second day, which is usually how I know it belongs in the regular rotation.
The difference here is in the layering. The flour on the beef helps the stew thicken naturally as it simmers, but only if you brown the meat hard enough first to build real flavor at the bottom of the pot. Tomato paste, Worcestershire, paprika, and thyme don’t make this taste “tomatoey” or overly seasoned; they round out the broth and give it that old-school, beefy backbone.
Below, I’m walking through the parts that matter most: how to get a dark crust without steaming the meat, when to add the vegetables so they hold their shape, and what to do if your gravy comes out thinner than you wanted.
The beef got that deep brown crust I usually struggle with, and the gravy thickened up perfectly without turning gluey. My husband went back for a second bowl before I’d even sat down.
Save this Old Fashioned Beef Stew for the nights when you want tender beef, thick gravy, and a pot full of classic comfort.
The Brown Bits Are the Real Flavor Base
The biggest mistake with beef stew is rushing the browning step or crowding the pot. If the beef goes in all at once, it steams, the flour coating turns pasty, and you lose the dark crust that makes the broth taste like it simmered all afternoon even before the long cook starts. Brown the meat in batches and give each side time to turn a deep mahogany color before moving it.
Those browned bits left behind in the pot are the foundation of the stew. Once the onion, garlic, and tomato paste go in, they lift all that flavor back into the liquid. That’s also why the broth tastes better after the scrape-up step than it ever could from just simmering meat in plain stock.
- Beef chuck — This is the right cut because it has enough connective tissue to turn tender during a long, gentle simmer. Leaner stew meat gets dry and stringy before the broth has time to deepen.
- Flour — It lightly coats the beef and helps the broth thicken as it cooks. If you need a gluten-free version, use a 1:1 gluten-free flour blend; it won’t brown exactly the same way, but it still gives the stew body.
- Tomato paste — Just a small amount adds color and a quiet sweetness that rounds out the savory base. Let it cook for a minute with the onion so it loses the raw edge.
- Worcestershire sauce — This is the ingredient that makes the broth taste finished. There isn’t a perfect substitute, but soy sauce plus a splash of vinegar gets you close if that’s what you have.
Building the Stew So the Vegetables Stay Whole
Bring the beef to tenderness before the potatoes and carrots go in. That keeps the vegetables from collapsing into the broth while the meat finishes its long simmer. You want the stew at a bare, lazy bubble — not a hard boil — because a rolling boil tightens the beef and can make the broth greasy instead of silky.
Russet potatoes are practical here because they help thicken the stew a little as they break down around the edges, but they still hold enough shape if you cut them into large chunks. Frozen pearl onions add sweetness and save a lot of peeling time, and they’re worth using here because they stay distinct instead of disappearing into the gravy.
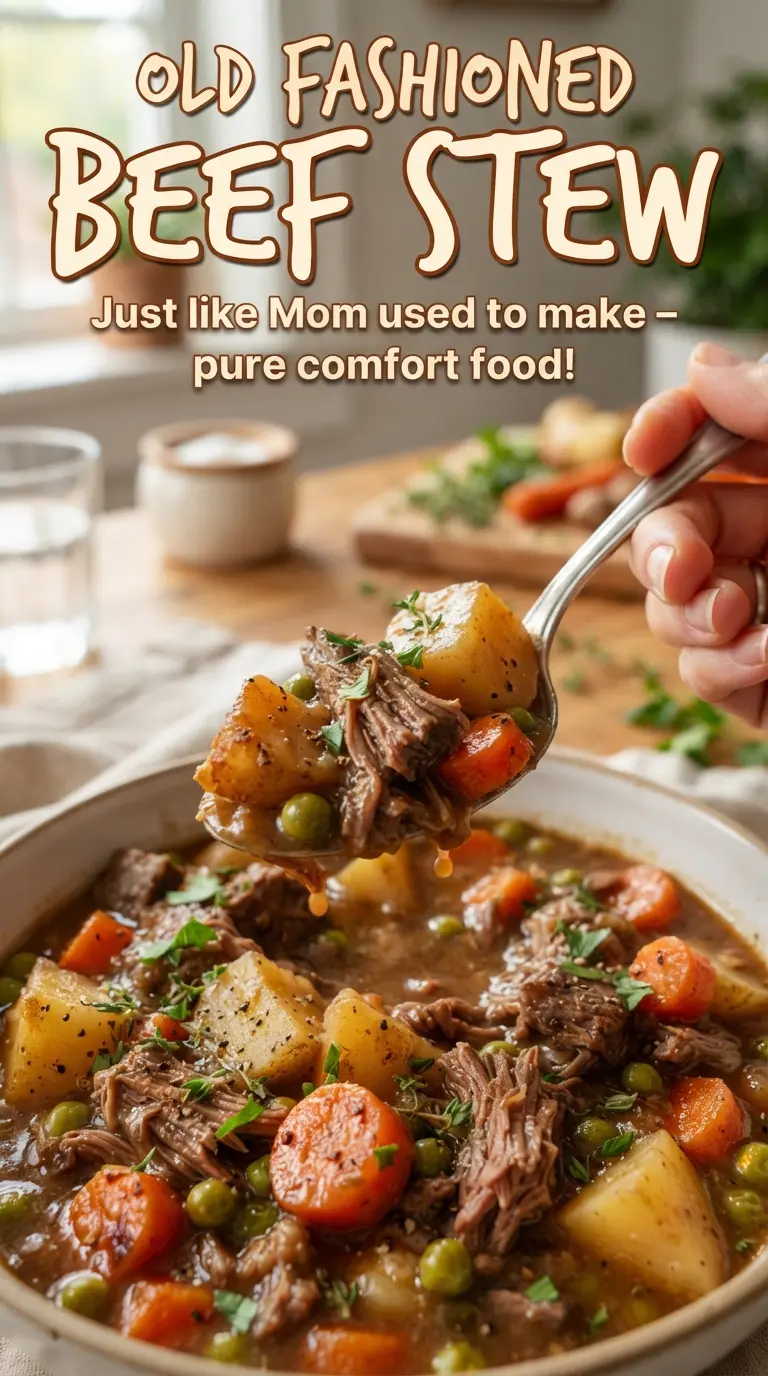
- Russet potatoes — These soften into the broth just enough to help thicken it. Yukon golds work too if you want pieces that hold their shape a little better.
- Carrots — Cut them into thick pieces so they don’t go mushy by the time the stew is done. Thin carrot coins cook too fast and turn soft before the beef is ready.
- Frozen pearl onions — These are one of the easiest upgrades in an old fashioned stew. They add a gentle sweetness and a polished finish without any extra prep.
- Beef broth and water — The broth gives the stew depth, while the water keeps it from becoming too salty or heavy. If your broth is already low-sodium, this balance works especially well.
From Browned Beef to Thick Gravy Without Rushing It
Searing in Batches
Heat the oil until it shimmers, then add the beef in a single layer with space around each piece. Let it sit long enough to form a dark crust before turning it. If the pan looks crowded or the meat starts giving off a lot of liquid, stop and work in smaller batches; pale beef makes a pale stew.
Softening the Onion Base
Once the beef comes out, cook the onion until it turns translucent and starts to pick up the browned residue from the pot. Stir in the garlic and tomato paste for just a minute so they stop tasting raw. If the tomato paste sticks and darkens in spots, that’s fine; it only adds more depth.
Long, Gentle Simmering
Add the liquid, scrape the bottom of the pot thoroughly, then return the beef and let everything simmer covered. The heat should be low enough that you only see occasional bubbles breaking at the surface. If it boils hard, the beef fibers tighten and the broth can look oily instead of rich.
Finishing With the Vegetables
Stir in the potatoes, carrots, and pearl onions only after the beef has had time to soften. Simmer until a fork slides into the potatoes without resistance and the gravy coats the back of a spoon. If the stew looks thin at the end, uncover it for the last 10 to 15 minutes so steam can escape and the broth reduces naturally.
How to Adapt This Stew for Different Kitchens and Bigger Batches
Gluten-Free Stew
Swap the all-purpose flour for a good 1:1 gluten-free flour blend. The stew will still thicken, though the broth may look a touch less glossy than the original version, so give it the full simmer time before deciding whether it needs a little more reduction.
A Richer, Deeper Version
Replace 1 cup of the water with dry red wine and let it simmer for a minute after the onions and tomato paste cook. The wine adds a deeper savory edge and makes the gravy taste more layered, but it’s not necessary if you want the classic, straightforward version.
Vegetable Swap for the Pearl Onions
If you don’t have pearl onions, add a little extra chopped yellow onion with the potatoes instead of tossing in a quick substitution like frozen peas. The stew stays in balance, and you keep the classic flavor without introducing a vegetable that turns soft and sweet in the wrong way.
Storage and Reheating
- Refrigerator: Store covered for up to 4 days. The broth thickens as it sits, and the flavor gets even better.
- Freezer: It freezes well for up to 3 months. Cool it completely first, then portion it into airtight containers; the potatoes will soften a little more after thawing, but the stew still holds up.
- Reheating: Warm it gently on the stove over low heat with a splash of broth or water. Don’t boil it hard or the beef can dry out and the potatoes can break apart.
Answers to the Questions Worth Asking
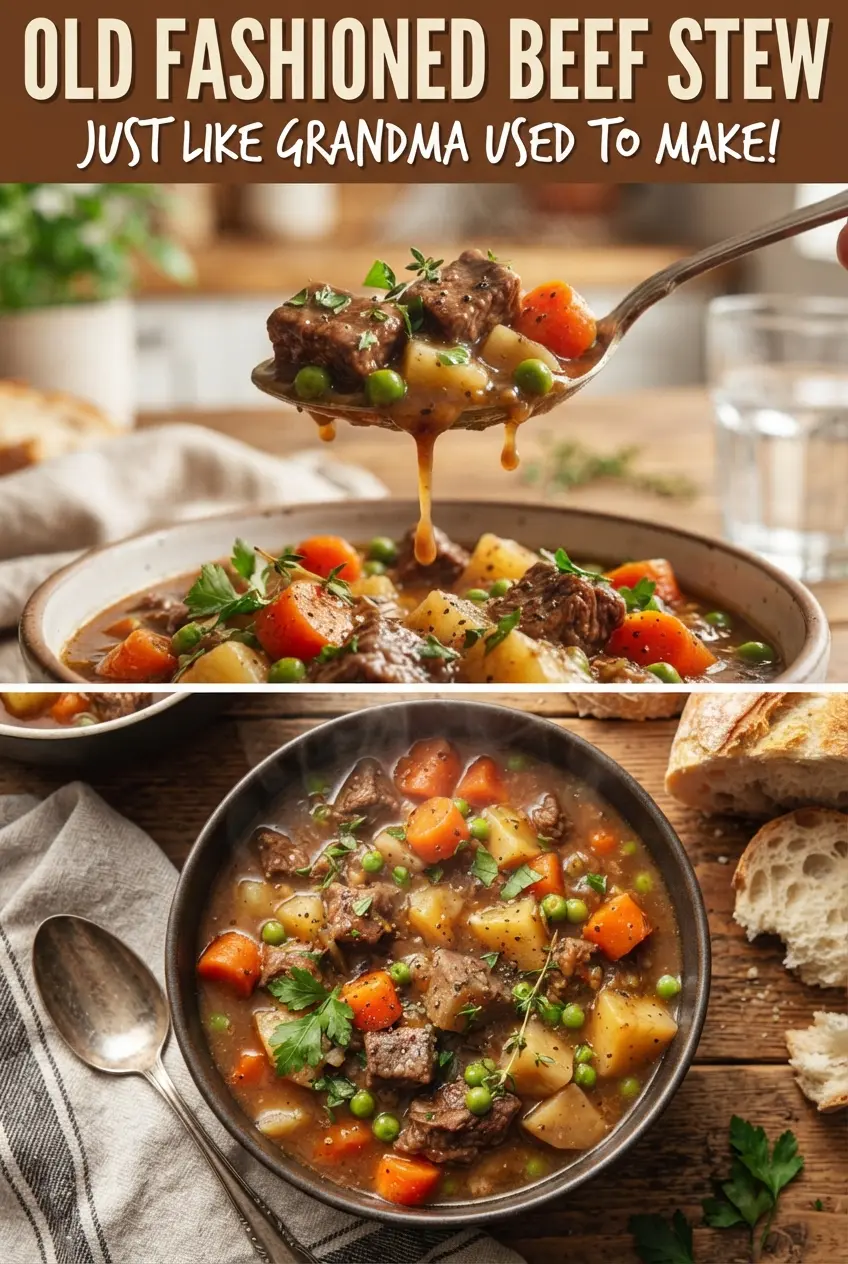
Old Fashioned Beef Stew
Ingredients
Equipment
Method
- Toss the beef with flour, salt, and black pepper until evenly coated. Brown the beef in batches in hot vegetable oil until deep brown on all sides, about 3-5 minutes per batch, and keep the surface visibly dark and crusted.
- Cook the chopped onion for 5 minutes, stirring so the onion softens and turns translucent. Stir in minced garlic and tomato paste and cook 1 minute until fragrant and slightly darkened at the edges.
- Add the beef broth, water, Worcestershire sauce, sugar, paprika, dried thyme, and bay leaves, then scrape up the browned bits from the bottom. Return the browned beef, bring to a gentle simmer, cover, and simmer gently for 2 hours until the meat is noticeably tender and the liquid tastes cohesive.
- Add the potatoes, carrots, and frozen pearl onions, then return to a gentle simmer. Simmer 45 minutes until the vegetables are tender and the gravy visibly thickens, clinging to the spoon rather than pooling.
- Remove the bay leaves and season to taste with additional salt and black pepper if needed. Let the stew stand 5 minutes off the heat so the gravy tightens up, then serve hot.